Reverse mapping VR display projectionsPaul BourkeOctober 2021 Translation into Norwegian by Lars Olden.
The following documents an exercise in reverse engineering the projections generated for a VR headset, specifically, remapping them back to something more general. In this case the projections used by the headset are wide angle perspective views, the desired remapping is to half an equirectangular projection for YouTube. The driver behind this is to be able to post game play onto YouTube (and others). The imagery created by the game (MicroSoft Flight Simulator) is captured during play, the techniques outlined convert this stereoscopic movie into a top-bottom half equirectangular stereoscopic movie. The headset in question is the Pimax 5K Plus, there are a number of modes supported and the techniques here can be applied to all of them. The process/pipeline will be illustrated for the "small+native" mode, the perspective geometry for which is shown below for the left eye, the right eye is just a mirror version of this. Note that one needs to be careful when interpreting the specifications, in this case the quoted horizontal field of view is 120.29 degrees but that is the whole field of view from the left most edge of the left eye to the right edge of the right eye. Similarly the FOV of each half of 60.14 degrees and 43.39 degrees is before the frustum is rotated by 10 degrees. 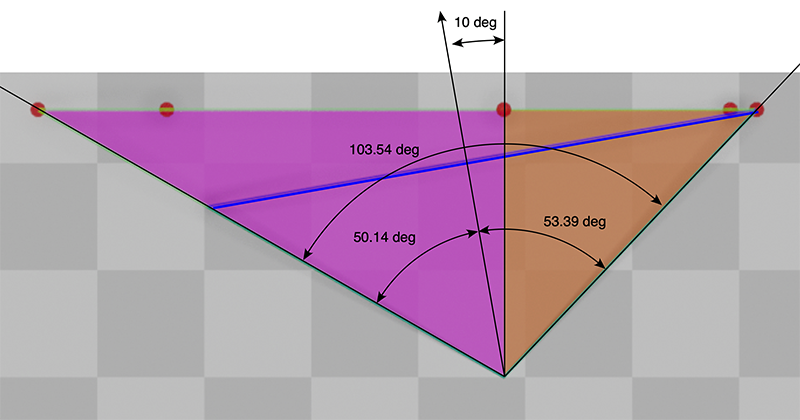
The first thing to notice is that the perspective frustum is asymmetric. To simplify the mapping the frame will be increased in width to turn it into a symmetric frustum, that is, the left and right edge of the frustum are an equal angle from the view direction. The amount by which to extend the left side of the frame (in this case) is determined by calculating the ratio of the left and right halves of the frustum. This depends on the tan of the angles as shown below. 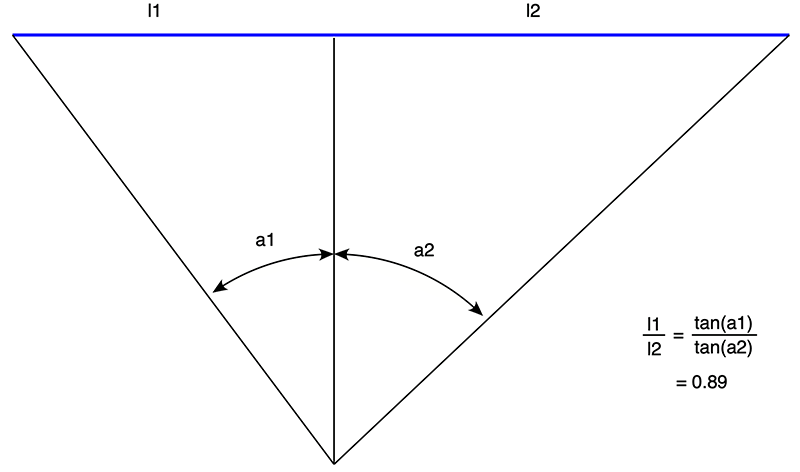
In the example here the image capture is only HD, ideally one would choose a higher resolution of 4K. Using the ratio above the center of the camera view direction can be calculate and therefore the amount by which to extend the frustum. 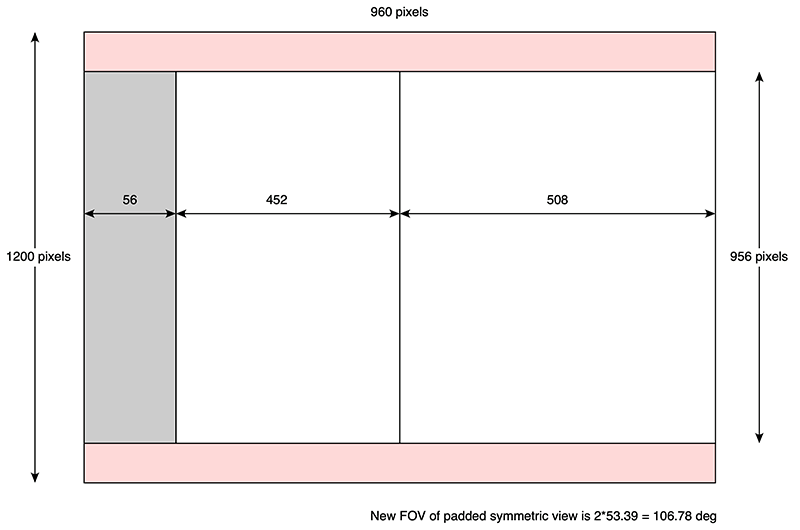
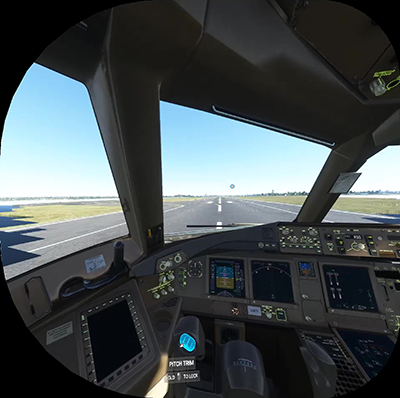
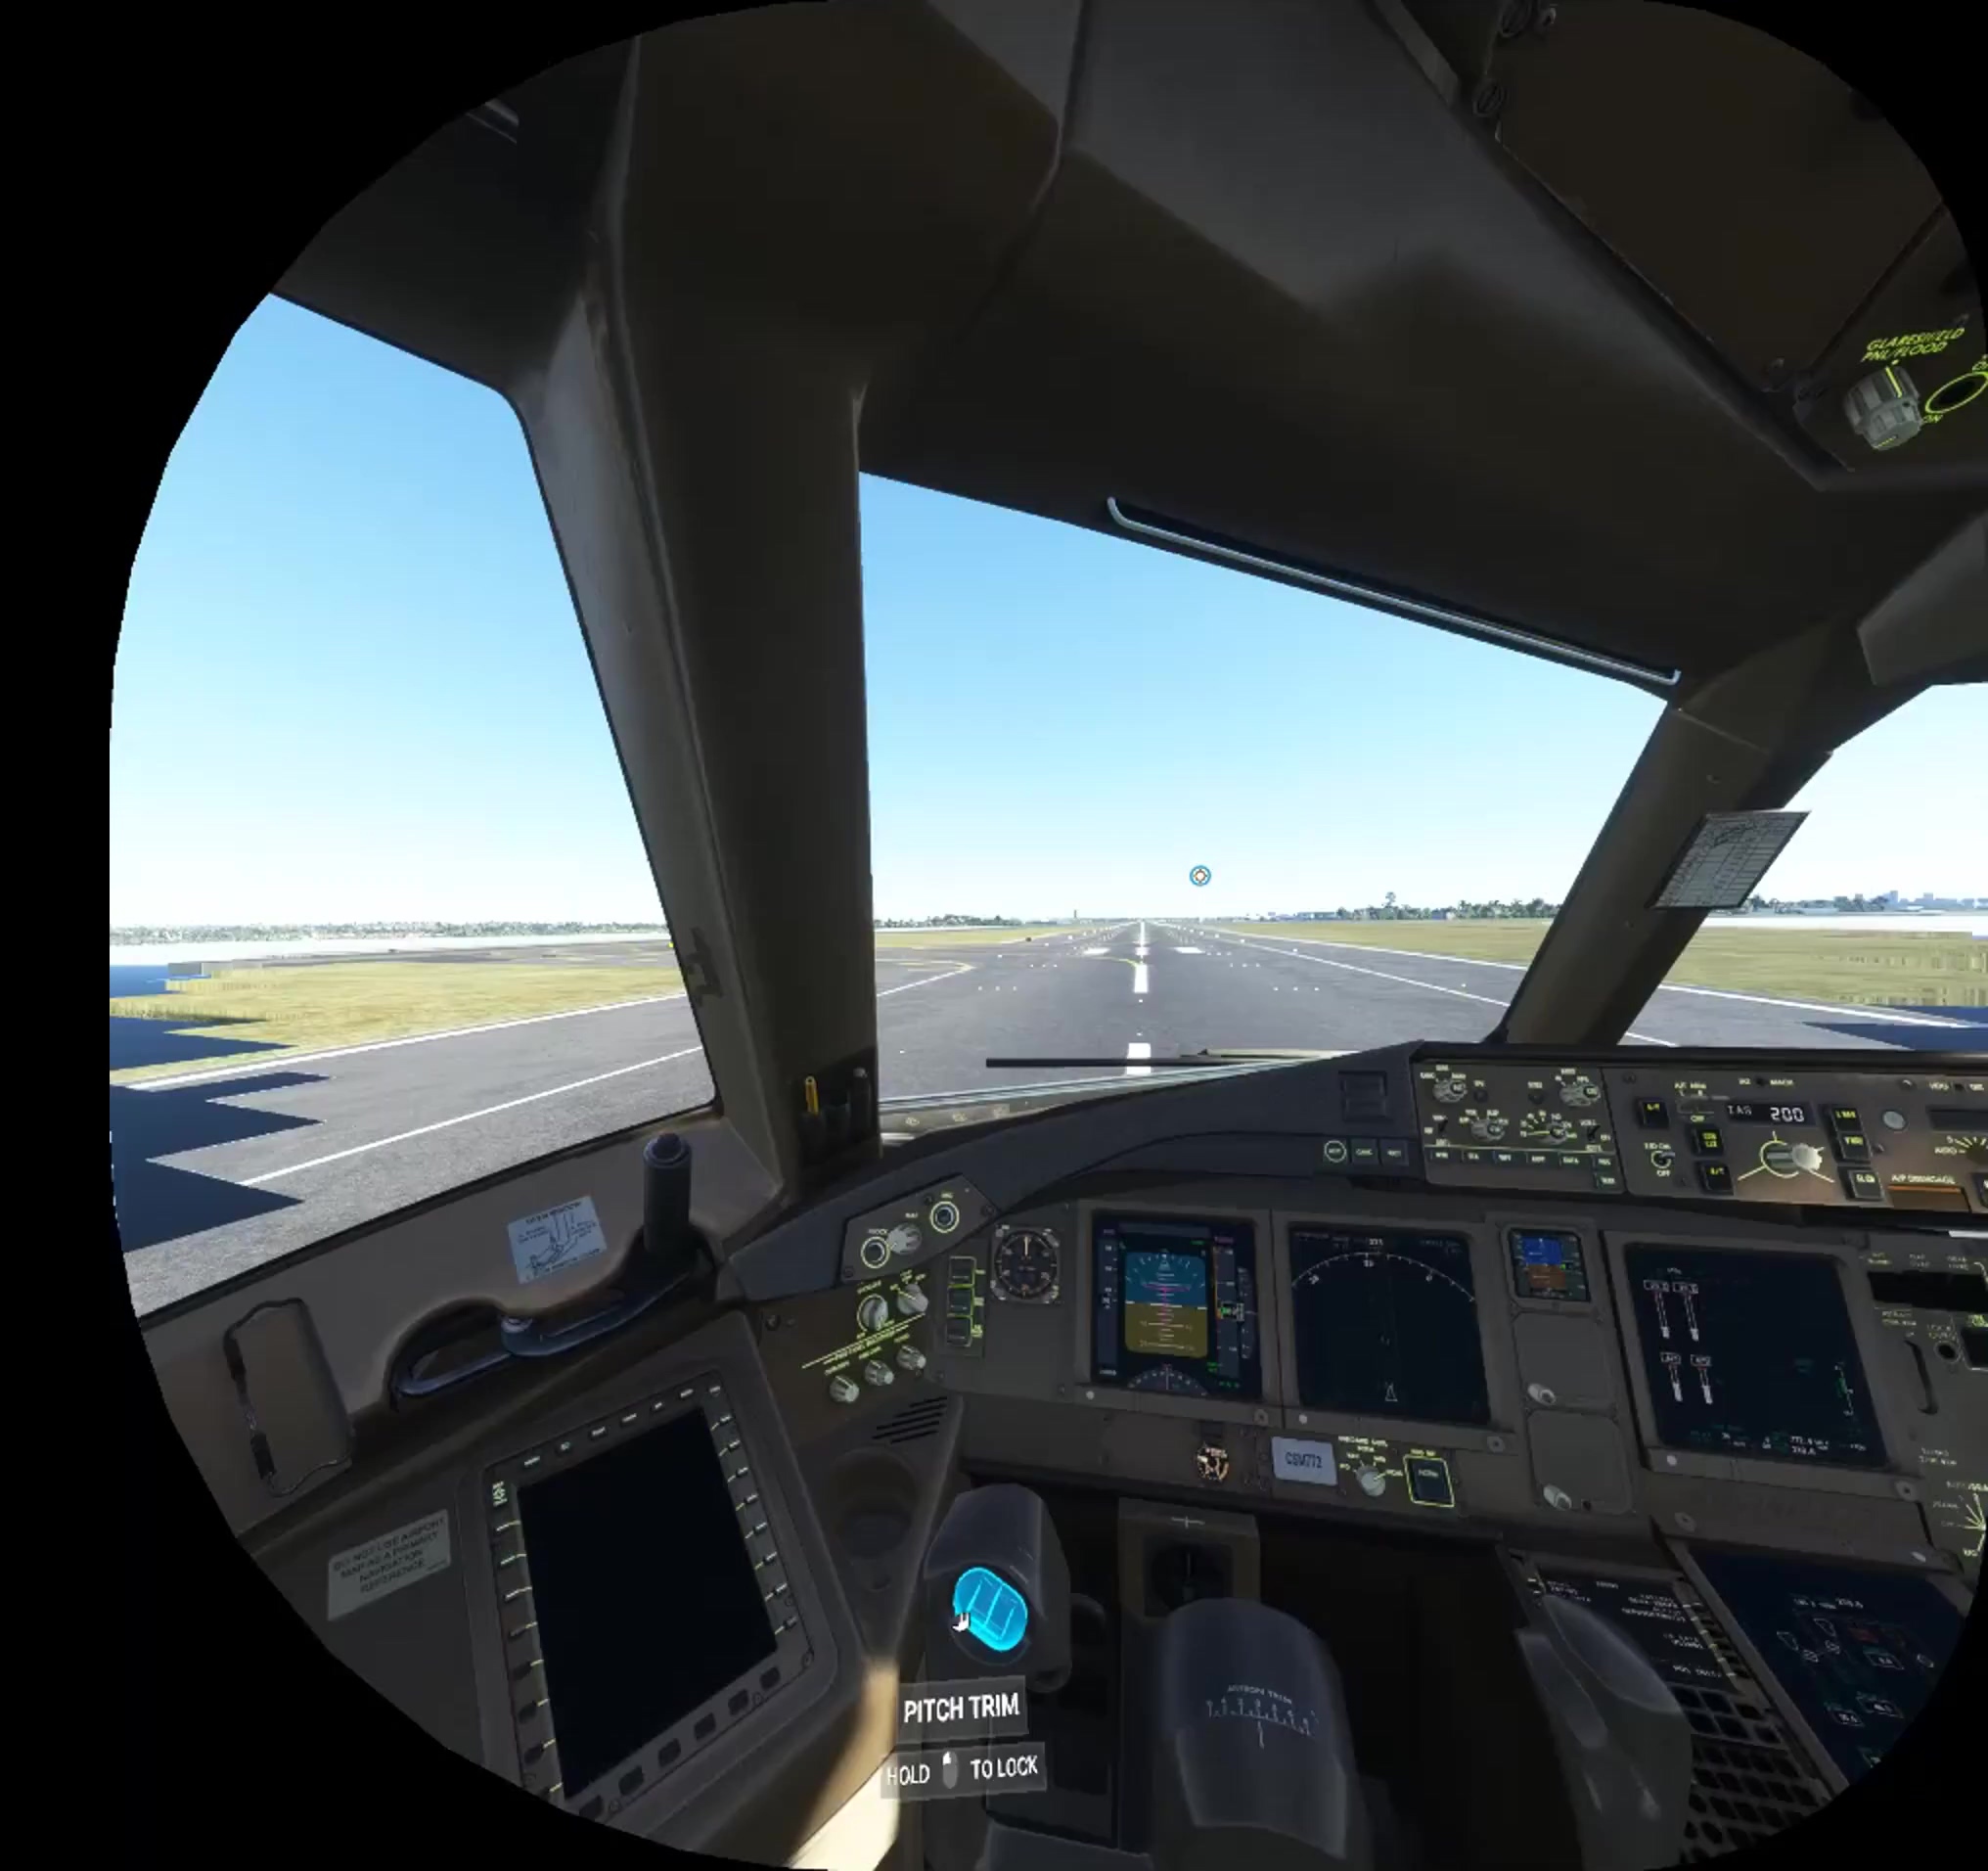
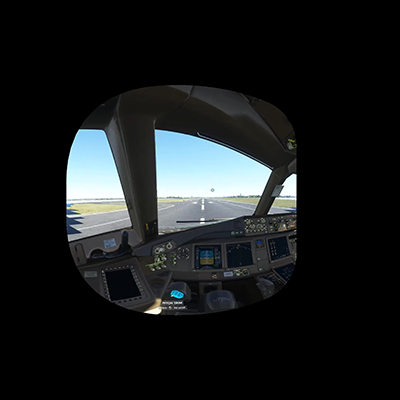
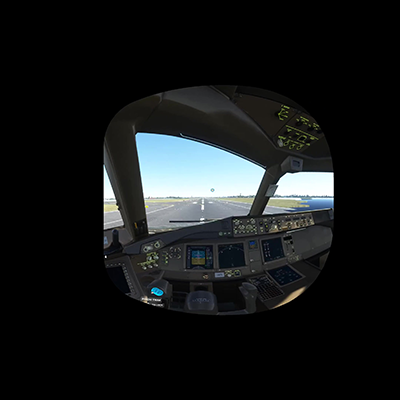
A real example is presented next. Below is an actual captured frame as sent to the VR headset. While it looks round (like a fisheye) it is actually a perspective projection with a circular mask corresponding to the bounds of the headset lens. 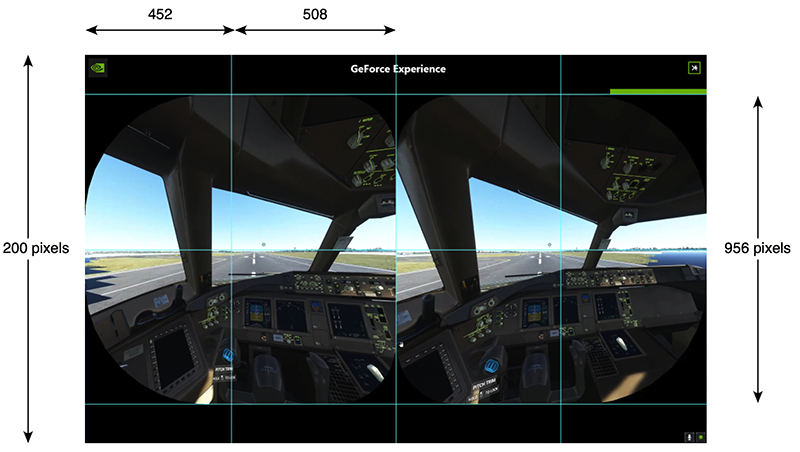
The first stage is to crop out the images for each eye. This is only due to the need for the left and right eye to be contained within (in this case) a 1920x1080 capture frame.
The following is each eye padded to form a symmetric frustum.
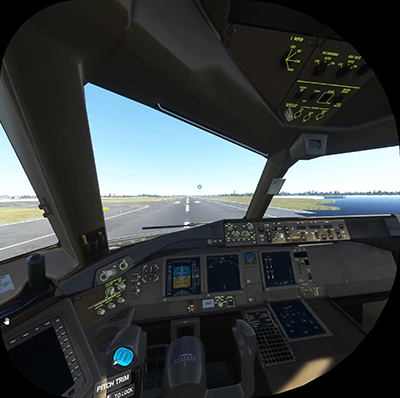
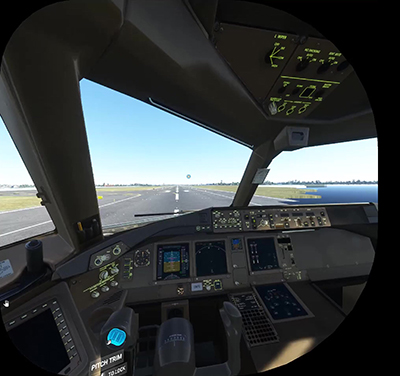
The next stage is to map each view into a 180x180 degree equirectangular (half equirectangular). Note that this also needs to correct for the +/-10 degree yaw correction used in the perspective projection to deal with the canted view. If all has worked out correctly one can check that content at infinity has zero parallax.
And finally concatenate them top and bottom for the preferred YouTube format. Noting that there are other arrangements in common usage such as left-right. 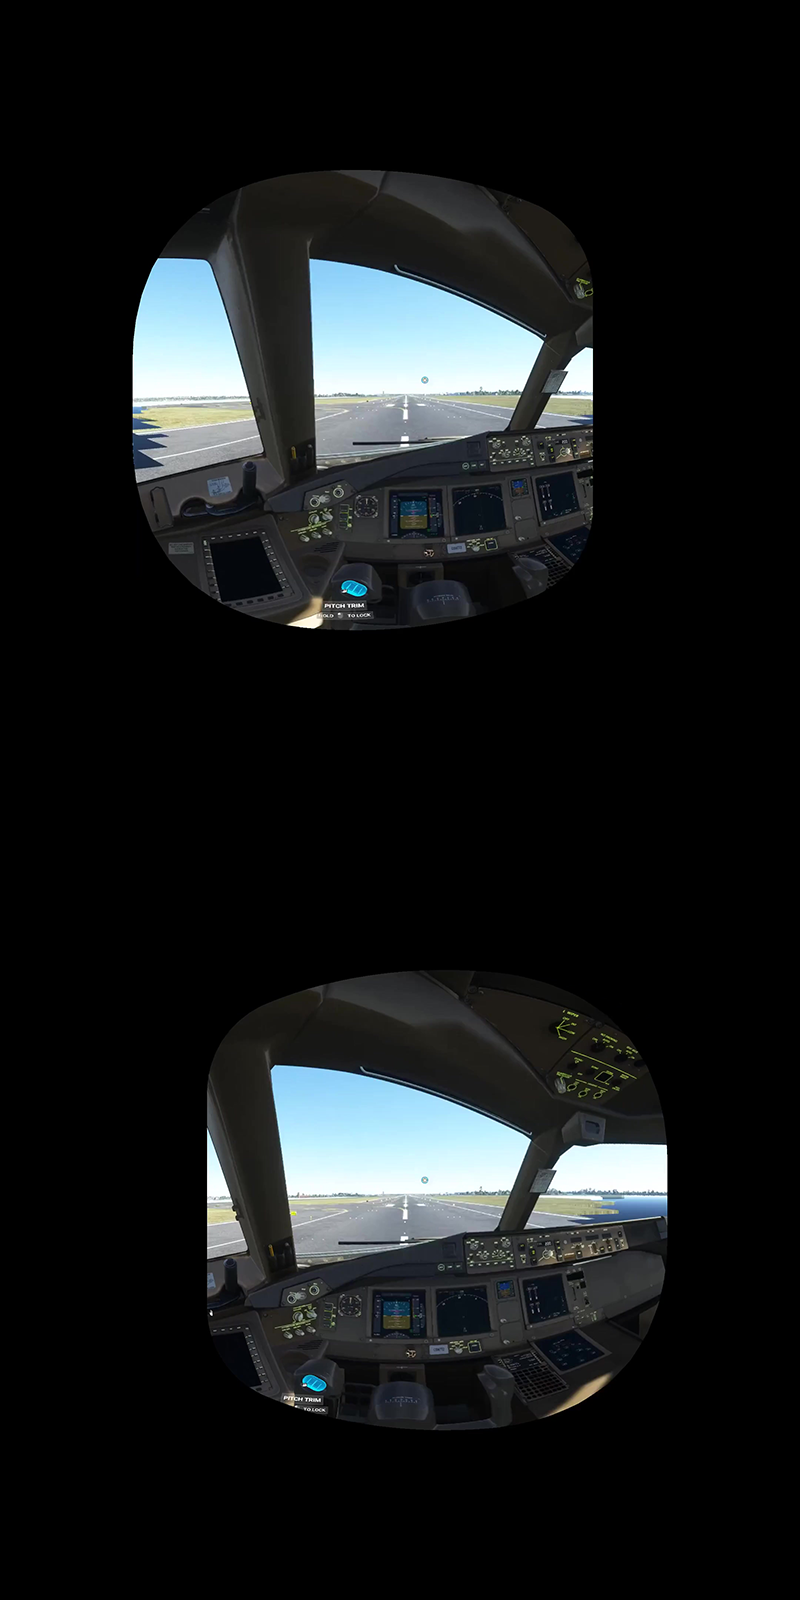
The example presented here is just one frame from the captured movie. The movie is transformed using ffmpeg. The ffmpeg script that mimics the stages above is given below, it also creates a sample image frame at each stage for testing purposes. # Crop out the portion of the perspective image # Scale by a factor of 2 in an attempt to mitigate compression and aliasing effects ffmpeg -i pi-native-small-fov.mp4 -vf "crop=960:956:0:123,scale=1920:-1,setsar=1:1" left1.mp4 ffmpeg -ss 00:00:00 -i left1.mp4 -vframes 1 -q:v 1 -qmin 1 left1_sample.jpg ffmpeg -i pi-native-small-fov.mp4 -vf "crop=960:956:960:123,scale=1920:-1,setsar=1:1" right1.mp4 ffmpeg -ss 00:00:00 -i right1.mp4 -vframes 1 -q:v 1 -qmin 1 right1_sample.jpg # For values of padding note the images above have been scaled by a factor of 2, 2032 = 508*2*2 ffmpeg -i left1.mp4 -vf "pad=2032:ih:ow-iw:0:color=black" left2.mp4 ffmpeg -ss 00:00:00 -i left2.mp4 -vframes 1 -q:v 1 -qmin 1 left2_sample.jpg ffmpeg -i right1.mp4 -vf "pad=2032:ih:0:0:color=black" right2.mp4 ffmpeg -ss 00:00:00 -i right2.mp4 -vframes 1 -q:v 1 -qmin 1 right2_sample.jpg # Perform mapping to half an equirectangular (output=he) from a perspective (input=flat) ffmpeg -i left2.mp4 -vf v360=input=flat:ih_fov=106.8:iv_fov=103.56:h_fov=180:v_fov=180:w=2160:\ h=2160:yaw=10:output=he left3.mp4 ffmpeg -ss 00:00:00 -i left3.mp4 -vframes 1 -q:v 1 -qmin 1 left3_sample.jpg ffmpeg -i right2.mp4 -vf v360=input=flat:ih_fov=106.8:iv_fov=103.56:h_fov=180:v_fov=180:w=2160:\ h=2160:yaw=-10:output=he right3.mp4 ffmpeg -ss 00:00:00 -i right3.mp4 -vframes 1 -q:v 1 -qmin 1 right3_sample.jpg # Finally combine into top/bottom arrangement ffmpeg -i left3.mp4 -i right3.mp4 -c:v libx264 -crf 18 -filter_complex vstack left_right.mp4 ffmpeg -ss 00:00:00 -i left_right.mp4 -vframes 1 -q:v 1 -qmin 1 left_right_sample.jpg In reality one would not use the multiple stage approach above since image degradation occurs at each output movie save. Instead one would normally flatten this into single ffmpeg "split" pipeline where the only lossy save occurs at the end of all the mappings. For example: ffmpeg -i "pi-native-small-fov.mp4" -vf "split[left][right];\ [left]crop=960:956:0:123,scale=1920:-1,setsar=1:1[left1];\ [right]crop=960:956:960:123,scale=1920:-1,setsar=1:1[right1];\ [left1]pad=2032:ih:ow-iw:0:color=black[left2];\ [right1]pad=2032:ih:0:0:color=black[right2];\ [left2]v360=input=flat:ih_fov=106.8:iv_fov=103.56:h_fov=180:v_fov=180:w=2160:h=2160:yaw=10:output=he[left3];\ [right2]v360=input=flat:ih_fov=106.8:iv_fov=103.56:h_fov=180:v_fov=180:w=2160:h=2160:yaw=-10:output=he[right3];\ [left3][right3]vstack "\ -c:v libx264 -crf 18 -c:a copy left_right.mp4 A summary of the above for the "small-native" mode is given here: small_native.pdf. Low resolution (1920x1200) capture. The widest field of view mode is referred to as "large-native". The various values for the transformations are given here: large_native.pdf. Low resolution (1920x1200) capture. The settings for the "large-pp" mode are given here: large_pp.pdf. Noting that in this case the quoted vertical field of view would appear to be incorrect, the correct value (given aspect ratio of the perspective view) that gives the correct aspect for scene objects is 115 degrees rather than 94 degrees. 4K (3840x2160) capture. The settings for the "normal-pp" mode are given here: normal_pp.pdf. 4K (3840x2160) capture. The last stage would be to add the appropriate exif data indicating the layout, one might use exiftool for this but there are lots of other choices. |
