warpplayer: QuickTime movie player
Intended primarily for
fulldome projection using a spherical mirror | ||||||||||||||||||||||||||||||||||||||||||||||||||||||
|
The software disucssed here is no longer available. This page is provided for historical purposes only. For current dome playback tools see: Tools for Spherical Mirror Projection. |
Introduction
"warpplayer" is a Mac OS-X application that takes a QuickTime movie and a description of how to distort each frame. The movie is played and distorted on the fly. There are many applications for this and some of them will be discussed below, the main reason for developing this was for movie playback in fulldome (eg: planetarium environments) where a spherical mirror is used to distort the fisheye frames of the movie.
In addition to the realtime warping, the application allows navigation while the movie is playing. The exact navigation that is appropriate depends on the input image projection, for example, for a fisheye image the movie can be rotated about the pole while it is playing. For a movie where each frame is a cylindrical projection the view direction can be rotated horizontally during playback.
Update 2019Due to changes in High Sierra and Mojave, the automatic reading of "default.data" no longer seems to be working. Until a fix for this is found, it is necessary to set the location of the warp mesh file explicitely in the preferences. Noting that the whole path to the file is required. So, if the warp file is called "default.data", if the user account name is "Domeuser", and the warp file is located in the users home directory, then the path to the file would be (noting that it is case sensitive)

The following example is targeted at fisheye movies, the original frame is taken from "Moonlight" by Andrew Quinn. A sample frame is shown below along with various mappings. The power of this approach is immediately obvious, namely that one movie can be shown in multiple environments without being preprocessed for each. Note the grid lines are turned on in order to illustrate the nature of the texture mapping. For all practical purposes any image distortion can be achieved, it only requires that someone can create the correct warp map file.
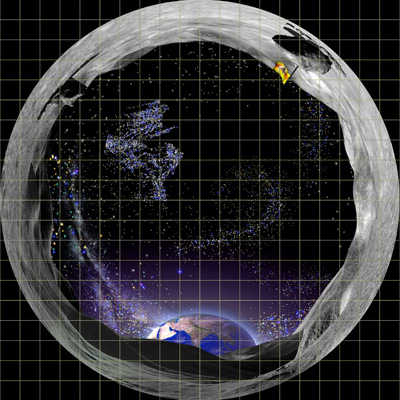 Single frame from the fisheye movie. |
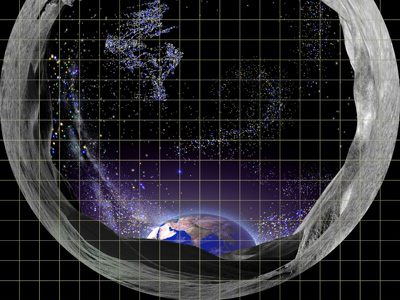 Truncated fisheye as used by many fisheye projector systems. |
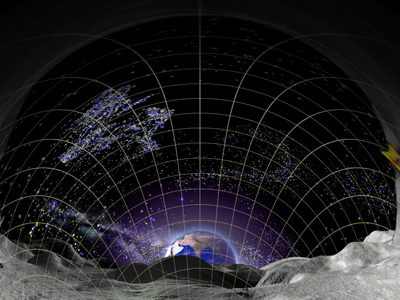 Warped image for spherical mirror projection, 4x3. |
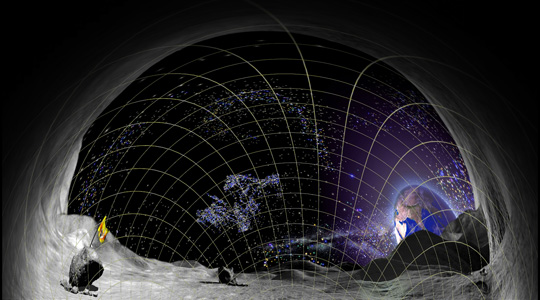 Warped image for spherical mirror projection, 16x9. |
Mesh data file structure
The data file that describes the warping is simply a description of a regular mesh with texture coordinates. The format is as follows: the file is a plain (human readable) text file, the first line contains a single digit that indicates the input image format the mesh is assumed to apply to, the second line gives the dimensions of the mesh, the subsequent lines contain 5 numbers per line that describe each node of the mesh. These lines consist of x and y (the coordinate of the mesh in normalised screen coordinates), the u and v texture coordinate of that node (range from 0 to 1), and finally a multiplicative intensity value. Normalised screen coordinates range from -aspect to aspect ratio in the horizontal axis and -1 to 1 in the vertical axis.
Input image projections supported are given below, the next release will additionally support stereoscopic versions of each of the above.- 1: planar image, perspective projection
- 2: fisheye projection
- 3: cylindrical projection
- 4: spherical projection
- 5: cubic map
Please contact the author for further details on these mesh files and how they might be created for your own distortion requirements. Two mesh files are given here as examples: rect.data.zip doesn't perform any distortion, for a 4:3 movie it plays it back unmodified; warpfish.data.zip warps a fisheye movie for spherical mirror projection (at least for a particular configuration and 4:3 aspect ratio projector).
Input image typesWhile the exact form of the projection of the input image and the form of the warping is very general, there are some input and output image projections explicitly supported (tested) and for which example mesh files can be provided. Note also that the exact form of navigation is dependent on the input image projection for example, it doesn't make sense (at least in a hemispherical dome environment) to zoom in on a fisheye image, and only horizontal rotation makes sense for cylindrical projections.
| Input image projection | Navigation | |||||
| Fisheye | Fisheye | Truncated fisheye | Warped fisheye | Perspective | Rotate about pole | |
| Cylindrical | Cylindrical | Fisheye | Truncated fisheye | Warped fisheye | Perspective | Rotate left/right |
| Spherical | Spherical | Fisheye | Truncated fisheye | Warped fisheye | Perspective | Rotate left/right |
| Perspective | Perspective | Zoomed perspective | Fisheye | Warped fisheye | Pan left/right/up/down | |
Keyboard control
- Space bar to start/pause movie playback.
- Fast forward and reverse (new) using the "<" and ">" keys.
- Full screen mode (of course) as required for most single projector systems,
optionally entered into at launch time.
- Supports all the standard QuickTime video and audio codecs.
- Option to automatically loop movie.
- Drag/drop mode as well as Unix scriptable launching.
- Default mesh (loaded at launch time) is called "default.data".
The performance is directly related to the underlying hardware being used, the penalty for the warping part of the pipeline is minimal. Put another way, if the movie plays smoothly in the QuickTime Player then it will most likely play smoothly in this player. There are many factors involved when it comes to the playback of large frame movies, for example, the codec used, the hard disk speed, the CPU type and performance, the graphics card, and so on. At the time of writing the author has not had problems playing 1536x1536 pixel movies at 30fps on a 15" Mac Powerbook. Recent experiments with HD projectors have been successful with a higher configured Powerbook, that is, playing 2000x2000 pixel movies and creating 1920x1080 pixel warped images for spherical mirror projection. The movie size, compression ratio, and performance will only increase over time.
New: stereoscopic projection (March 2008)
The application has been enhanced to both support side-by-side stereoscopic movie playback and to allow fullscreen playback across multiple displays. These are actually related in the case where one is attempting passive stereo projection using a dual display graphics card.

Example
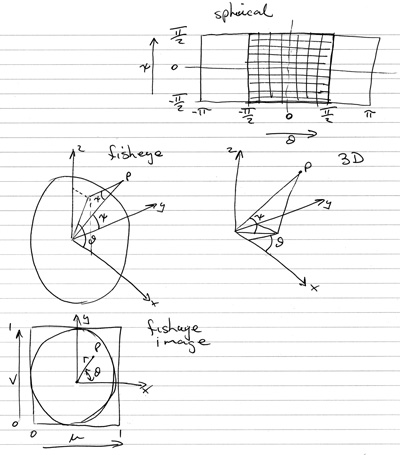
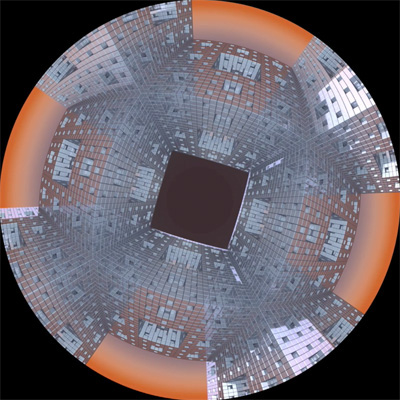
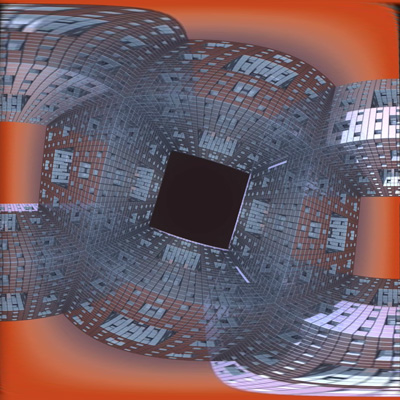
As an example of the generally of this approach to realtime warping and to demonstrate how warp maps might be generated, consider the case of warping a fisheye into half a spherical projection.
Sample frame from a movie (left hand side) and resulting spherical projection (right hand side).
|
|
Truncated warp maps
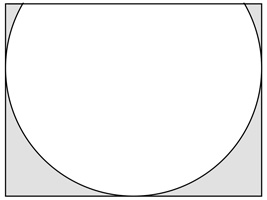
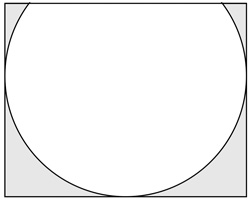
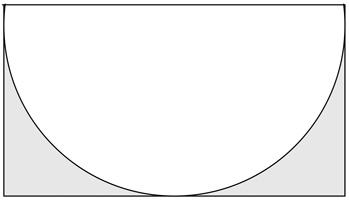
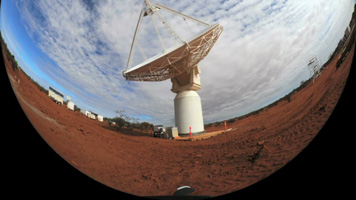
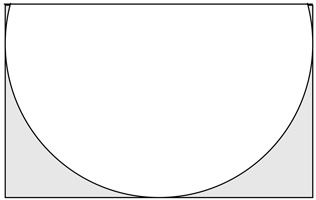
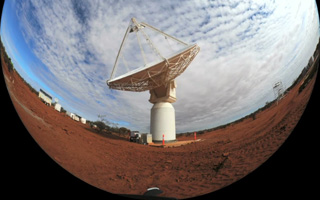
While the warpplayer was originally written for fisheye warping for the spherical mirror projection technology, it is also useful for a wide family of image warping, including geometry correction on flat walls and cylinders. It is also useful for playing a fisheye movie onto truncated fisheye systems without needing to pre-truncate the movie. The following provides warp mesh files (right column) for all the common projector aspect ratios (4x3, 5x4, 16x9, and 16x10). Any truncation degree can be supported but only the ideal optimal cases are provided here.
|
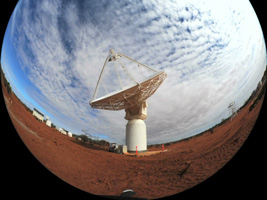
| 4x3_trunc_top.data |
|
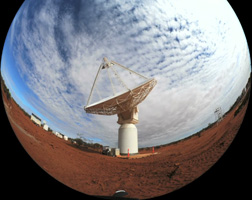
| 5x4_trunc_top.data |
|
| 16x9_trunc_top.data |
|
| 16x10_trunc_top.data |
Manually created mesh files
It isn't always possible to derive the mappings mathematically. An example of this might be the creation of a rectangular looking image on an arbitrary curved surface. One way to derive the mesh for this is to create a regular grid on the final surface and then from the perspective of the projector trace out the grid lines. This last stage can be performed photographically or by tracing the grid lines on the computer screen by projecting the same screen through the data projector.
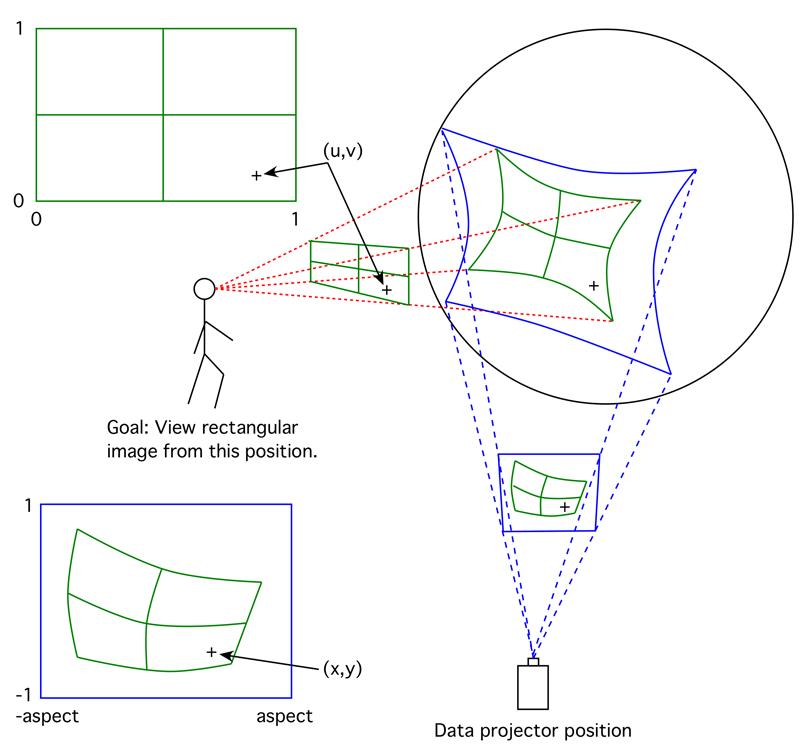
In the example above one wishes to see an undistorted image from the viewer position shown. The grid drawn on the surface gives the (u,v) coordinates of the image to be projected. The traced or photographed position of the grid from the projector perspective gives the (x,y) coordinates.
FAQ
Can you tell how to choose which warpmesh to use in the 6 metre dome?
The main thing is the aspect ratio of the projector you are using, assuming you are driving it with a computer that is the same aspect ratio. For data projectors there are the following aspect ratios
- 4x3, is normally 1024x768 pixels, I don't recommend people use this for fulldome
projection. There are less common 1400x1050 pixel projectors.
- 16x9, this would normally be 1920x1080, the standard recommended resolution for
spherical mirror projection. There is 1280x720 which I also do not recommend.
- 16x10, this is less common and is normally 1920x1200 pixels. Doesn't give any real advantage over 1920x1080.
I have supplied samples of each of these with the warpplayer download. The size of the dome is not relevant. These are canned warp mesh files, you adjust the hardware to get a result that covers your dome. The other approach is to use meshmapper (supplied with warpplayer) and create your own warpmesh file. Not a simple job but the way to get the best results for your hardware.
Basic operation, fast start
- Unzip the downlaoded archive.
- Move the application "warpplayer.app" to a location on your hard drive of your choice
- Determine the aspect ratio of your projector, 4:3, 16:9 or 16:10.
- Rename the mapping data file corresponding to that aspect to "default.data", for example,
for a full HD projector (1920x1080) rename the mapping file supplied "standard_16x9.data"
to "default.data".
- Place the file "default.data" in the same directory as the warpplayer software
- Drag and drop a fisheye movie onto the warpplayer software.
- Command (clover) - f to enter fullscreen, or use the Options menu fullscreen item.
See the preference which will automatically enter fullscreen or not. Note that it is
assumed that the projector and computer display are mirrored, see Displays preferences.
- Space to pause / continue movie
- Command (clover) - q to quit.
