Using the Unity game engine in the iDomeWritten by Paul BourkeJune 2008 Sample Island project: Island_iDome.zip
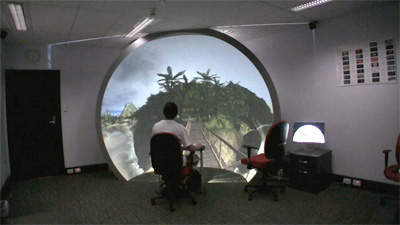
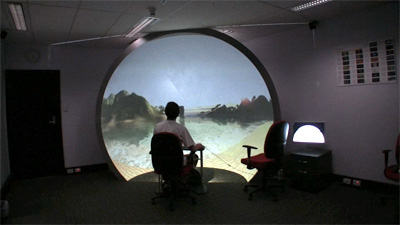
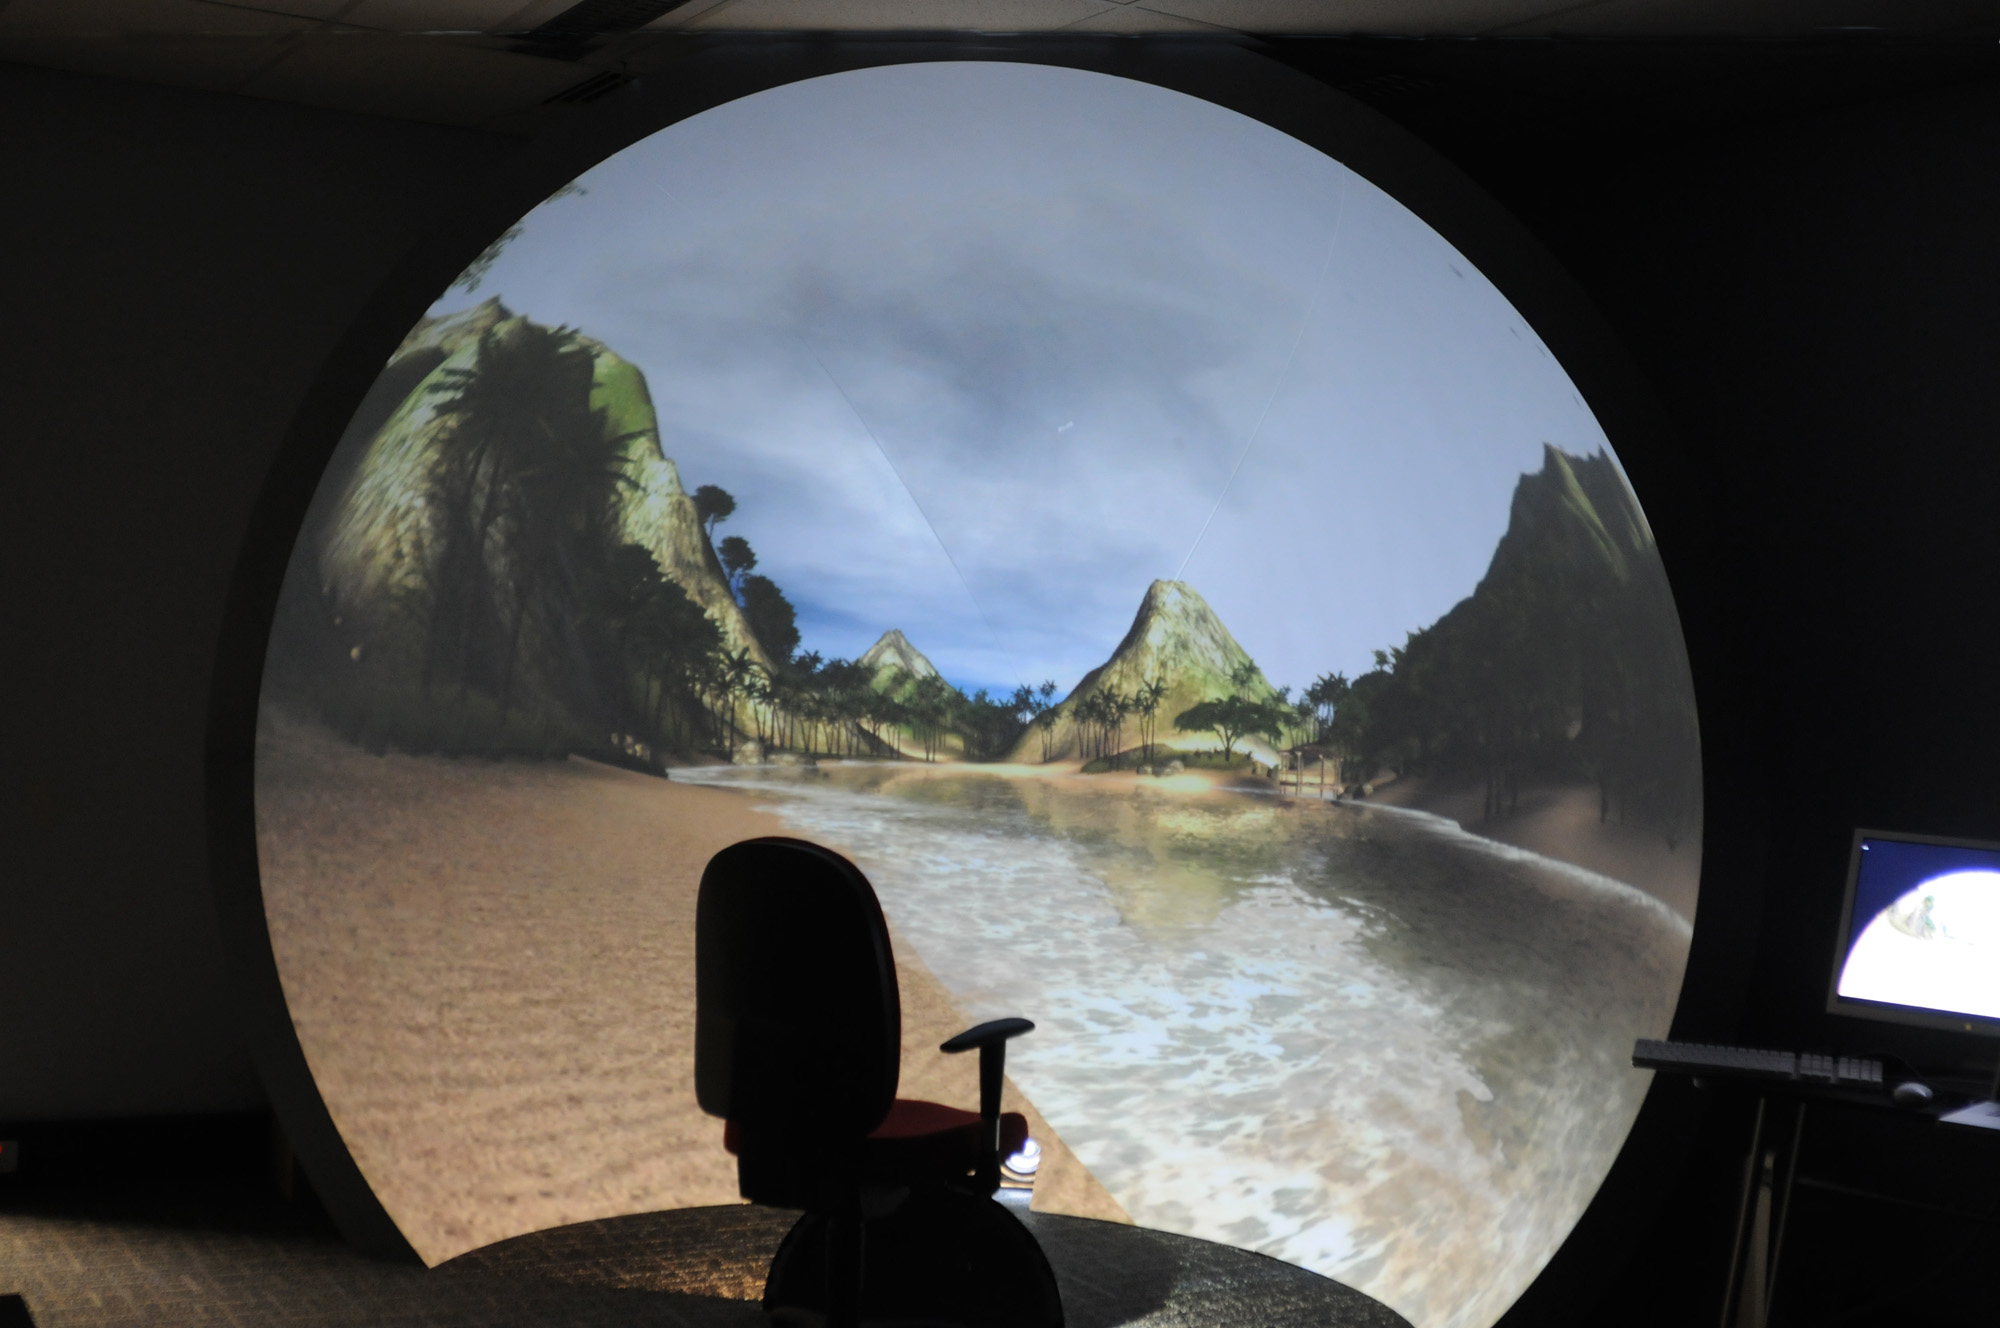
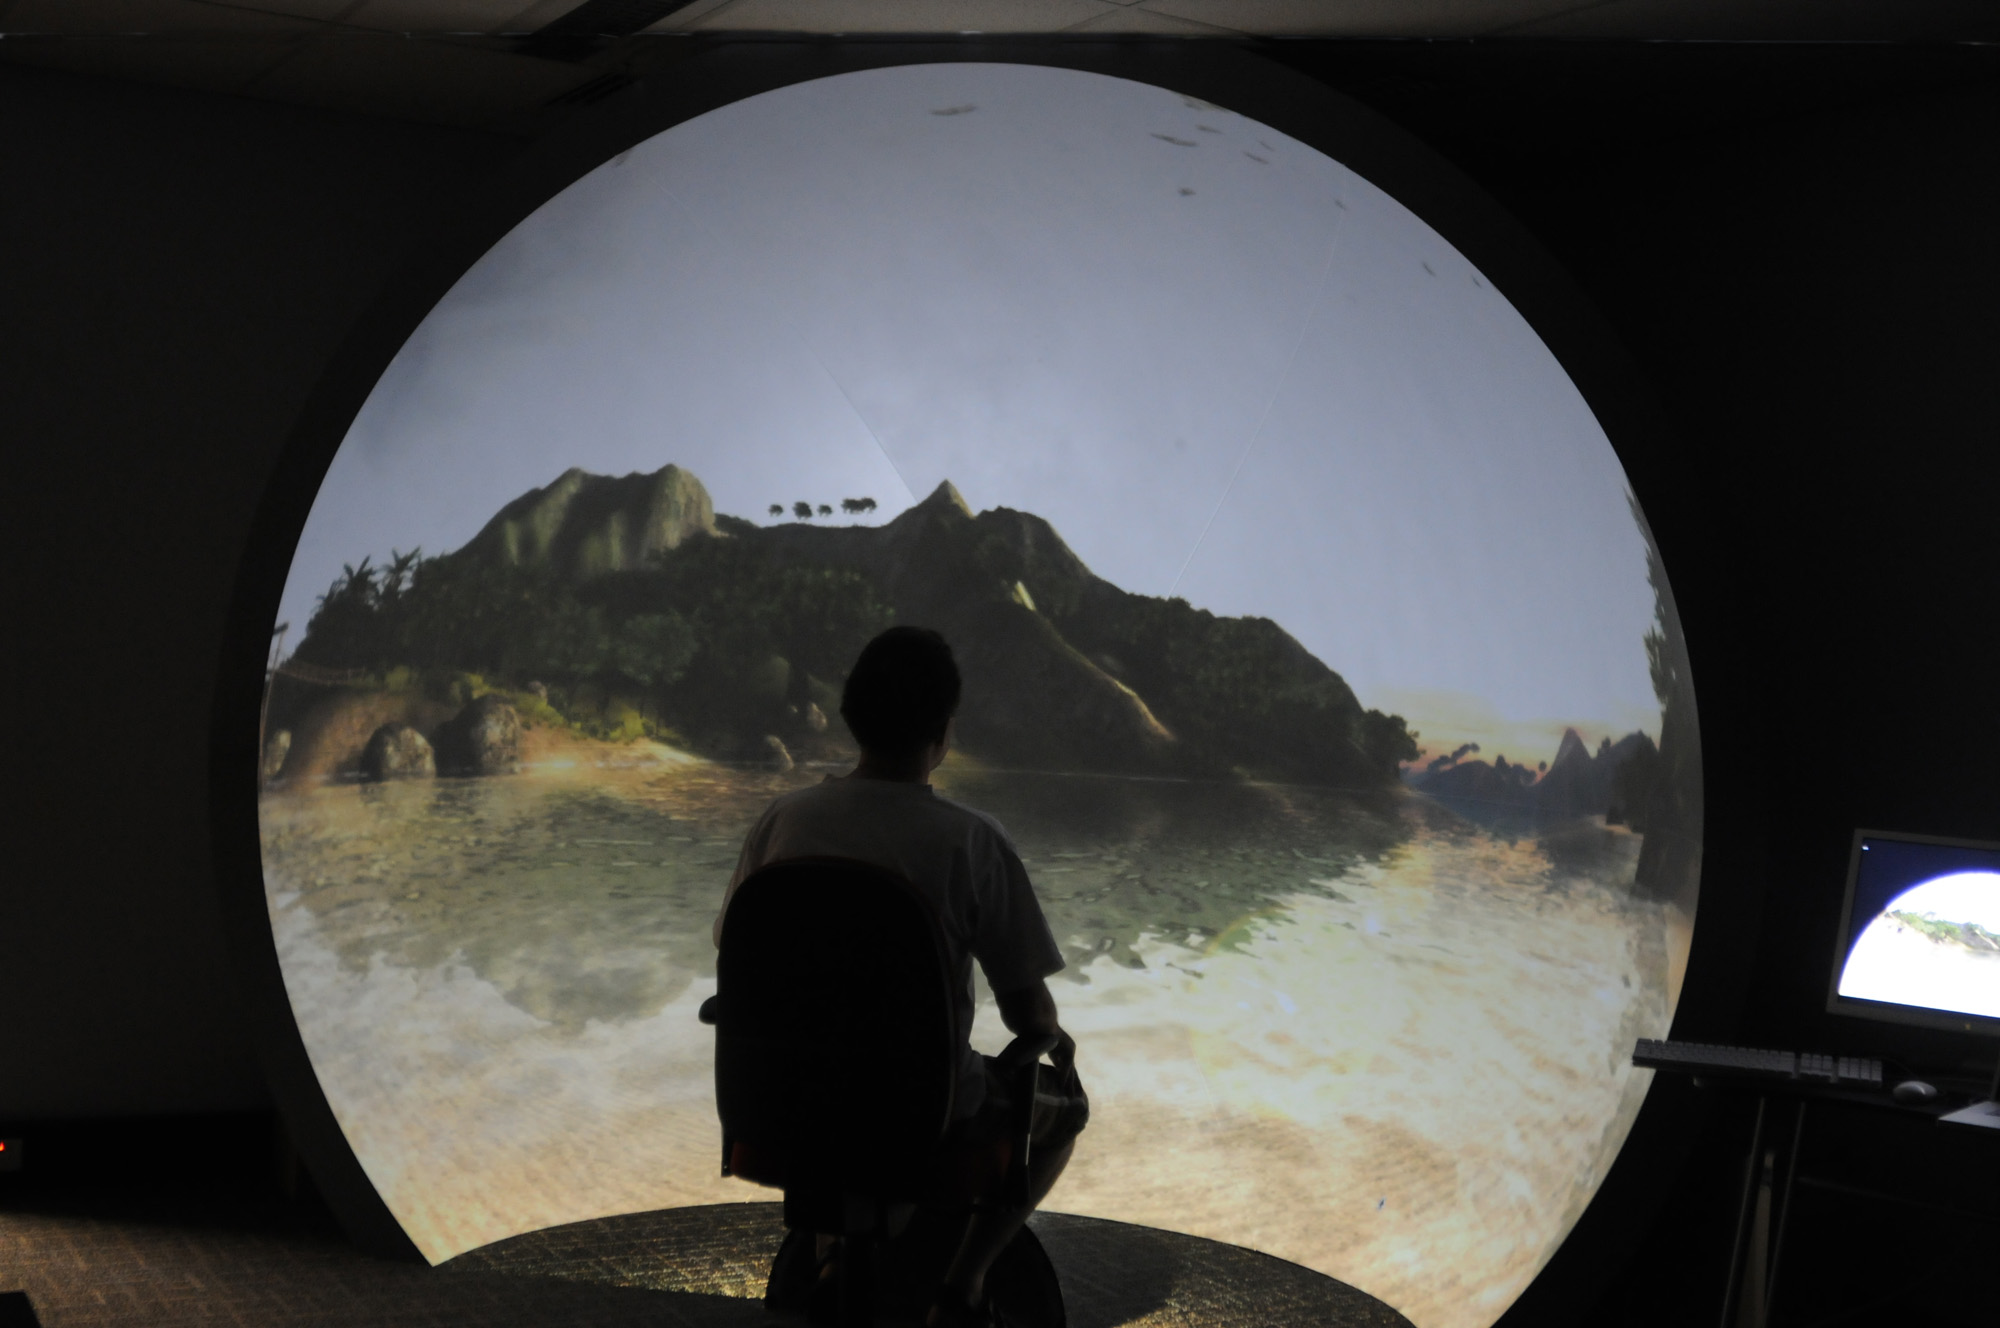
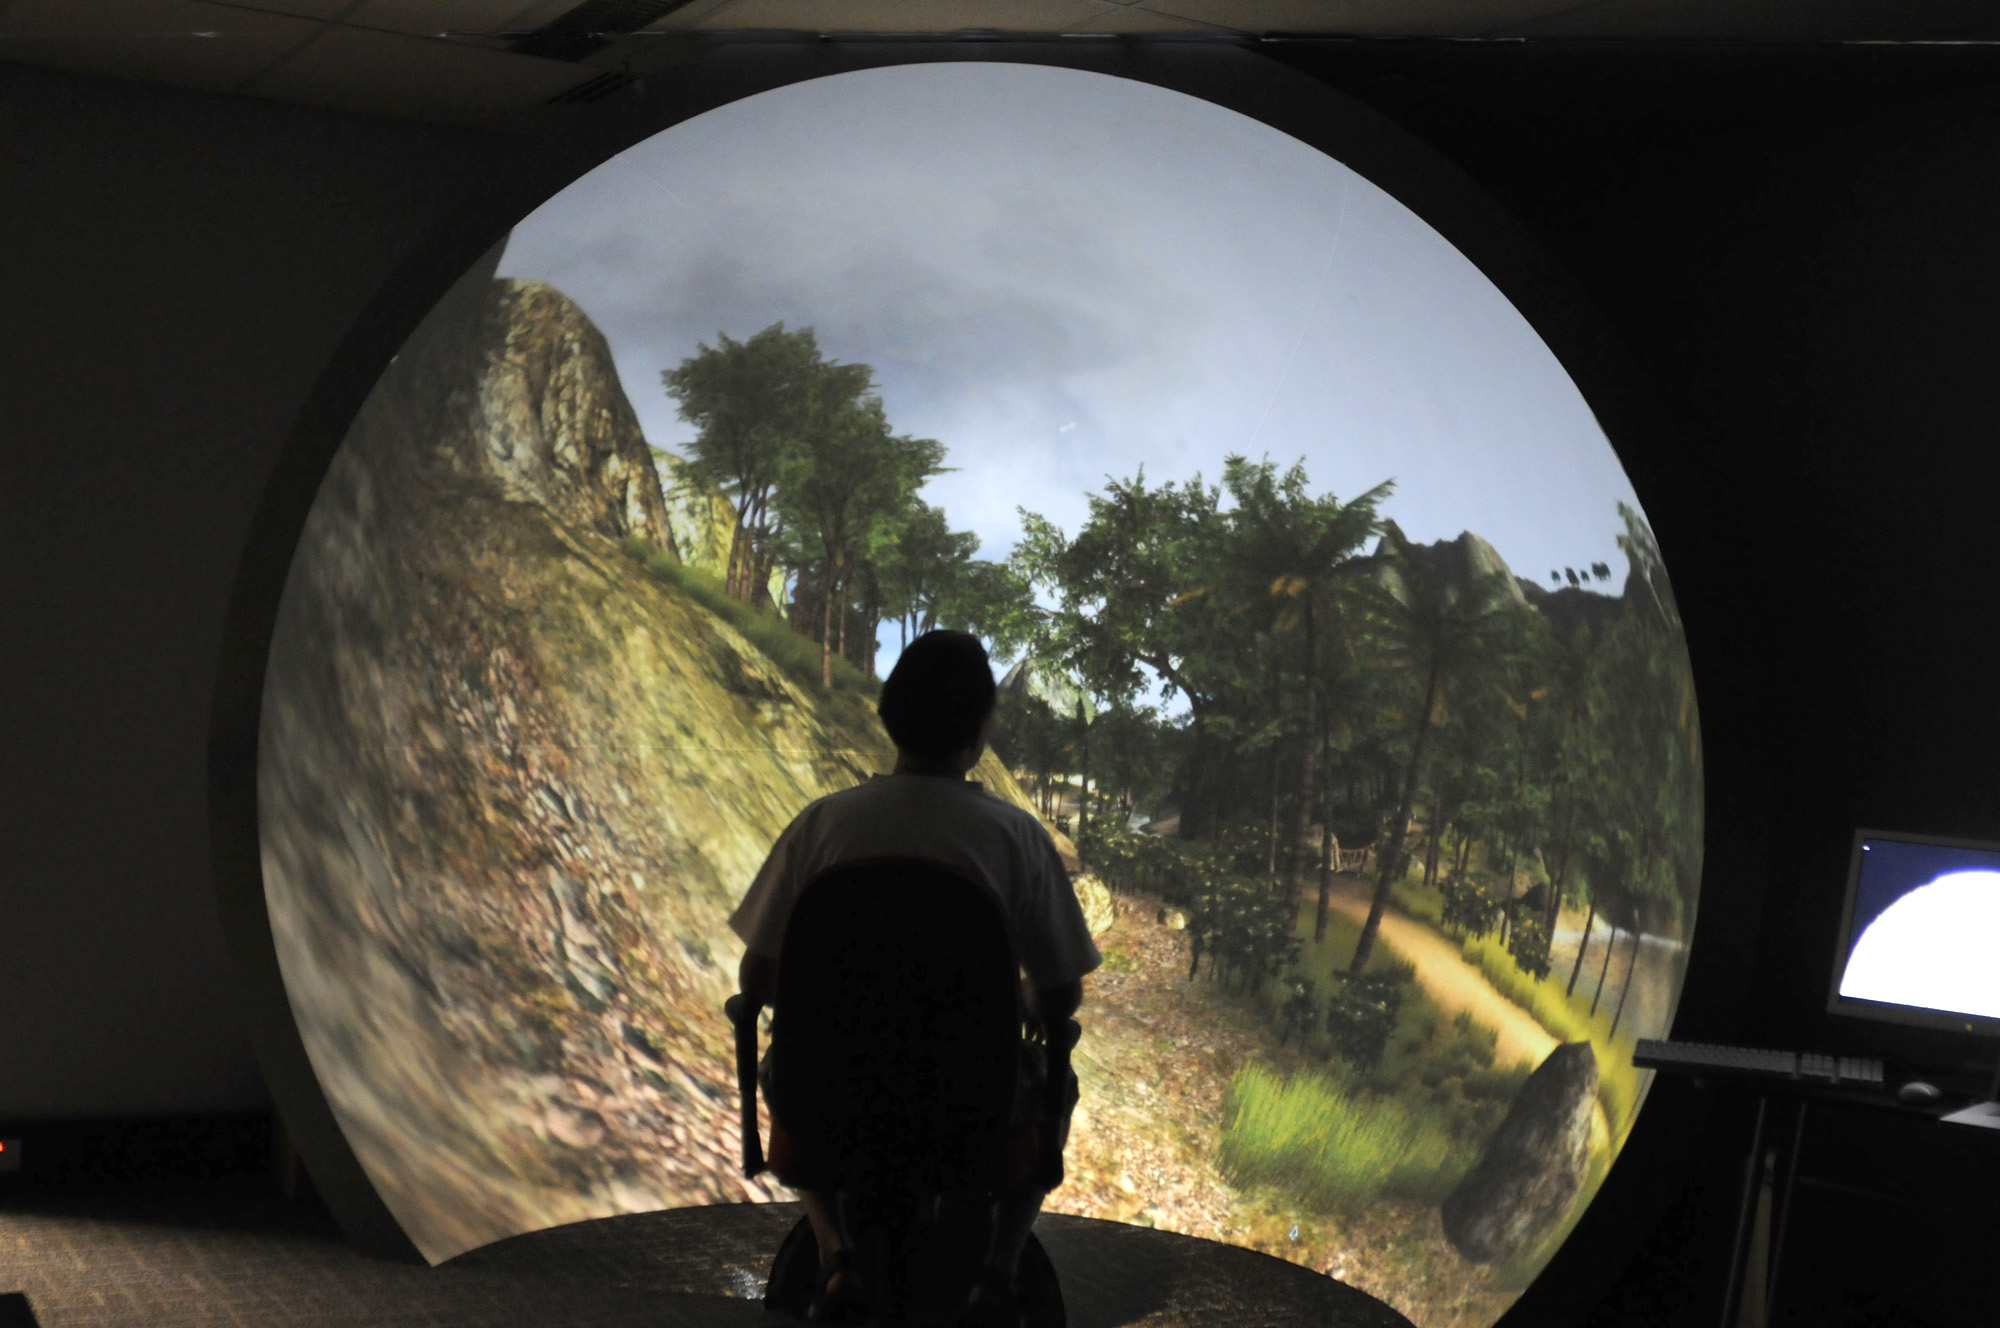
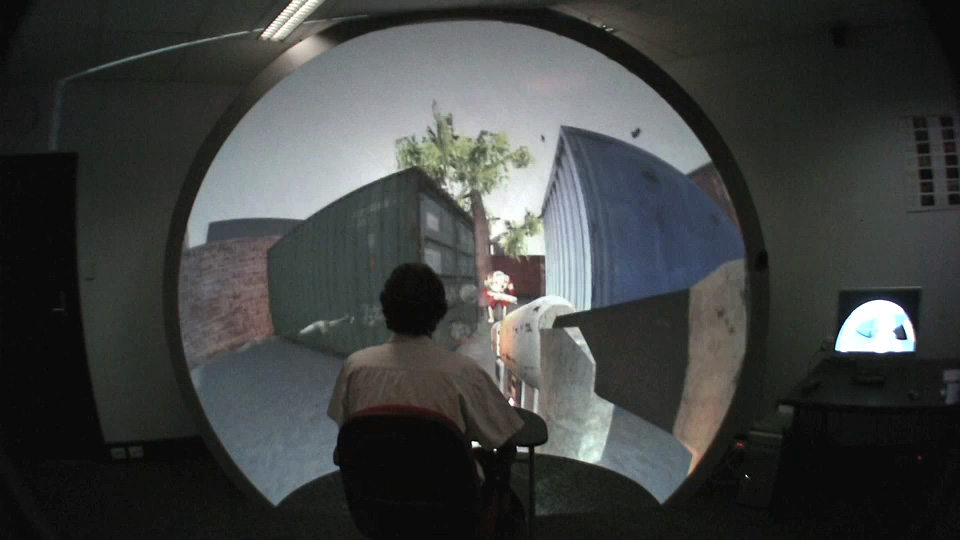
See also: Creating stereoscopic projections using Unity Example 1It is relatively easy to argue that there should be a gaming advantage if, like in real life, our peripheral vision is engaged. Not only does this give us a heightened sense of "being there" but it also engages our strong motion cues in a peripheral region. In the same way as we evolved to have a wide peripheral vision to help us detect predators, this peripheral vision can assist in early detection of dangers in a FPS game. The iDome allows one to play with our full peripheral vision engaged, both horizontally and vertically. In order to demonstrate the use of Unity within the iDome, the standard demo that comes with Unity Pro is modified to support the warped fisheye images required for the iDome. The technique can of course be applied to any Unity based application. Movie
Photos
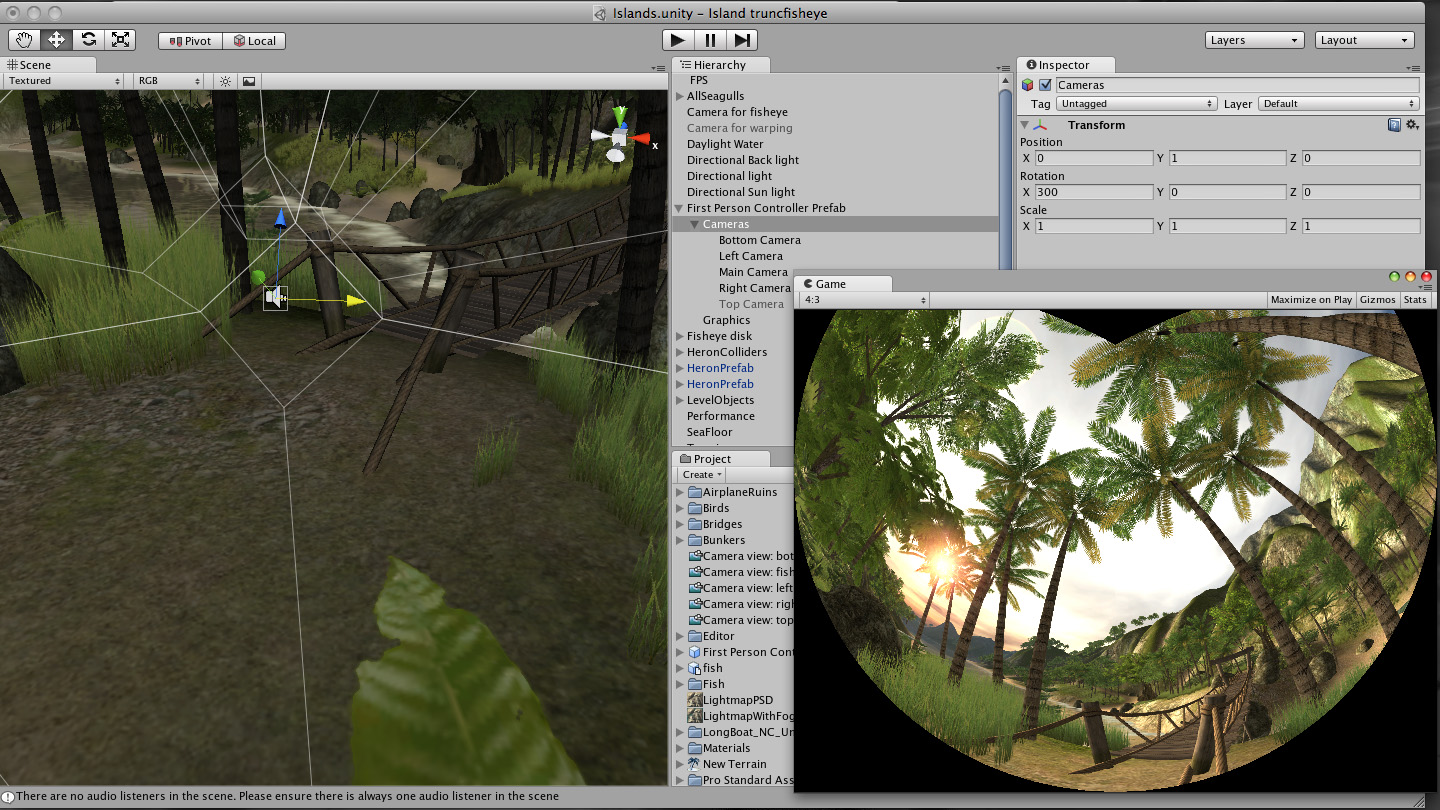
Technical The standard first person controller is replaced with a 4 camera rig. The left and right cameras are at +- 45 degrees to the original main camera, that is, we are looking into the corner of the cube. The two other views are the top and bottom views, this gives enough of a visual field to reconstruct the field of view required for the iDome. Each render texture is 1Kx1Km this is in order to match the the resolution of the final projection system. 
The images resulting from 90 degree field of view perspective views through the 4 cube faces are applied as textures to 4 specially designed meshes which are abutted together to form a 180 degree fisheye projection. If one was using a fisheye lens to illuminate the dome then this would be the end of the story. The 4 meshes that form the fisheye from the 4 cubic map images is given here as obj files: fisheye.zip. In the example here the fisheye render texture is 2Kx2K. 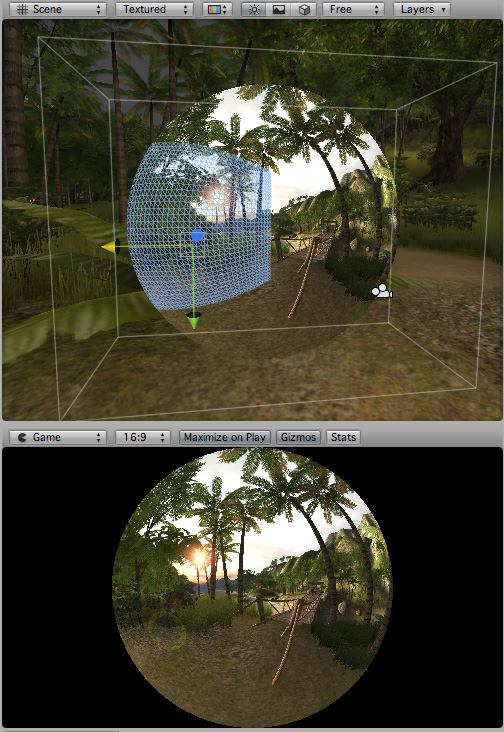
In order to create the correct projection using a spherical mirror the fisheye needs to be warped. This is achieved by applying the fisheye image to another mesh. An orthographic camera viewing this mesh is the final image sent to the data projector. The mesh to perform this is also given here as an obj file: warp.zip. Note however this is only useful for the exact installation shown here, this final mesh is normally site specific and, for example, looks very different for a planetarium arrangement. 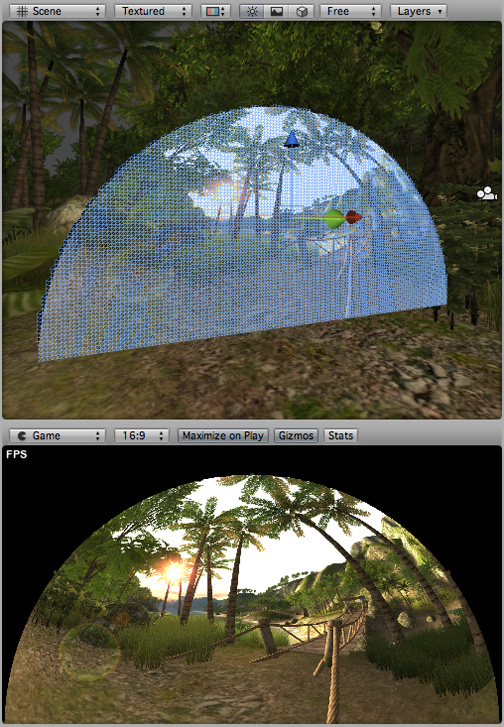
So in all it is a 6 pass rendering process, 4 perspective views mapped to a fisheye. One orthographic rendering of the fisheye image mapped onto a warping mesh. Finally an orthographic projection of the warping mesh. Of course these meshes are not visible in the game play, along with their cameras they are all on a layer by themselves. 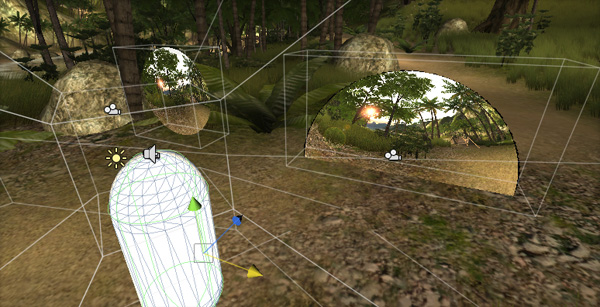
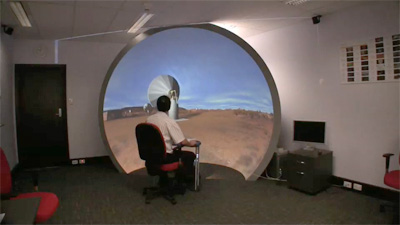
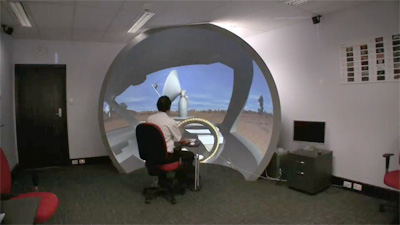
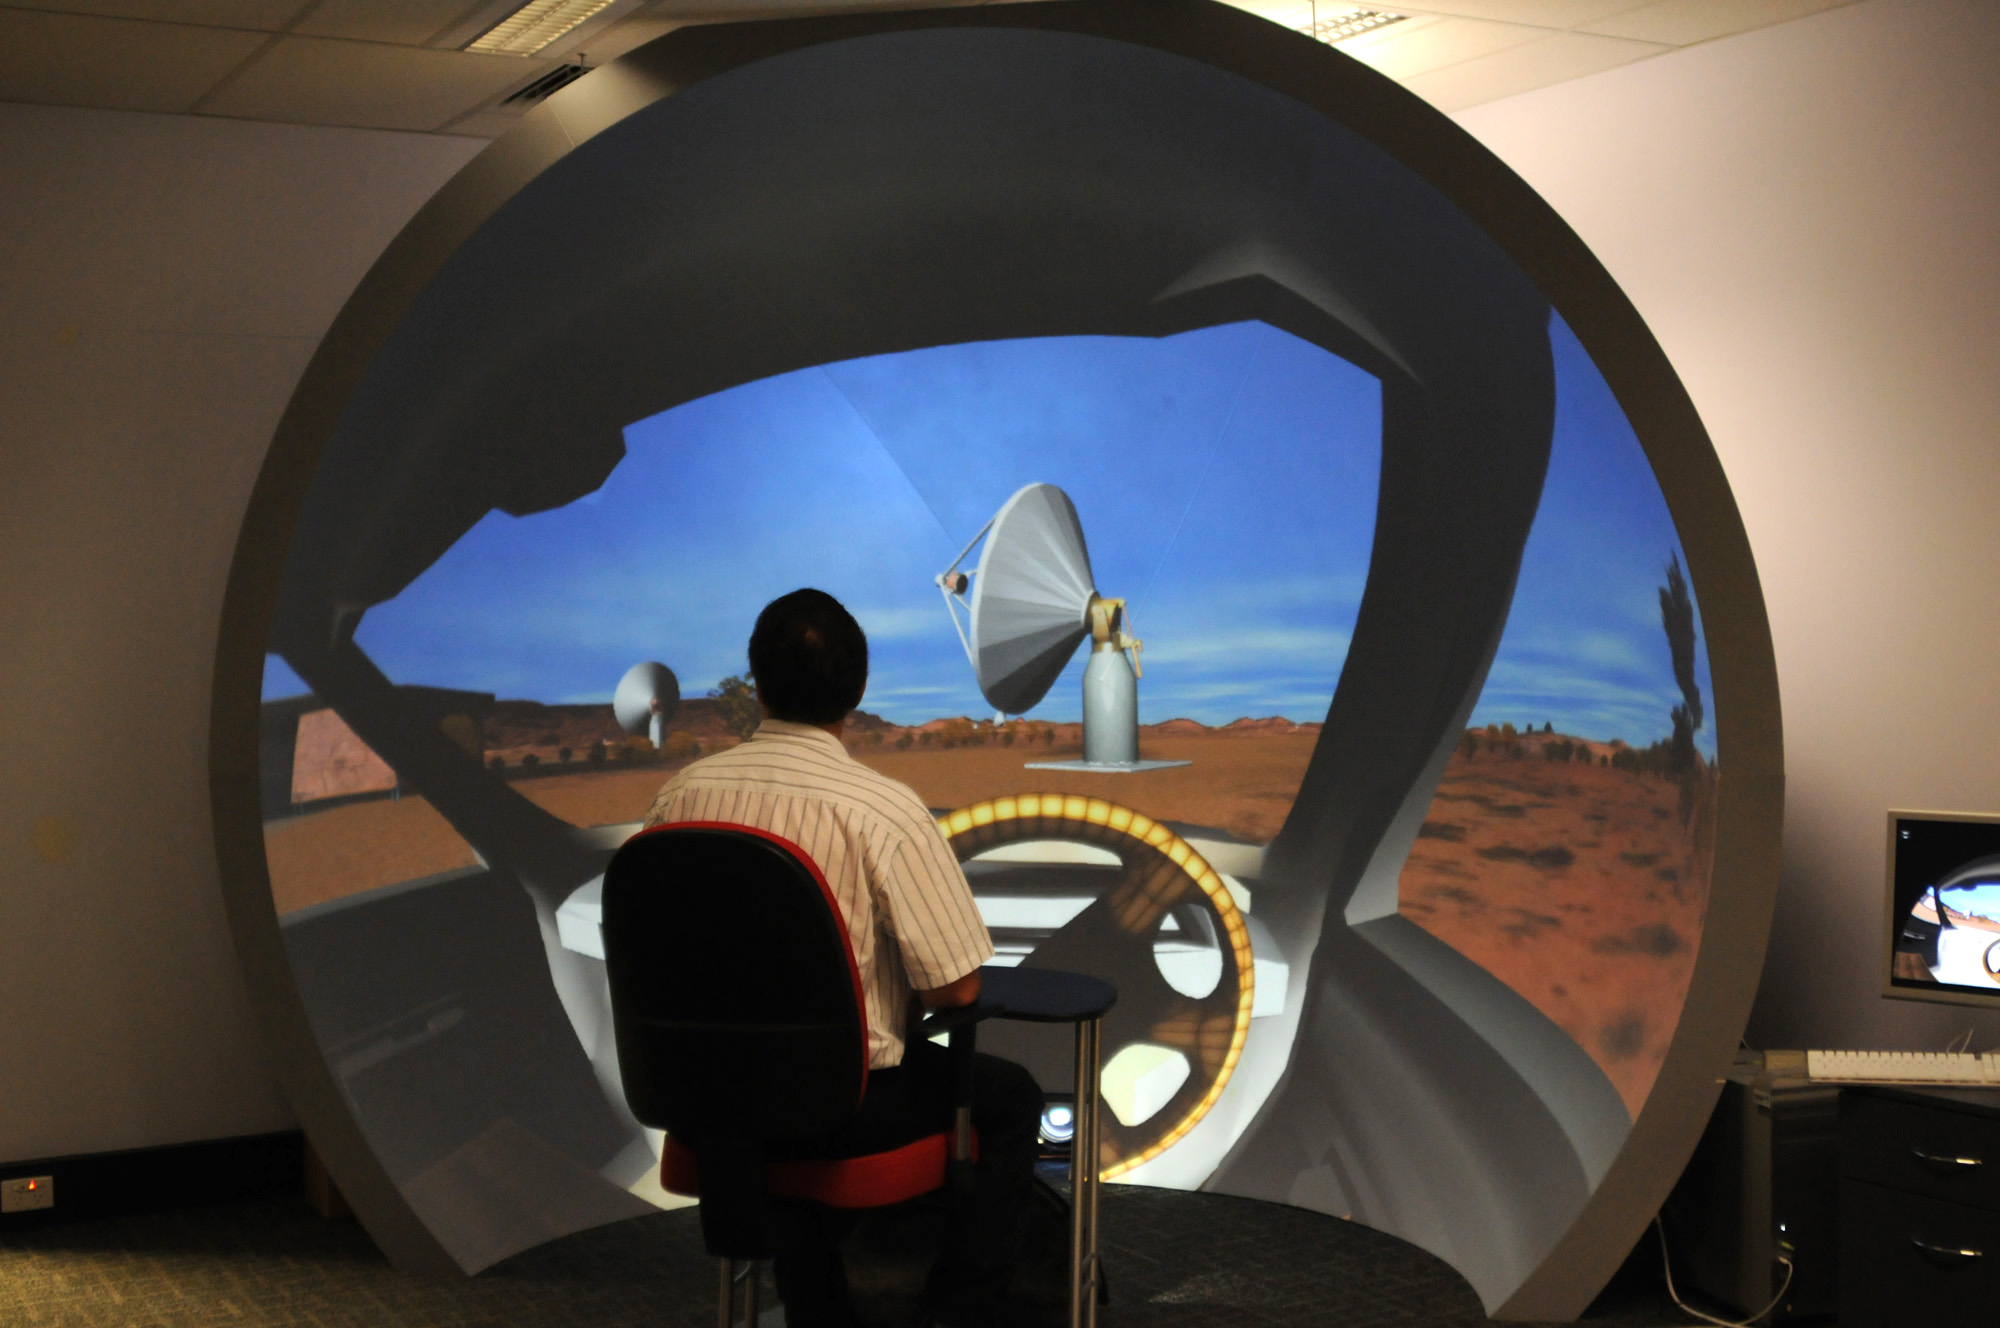
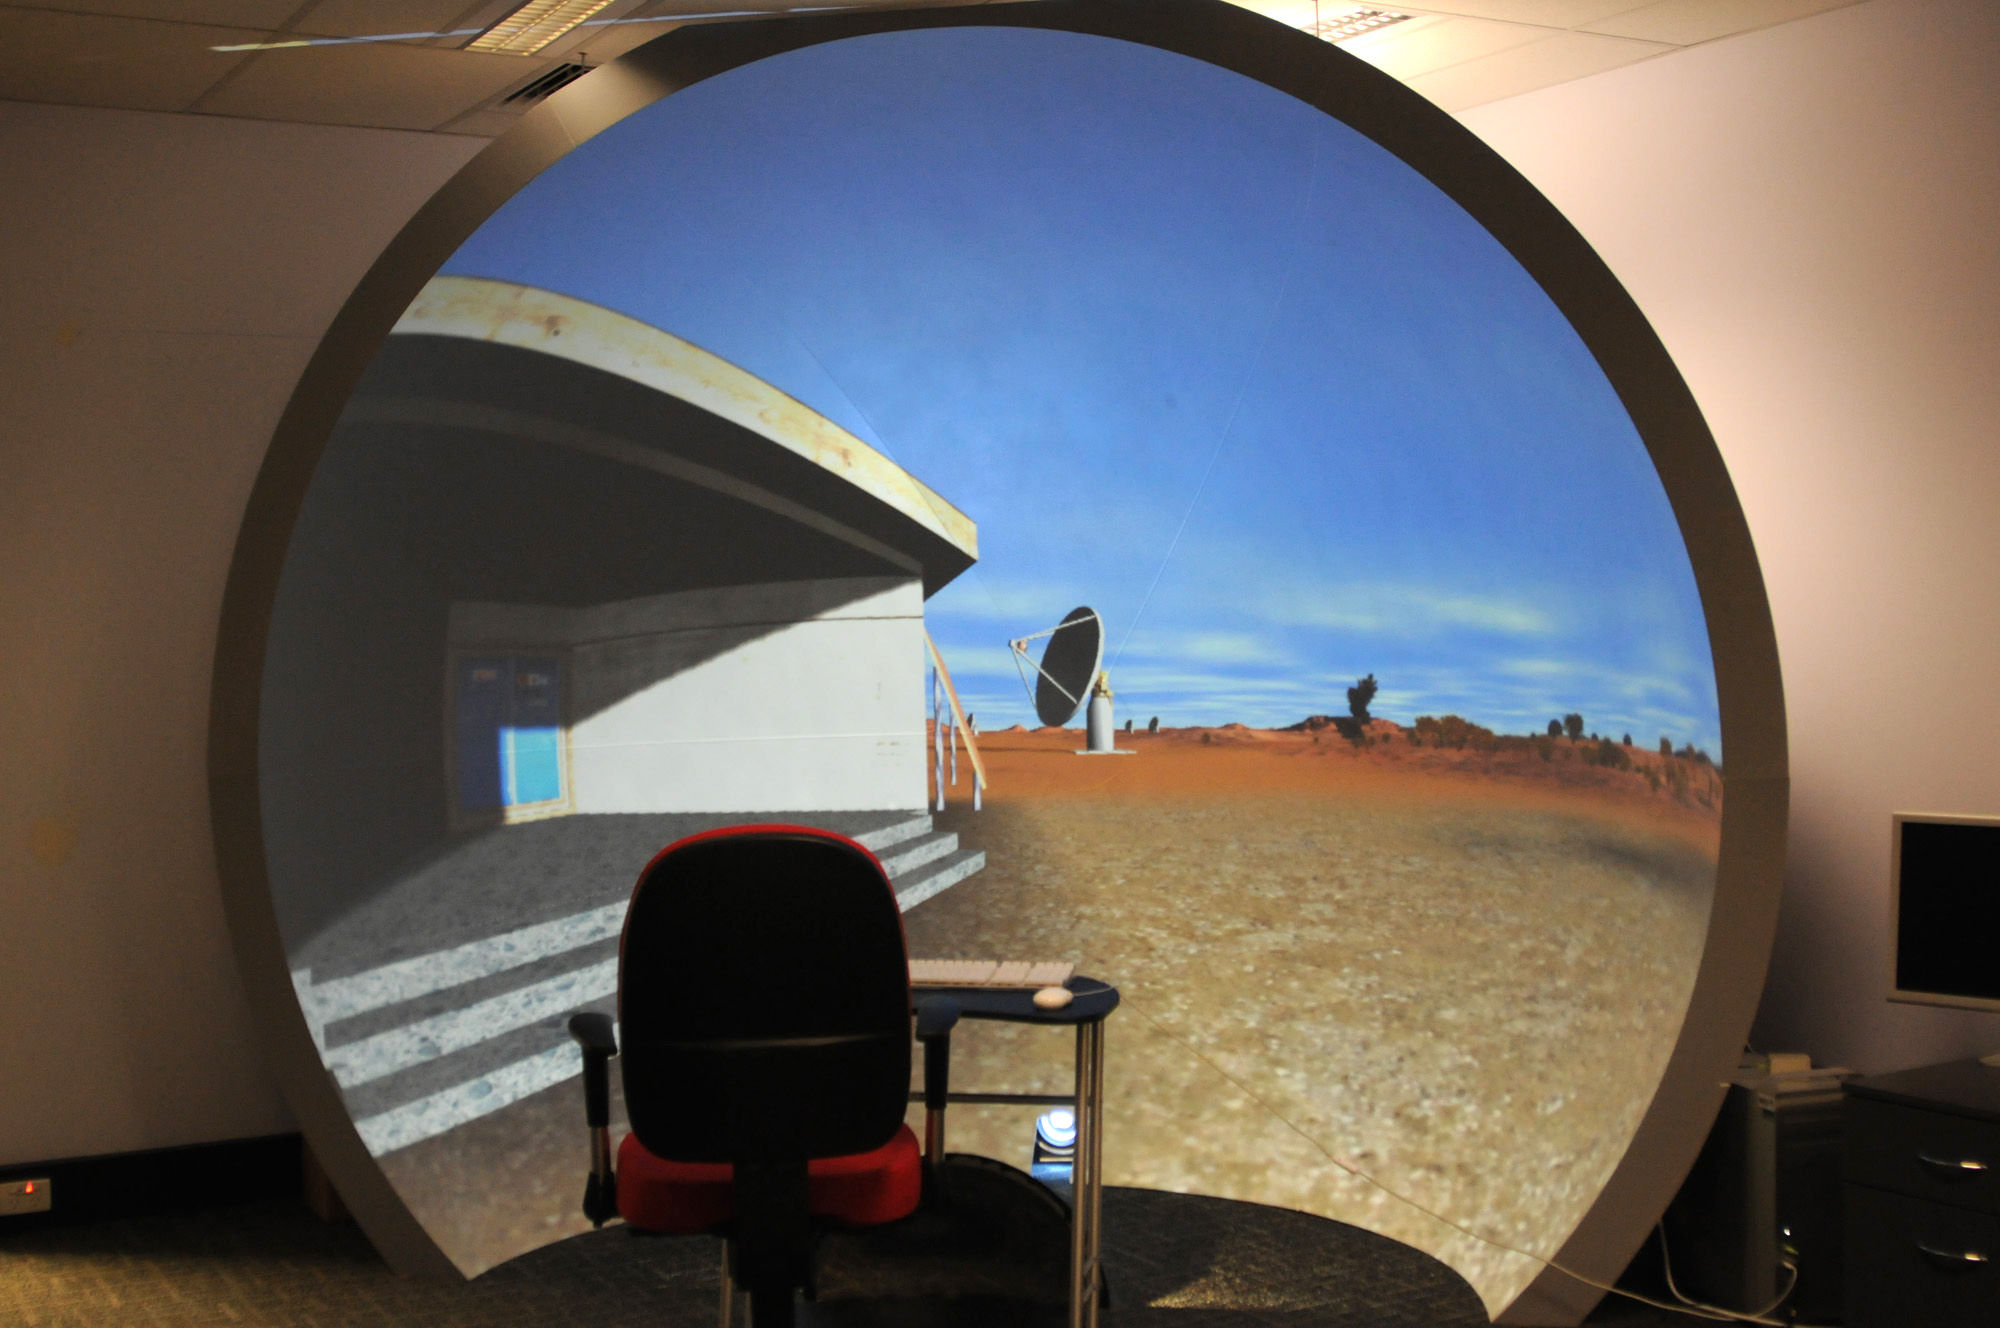
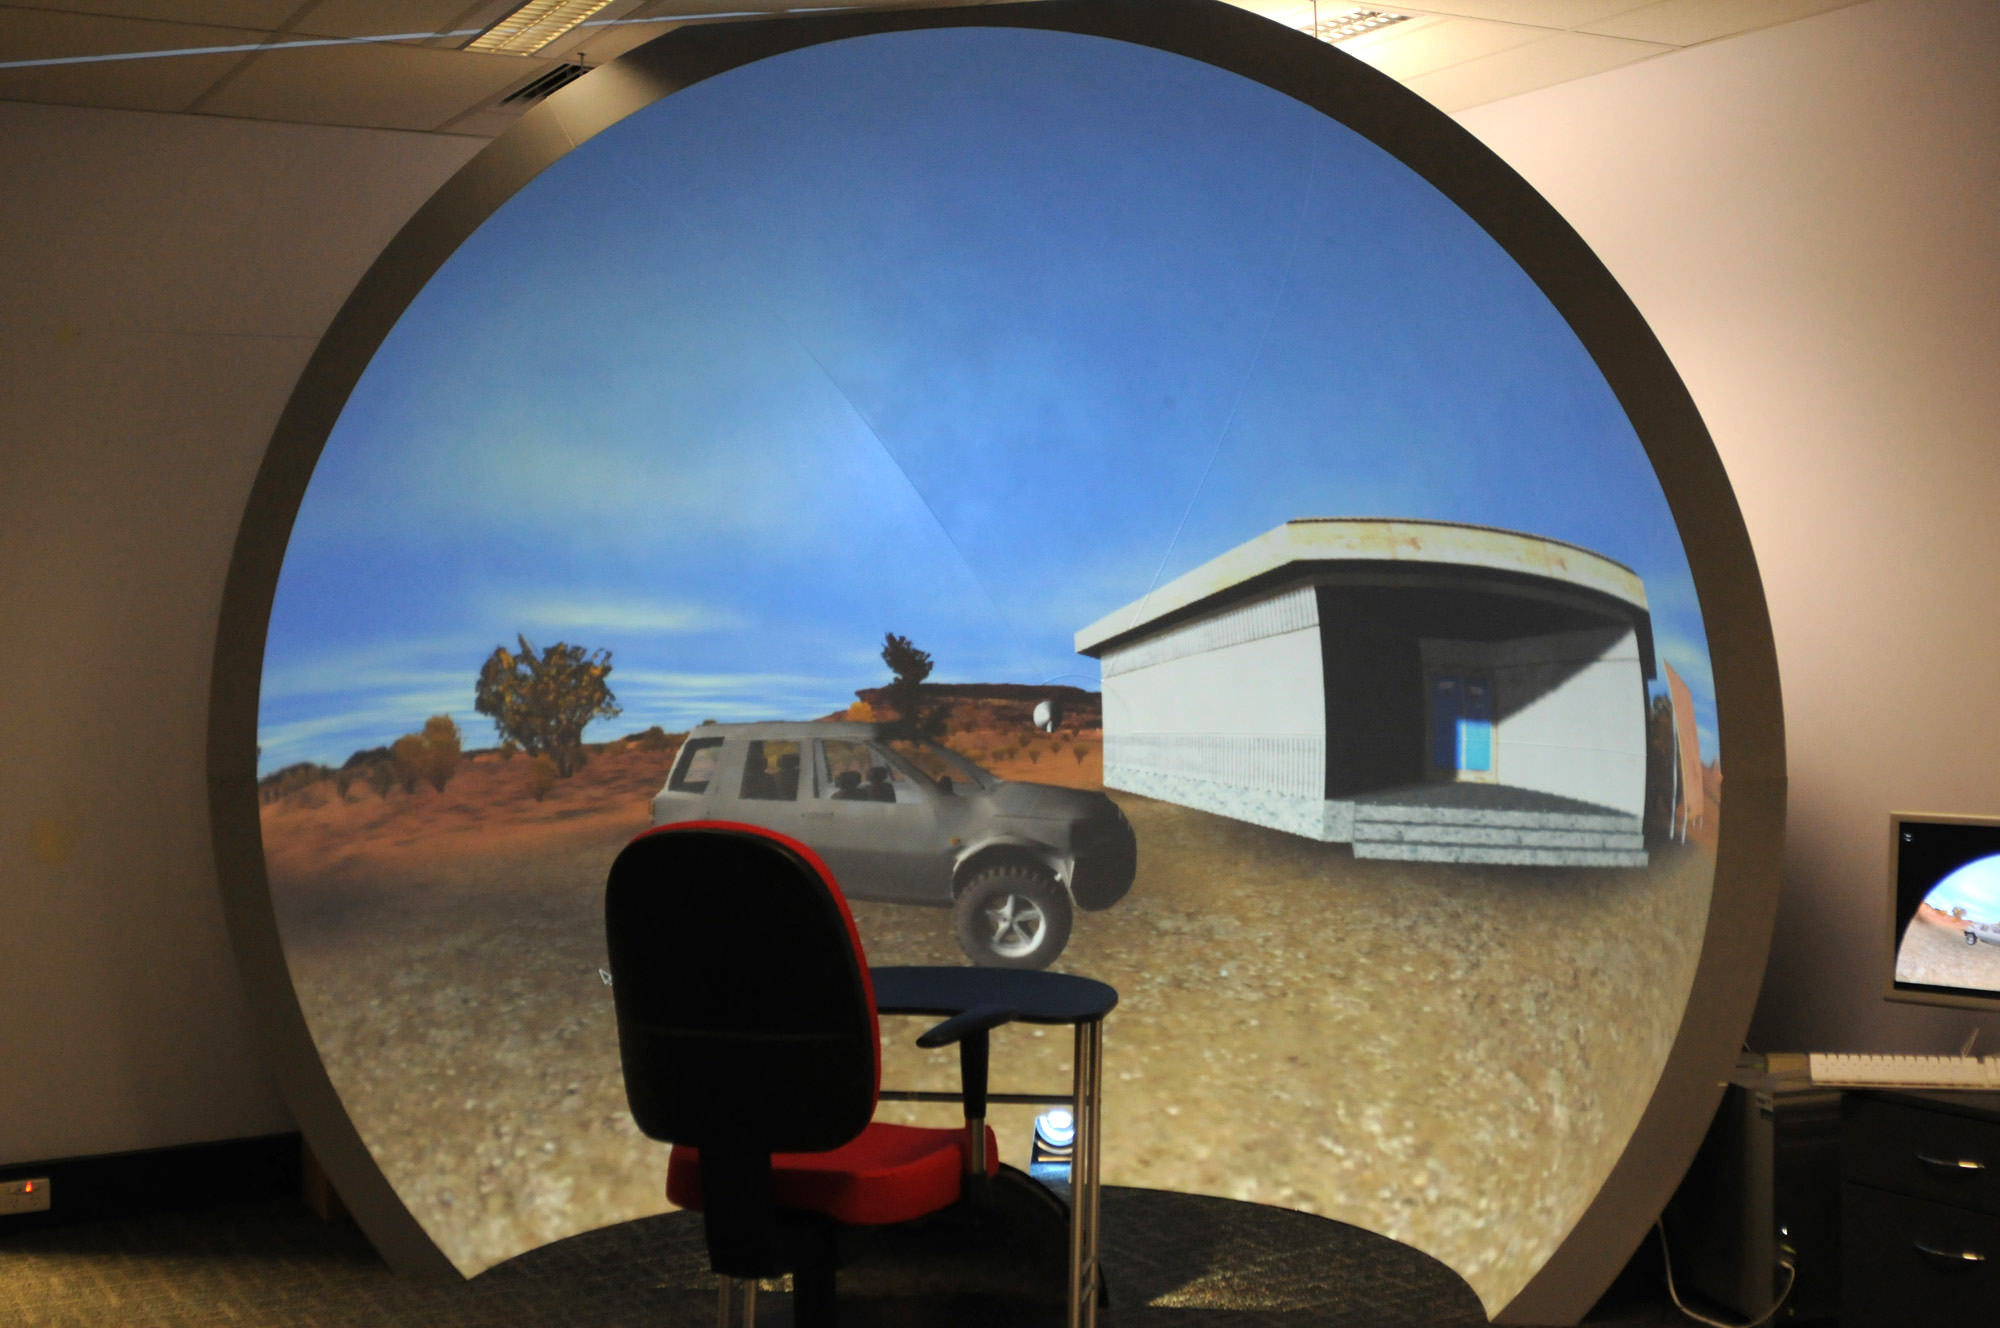
The exact mapping of the warped version is for a particular iDome configuration, but different warpings including various truncated fisheye configurations is no more than an appropriate warp map file. Example 2Environment based upon a Unity project that allows people to explore the ASKAP (Australian Square Kilometer Array Pathfinder) project site. Movie
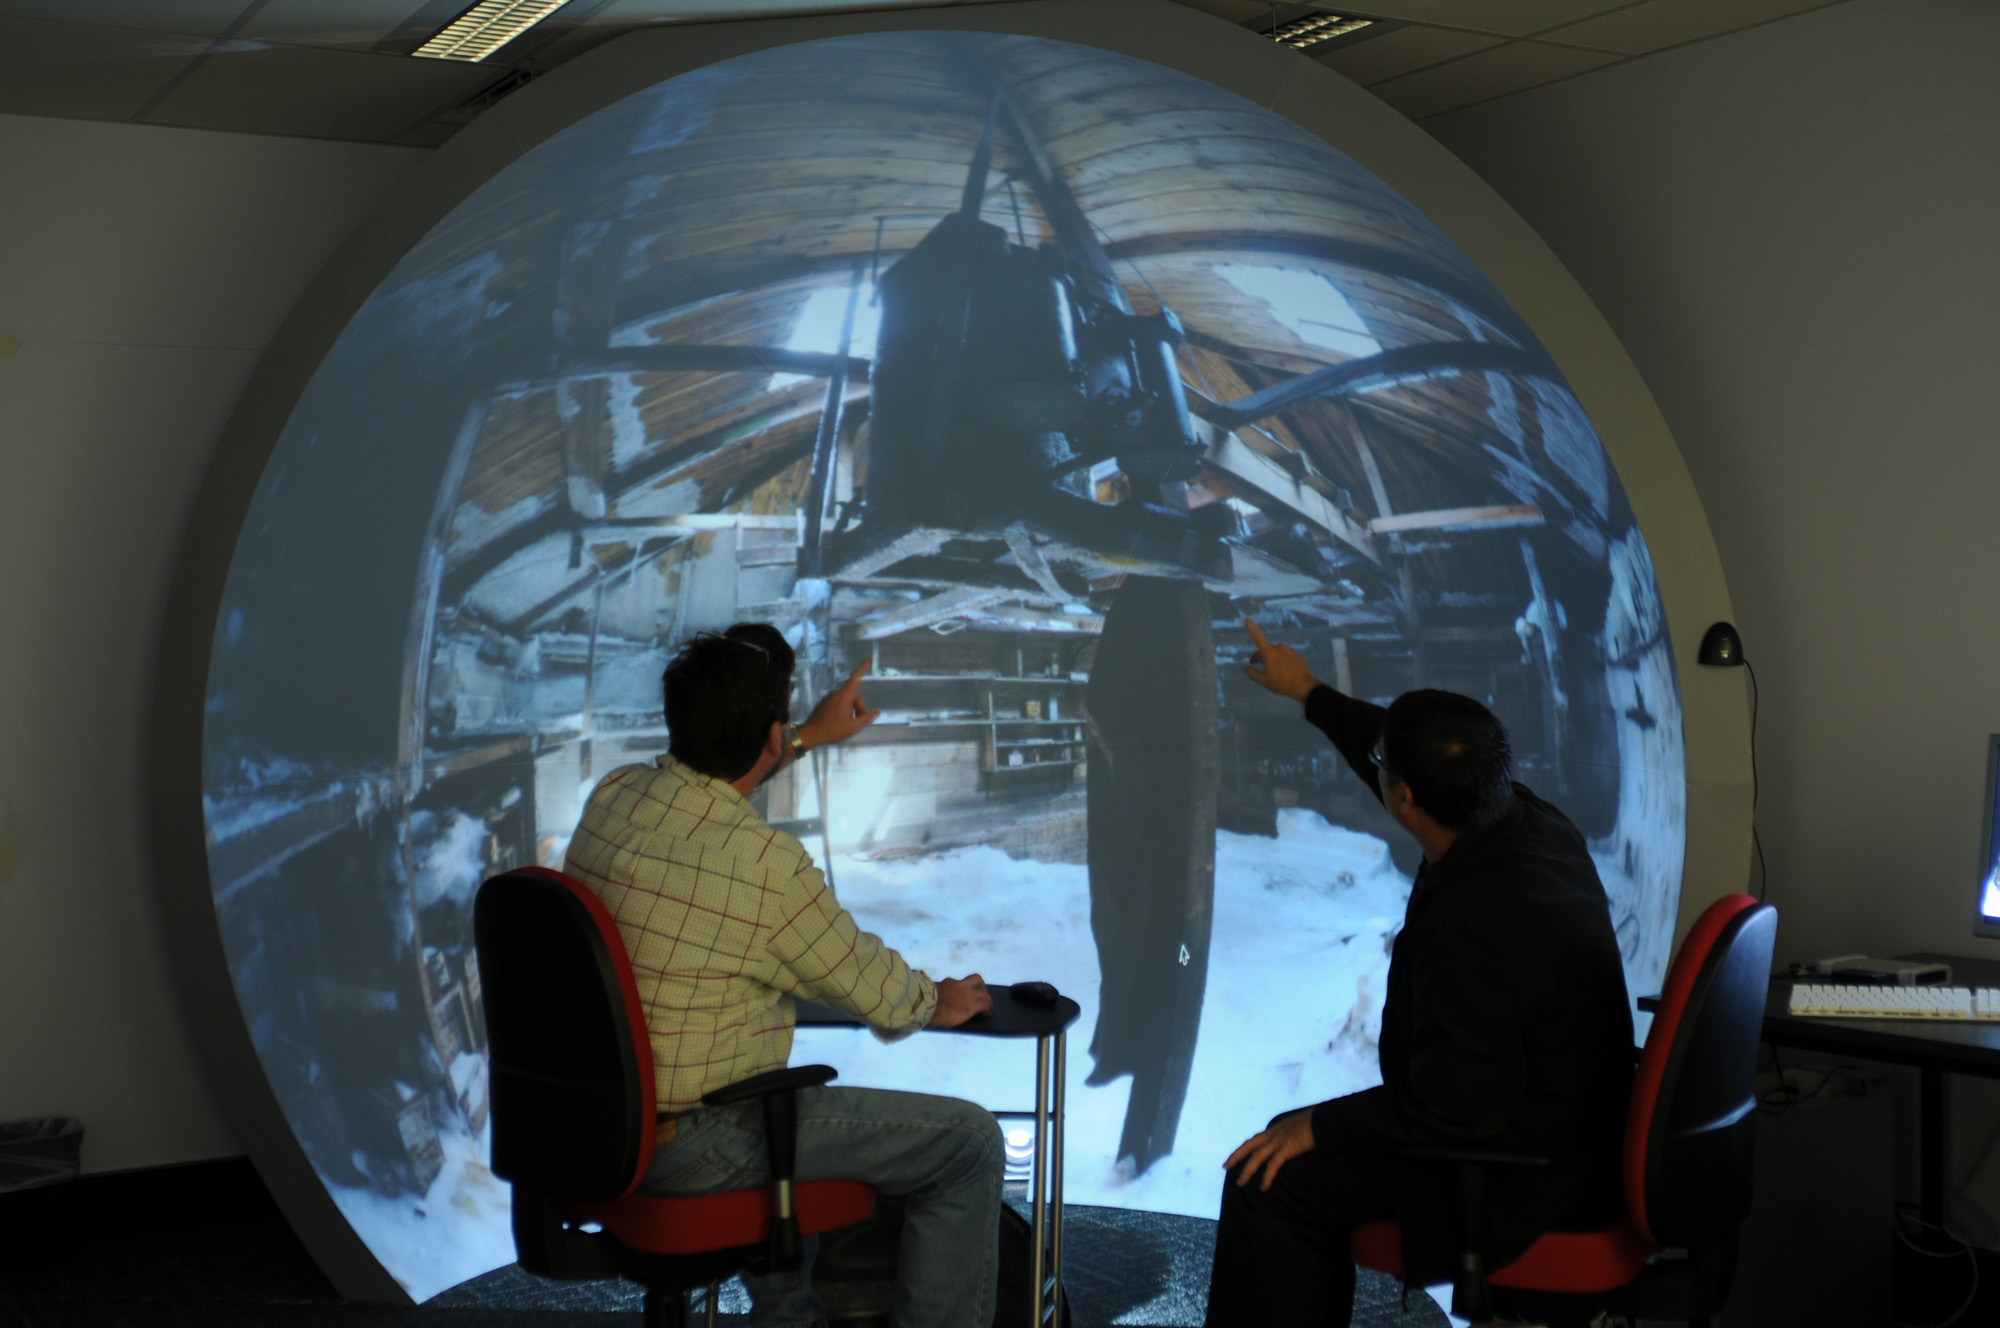
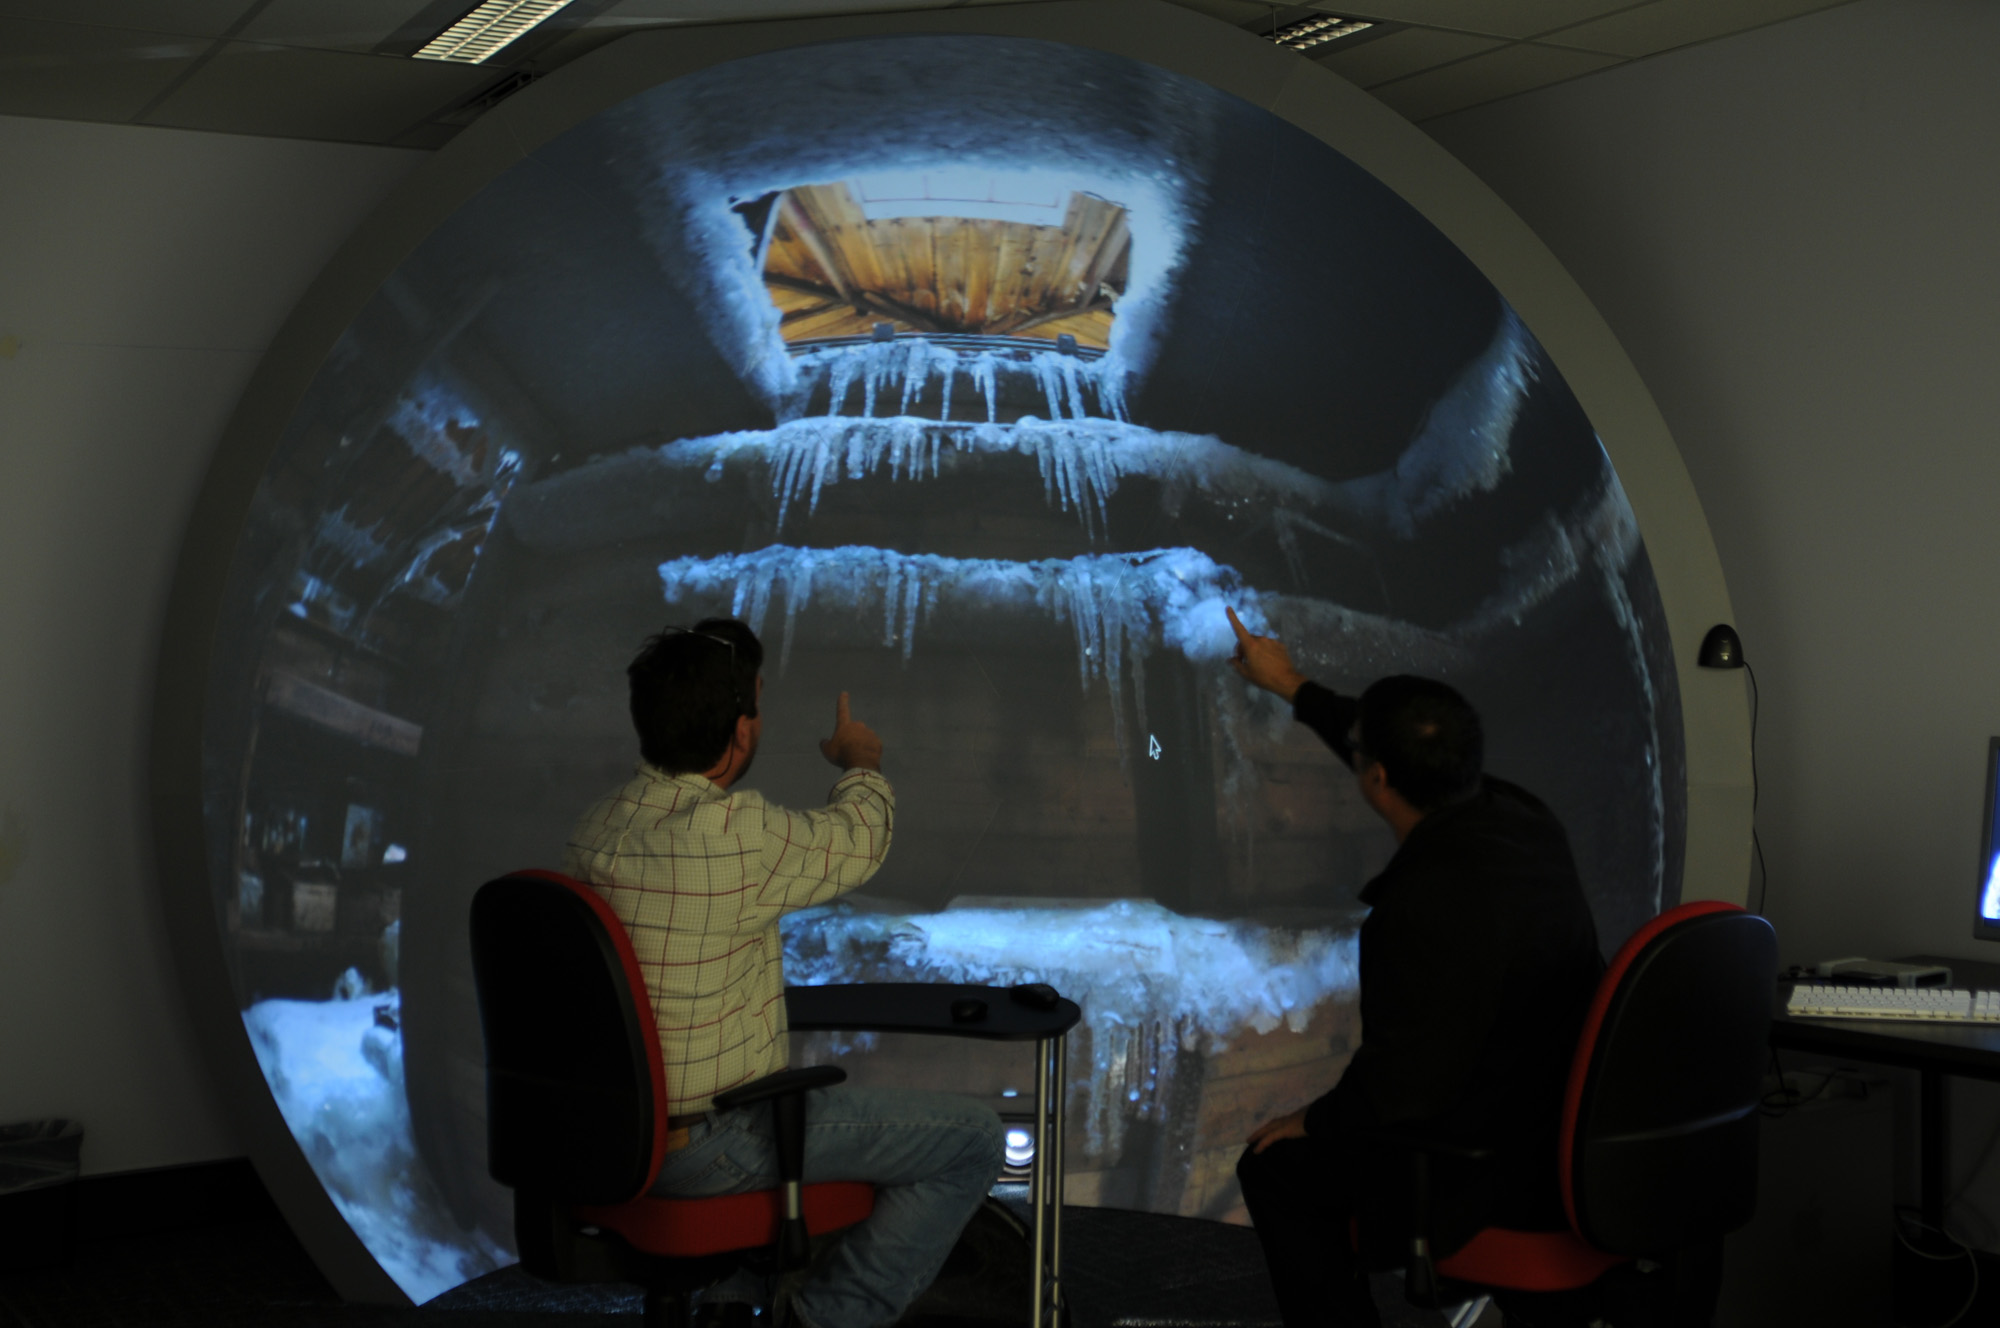
Photos
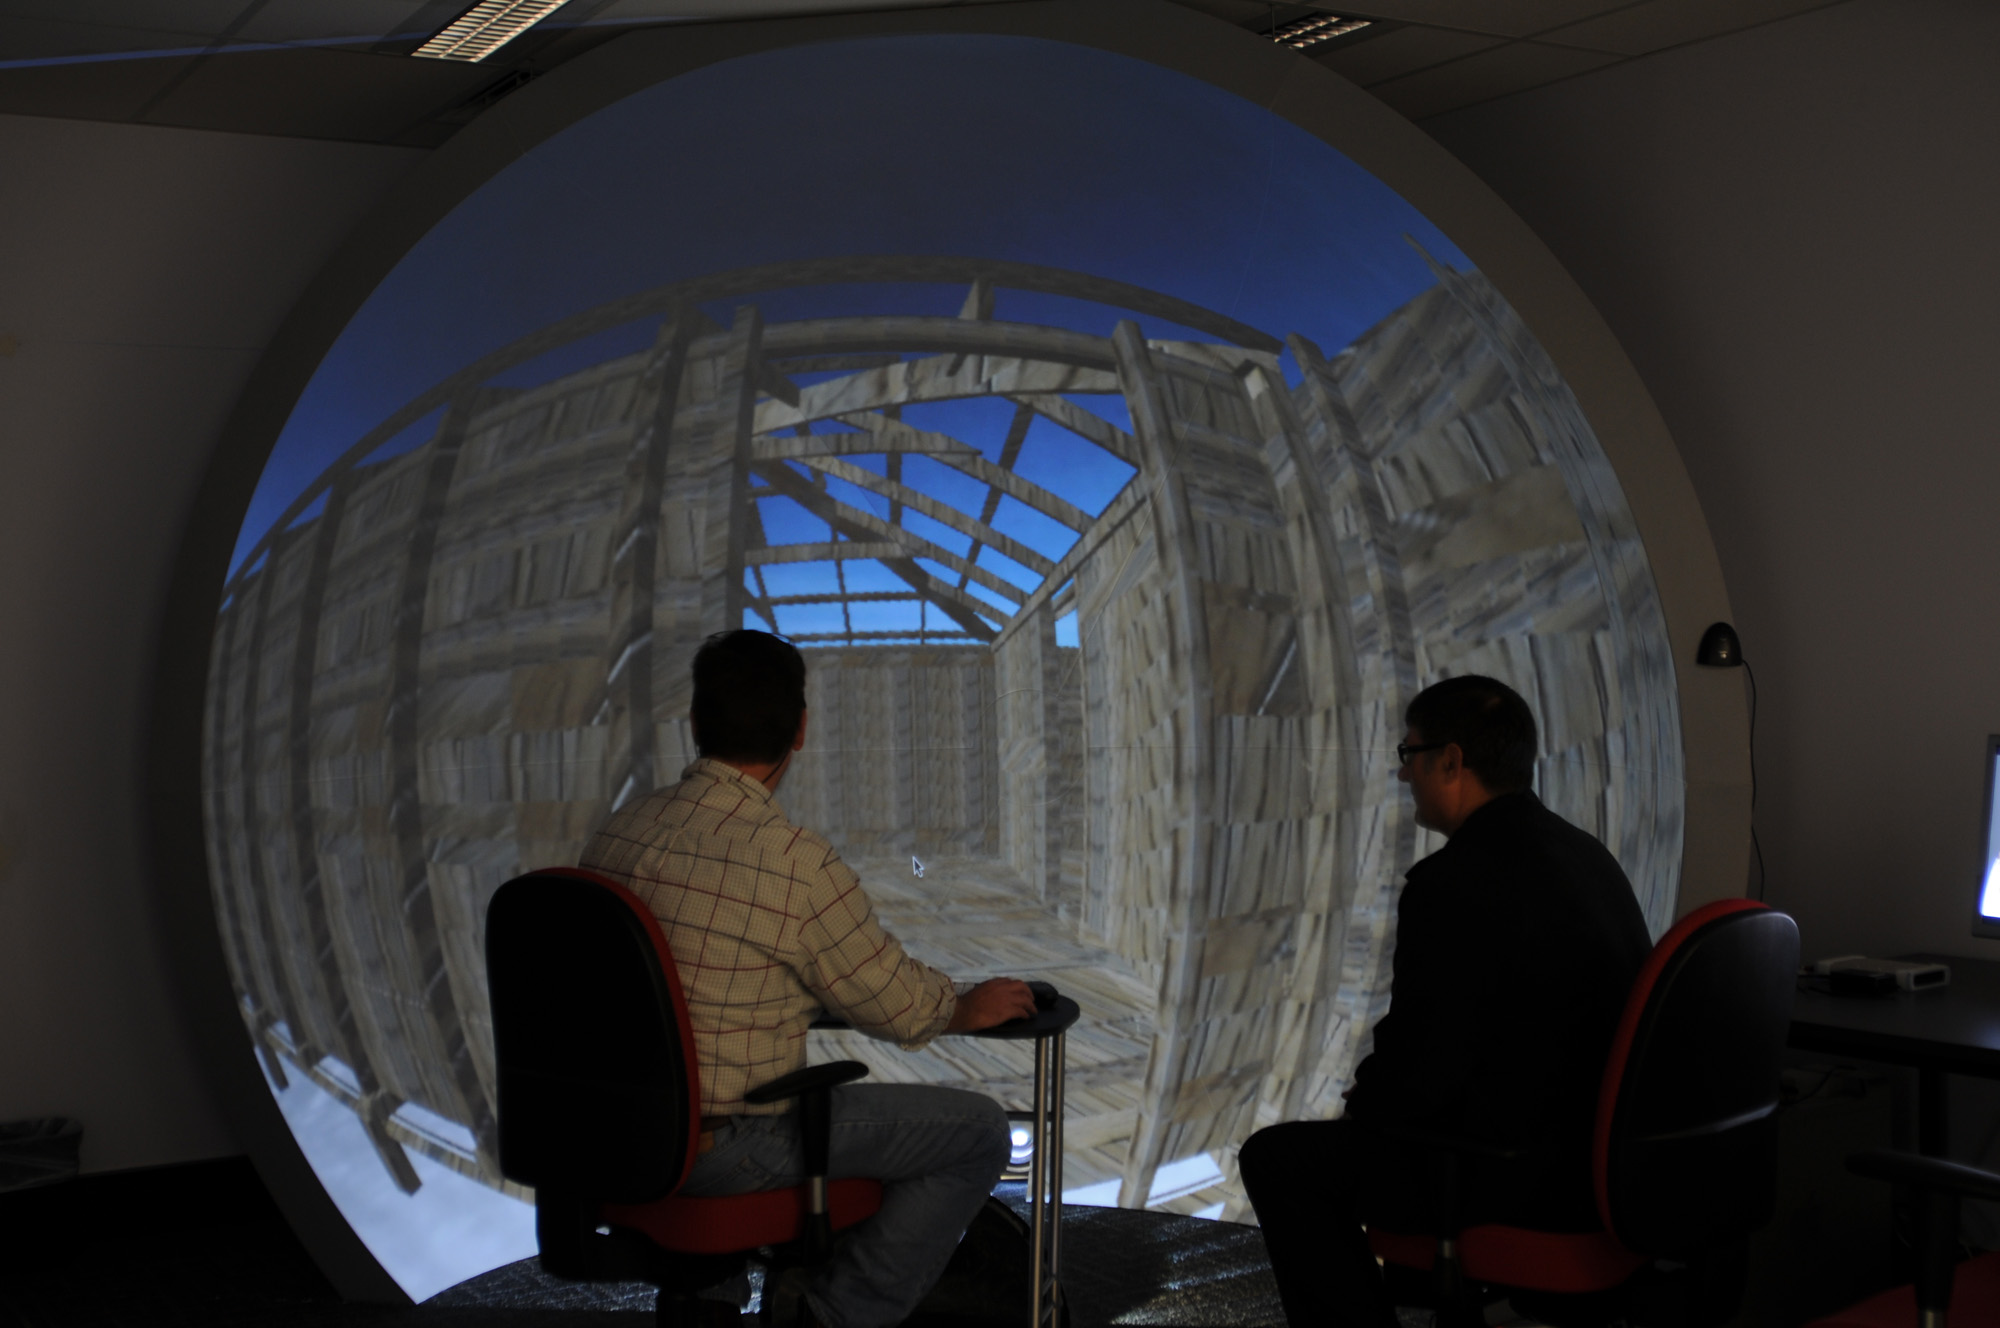
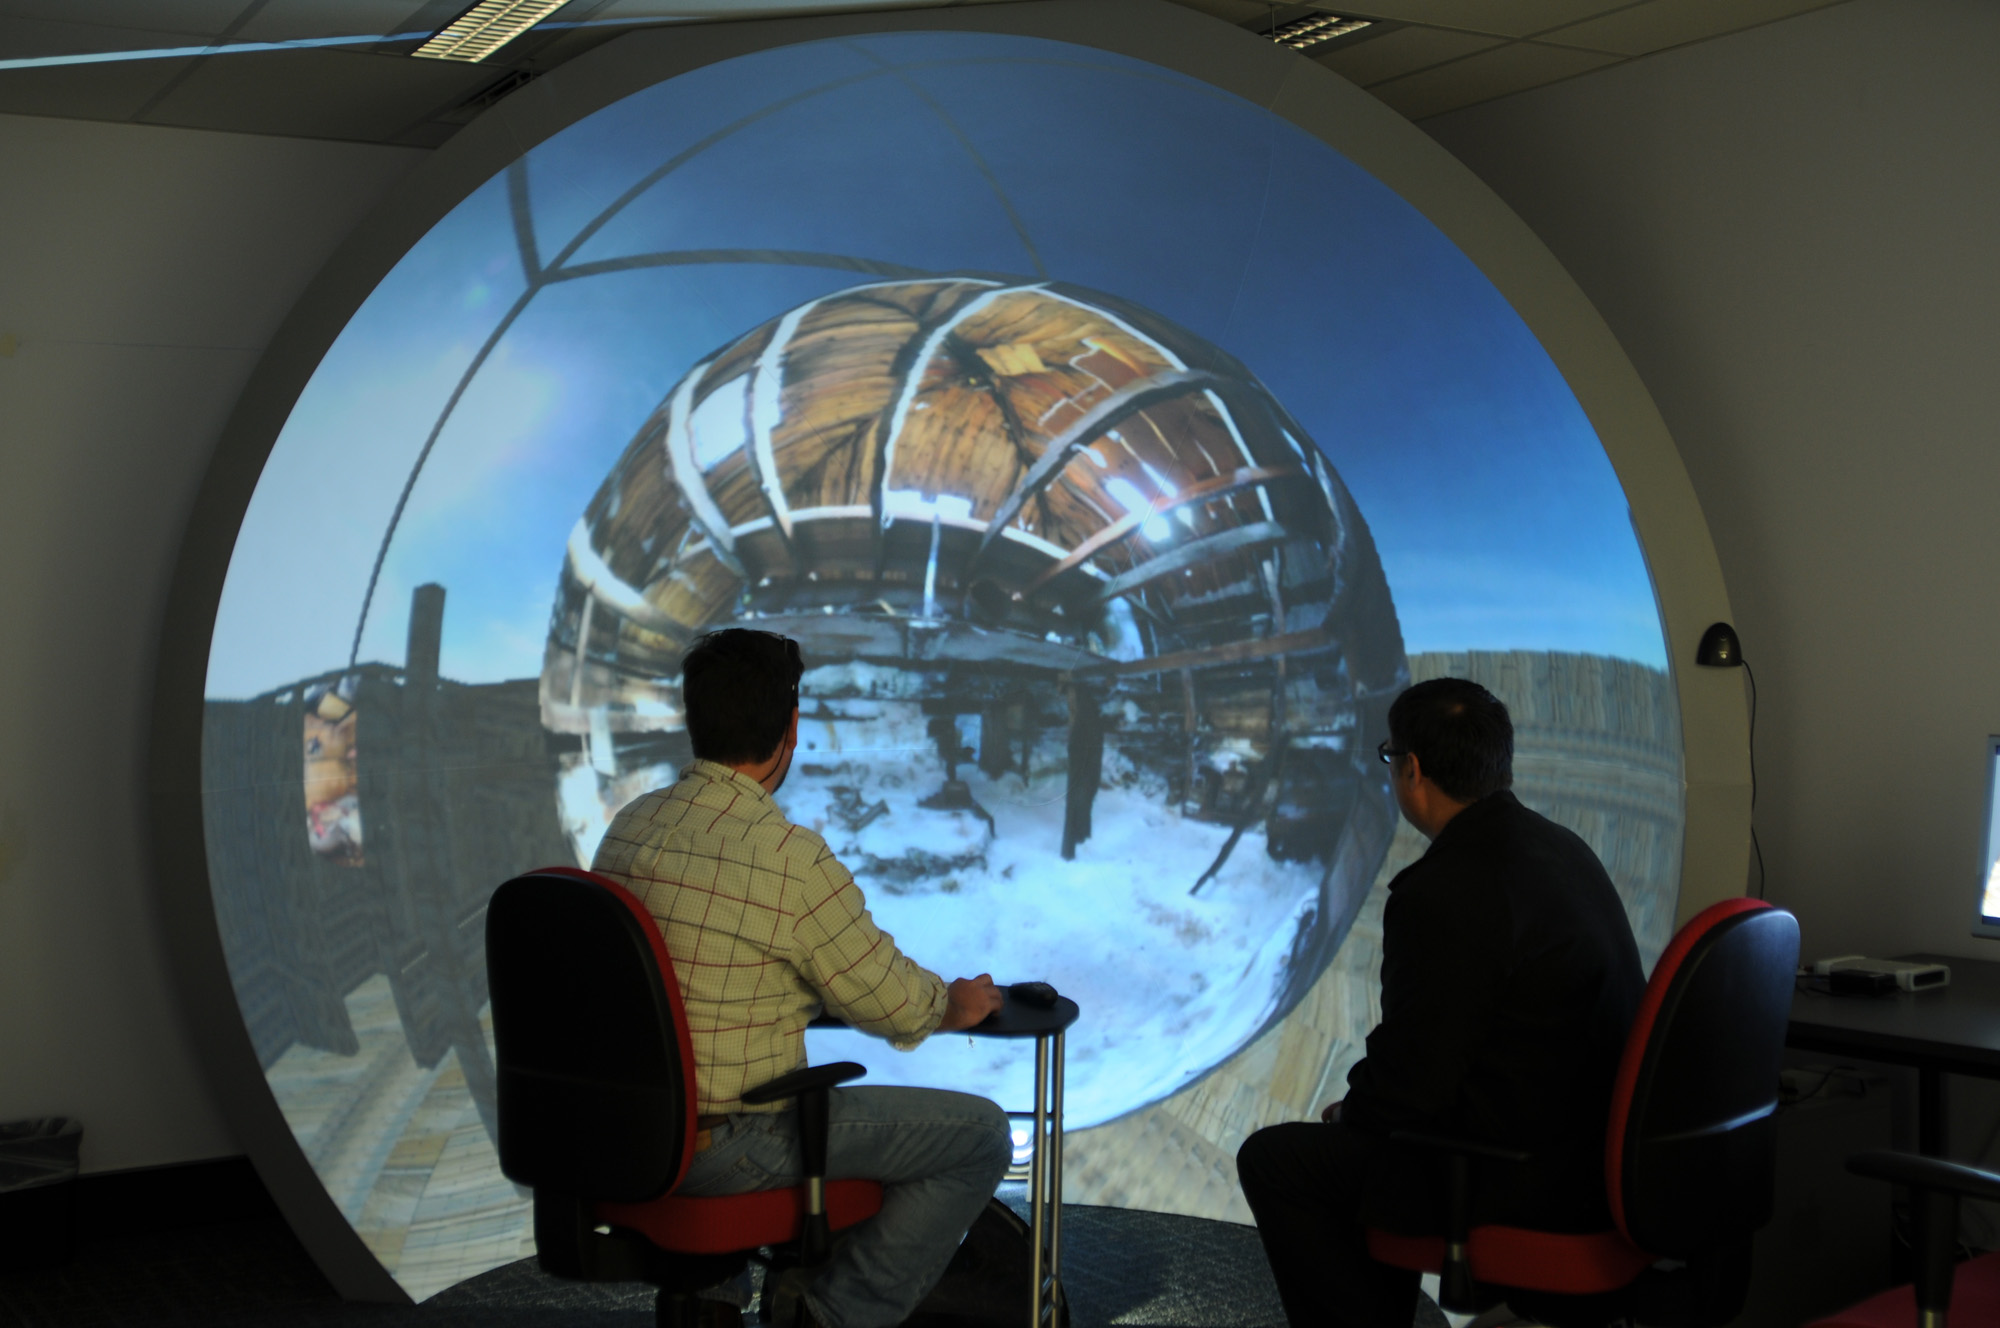
Peter Morse is examining ways to visualise the Cape Denision historic site, Antarctica - site of the 1911-14 Australasian Antarctic Expedition (AAE), led by Douglas Mawson. Cape Denision is one of the most remote areas of Antarctica, rarely visited, and home to the standing remains of Mawson's Huts and extensive archaeological artefacts marking the activities of the AAE - a remarkable fact given that it is the windiest place on Earth at sea level (with katabatic blizzards clocked to 320kmph). Fortunately, Peter had good weather, and as computer visualisation expert for the expedition was able to undertake extensive high-definition documentation of the site, generating both high-definition spherical panoramic stills and 360º video. The iDome has also been explored as an immersive realtime projection environment using the Unity Game Engine. In this research a CAD model of the Hut has been placed into a modelled terrain environment with a realistic skybox and textures derived from photographic imagery of the site. Users can navigate the model and approach and enter floating "bubbles" that contain 360º high definition photographic panoramas of the site - including both interior and exterior shots of the buildings. The utility of this technique for cultural heritage visualisation, archaeological surveying and conservation planning is manifold - enabling specialists to pre-visualise the site and make planning decisions and, prospectively, forensic discoveries, leading to greater efficiency and effectiveness in managing the site. This is particularly useful given the remoteness of the Cape Denison site and the formidable challenges of getting there and staying there for any extended period of time. Peter notes that Australia's most famous photographer Frank Hurley, who took hundreds of glass-plate images during the AAE (including stereoscopic plates), was only 23 years old at the time of the expedition, and would surely have been thrilled by the possible uses of game engines for visualising this most intrepid of adventures, if only they had them in 1911.
Further notesSome additional comments in response to enquiries from others using Unity and basing their implementation on the above.
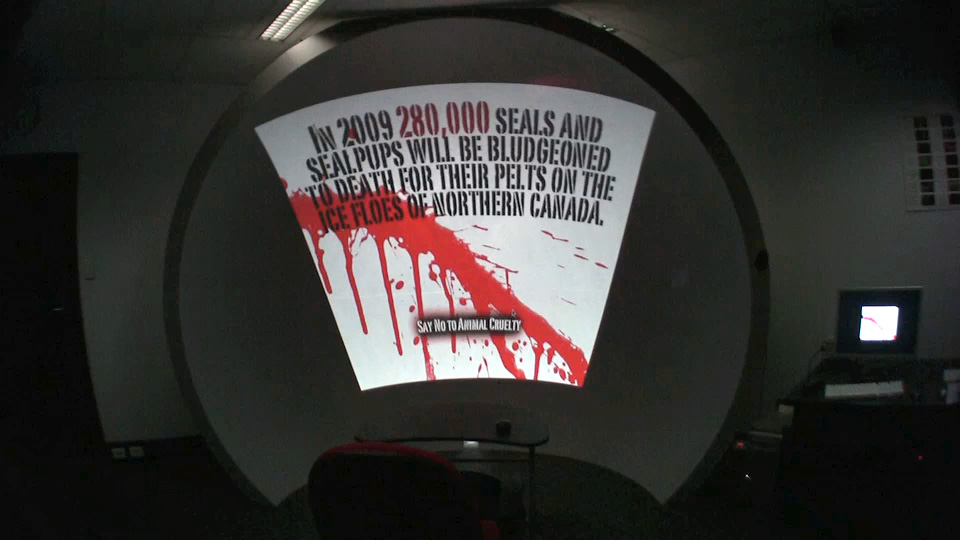
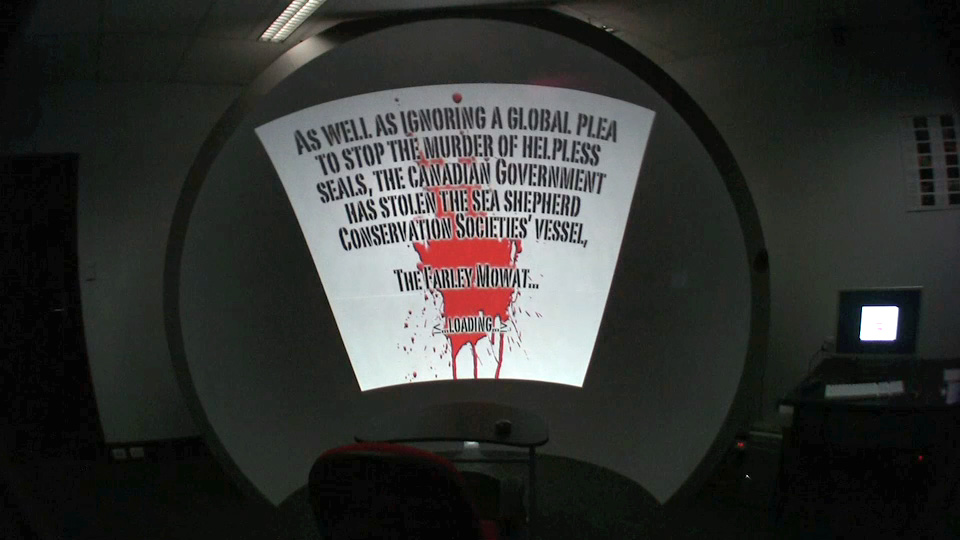
Example 4: Save the Farley Mowat
A game by Aaron Cross.
|