Creating equirectangular projections using GoogleEarthWritten by Paul BourkeMarch 2020
See also: Create equirectangular projections using Stellarium
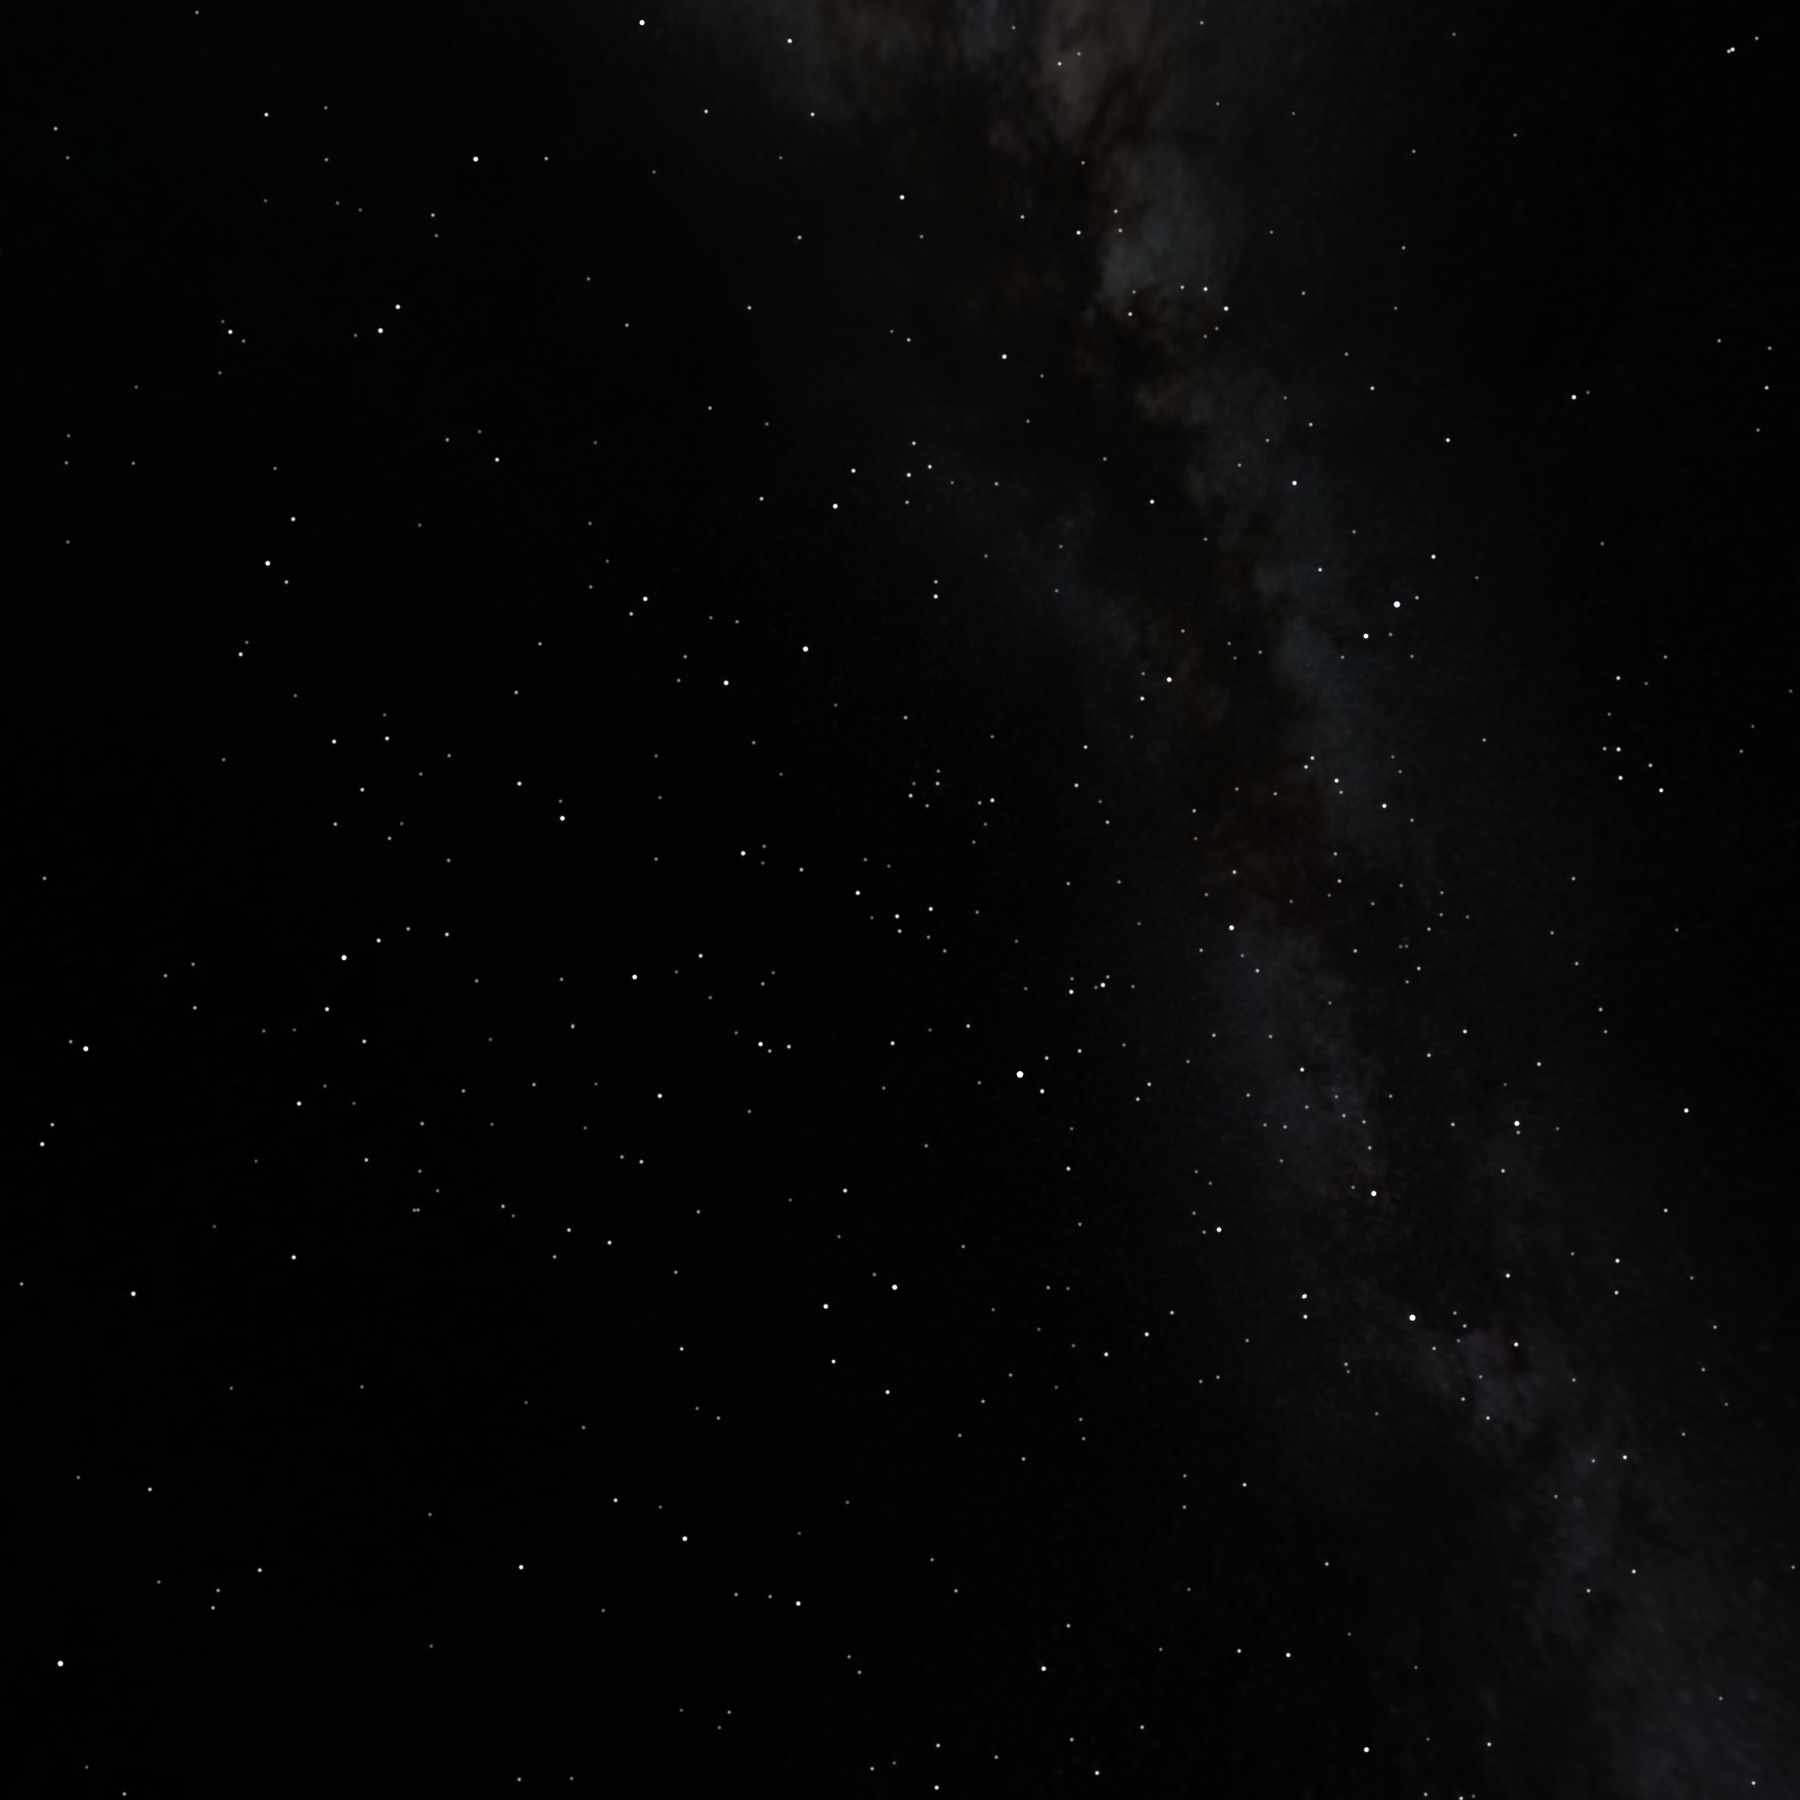
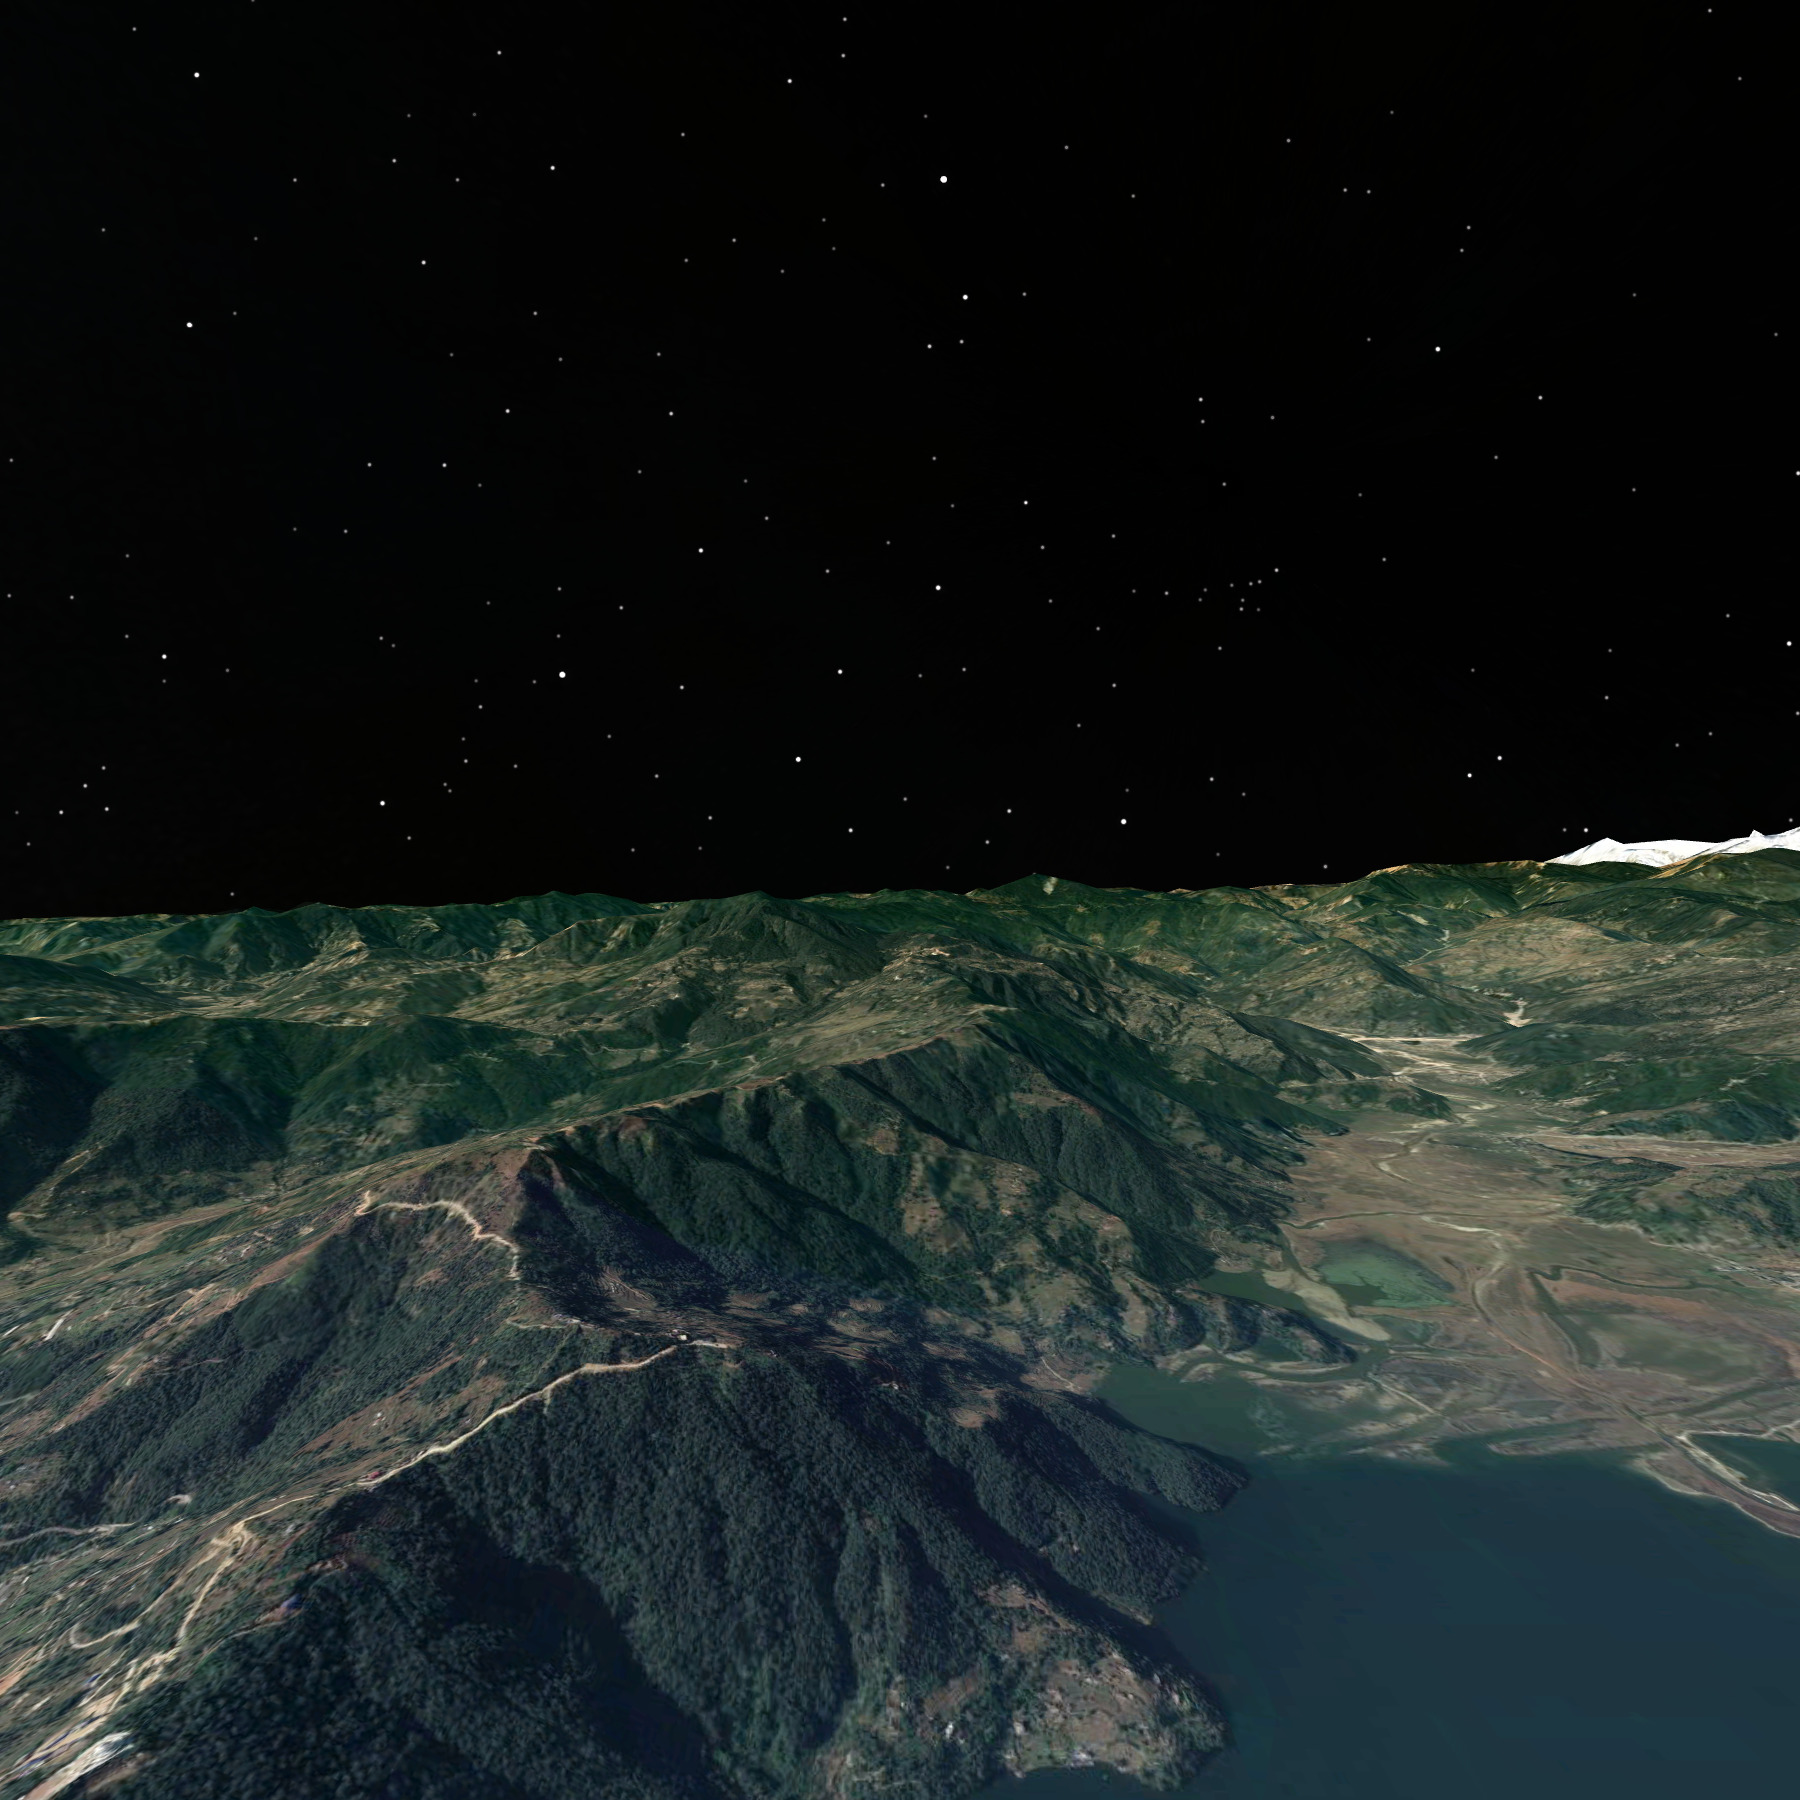
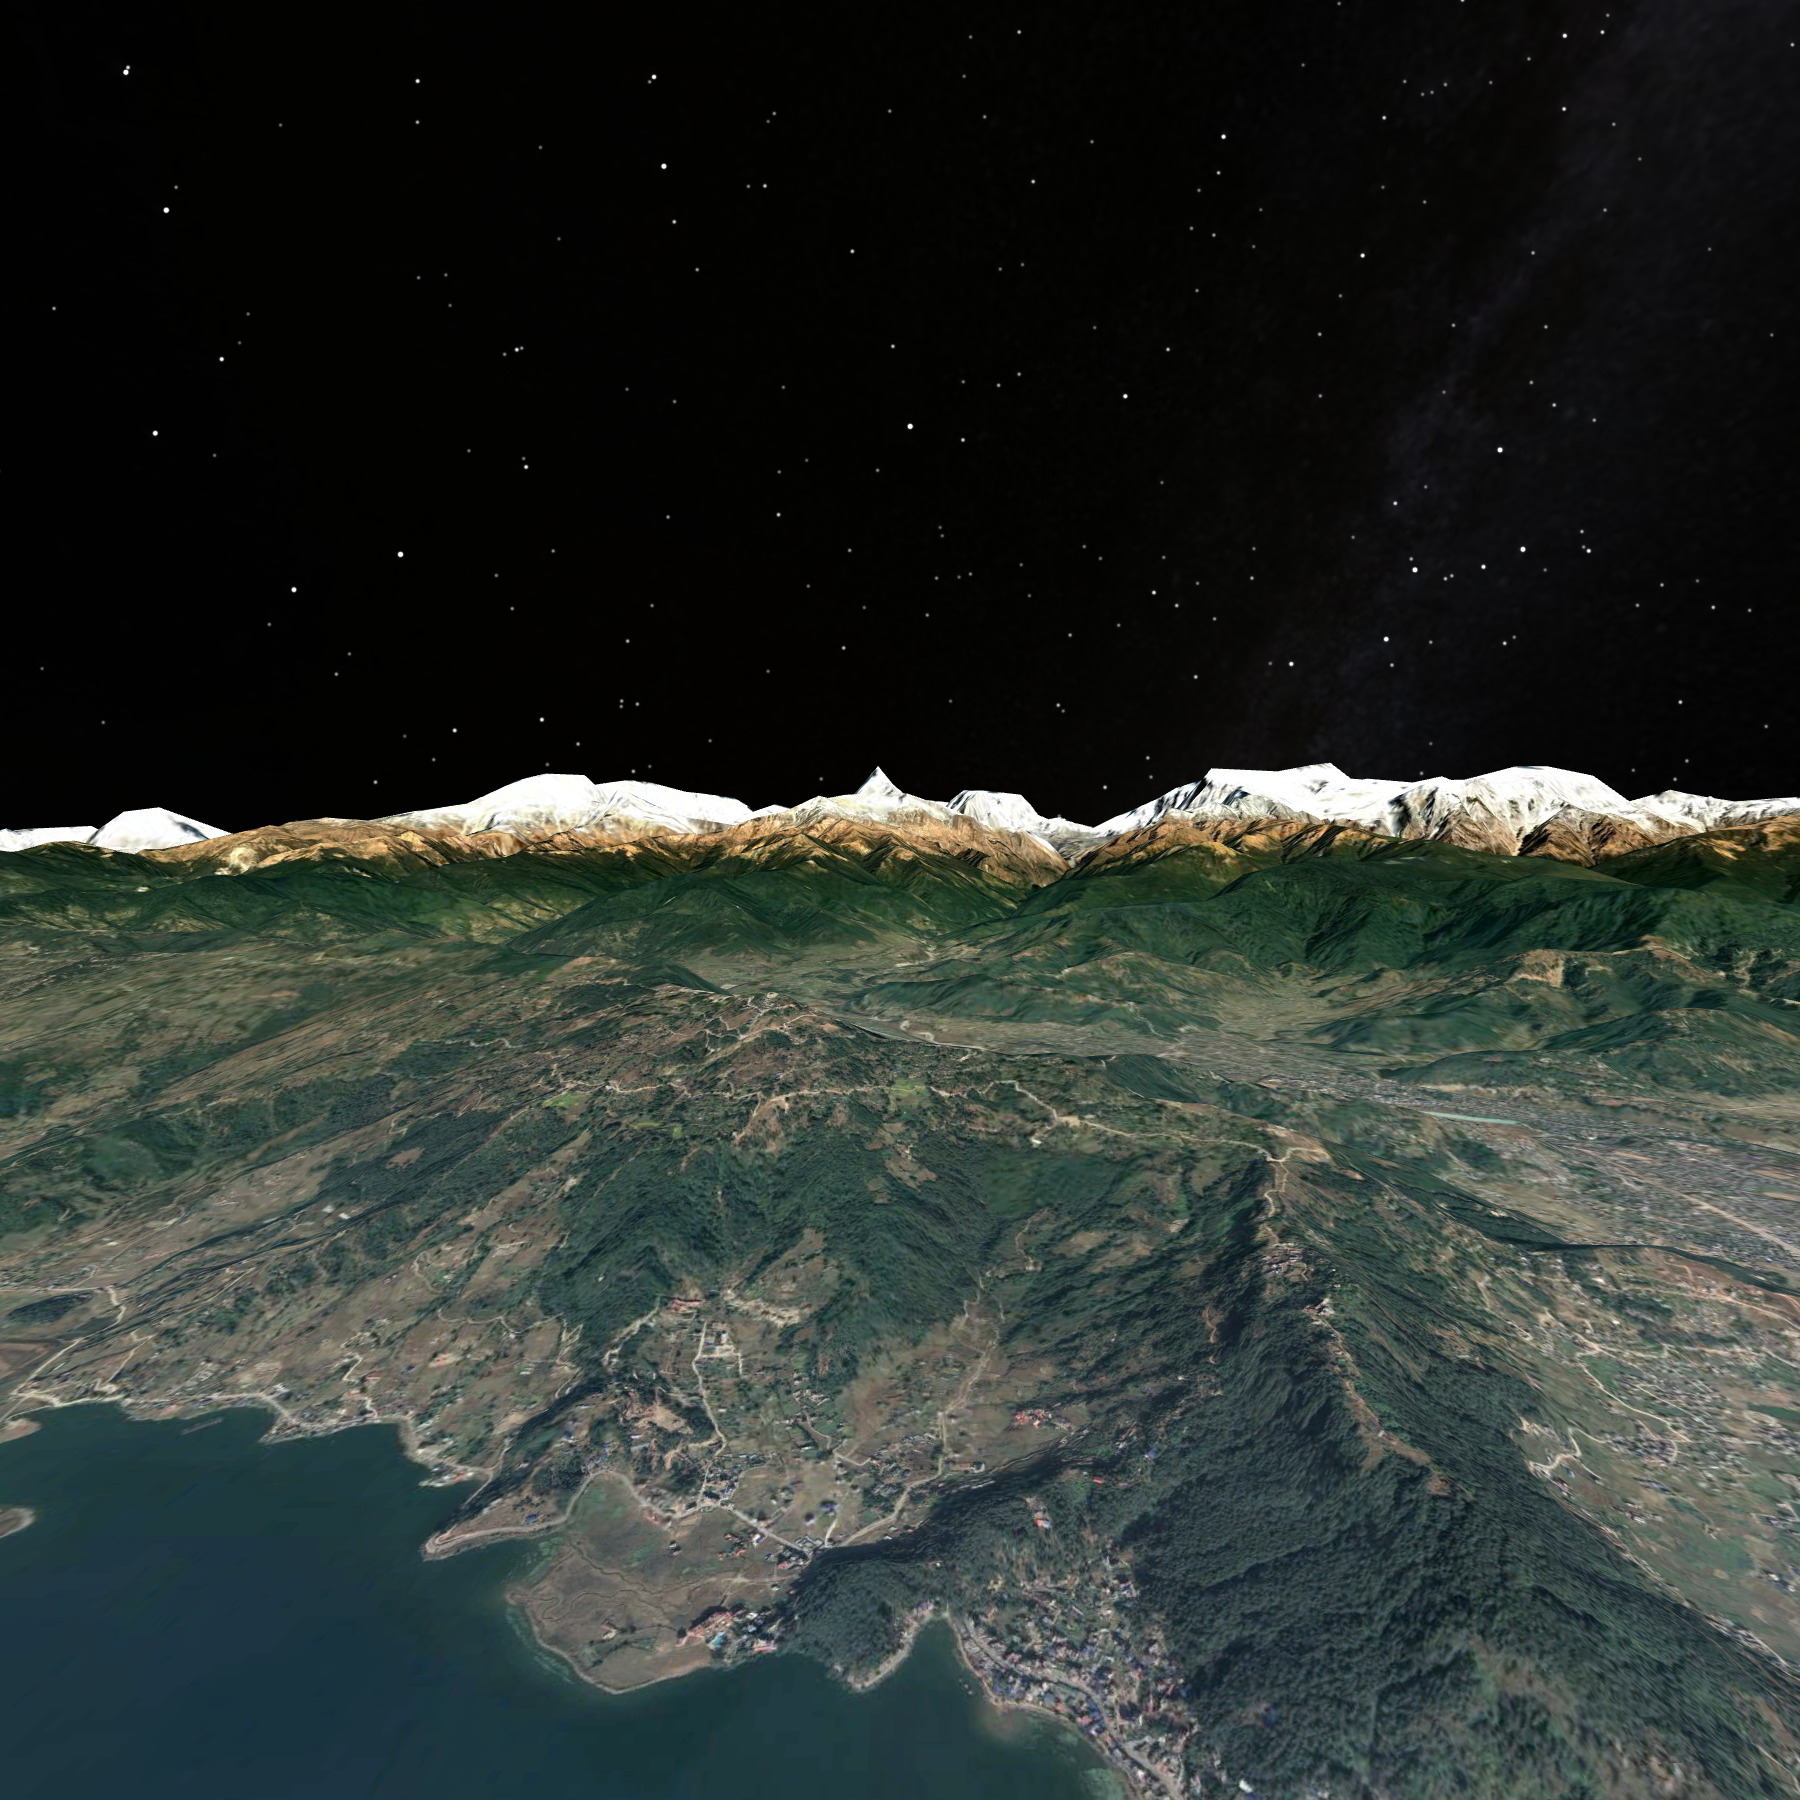
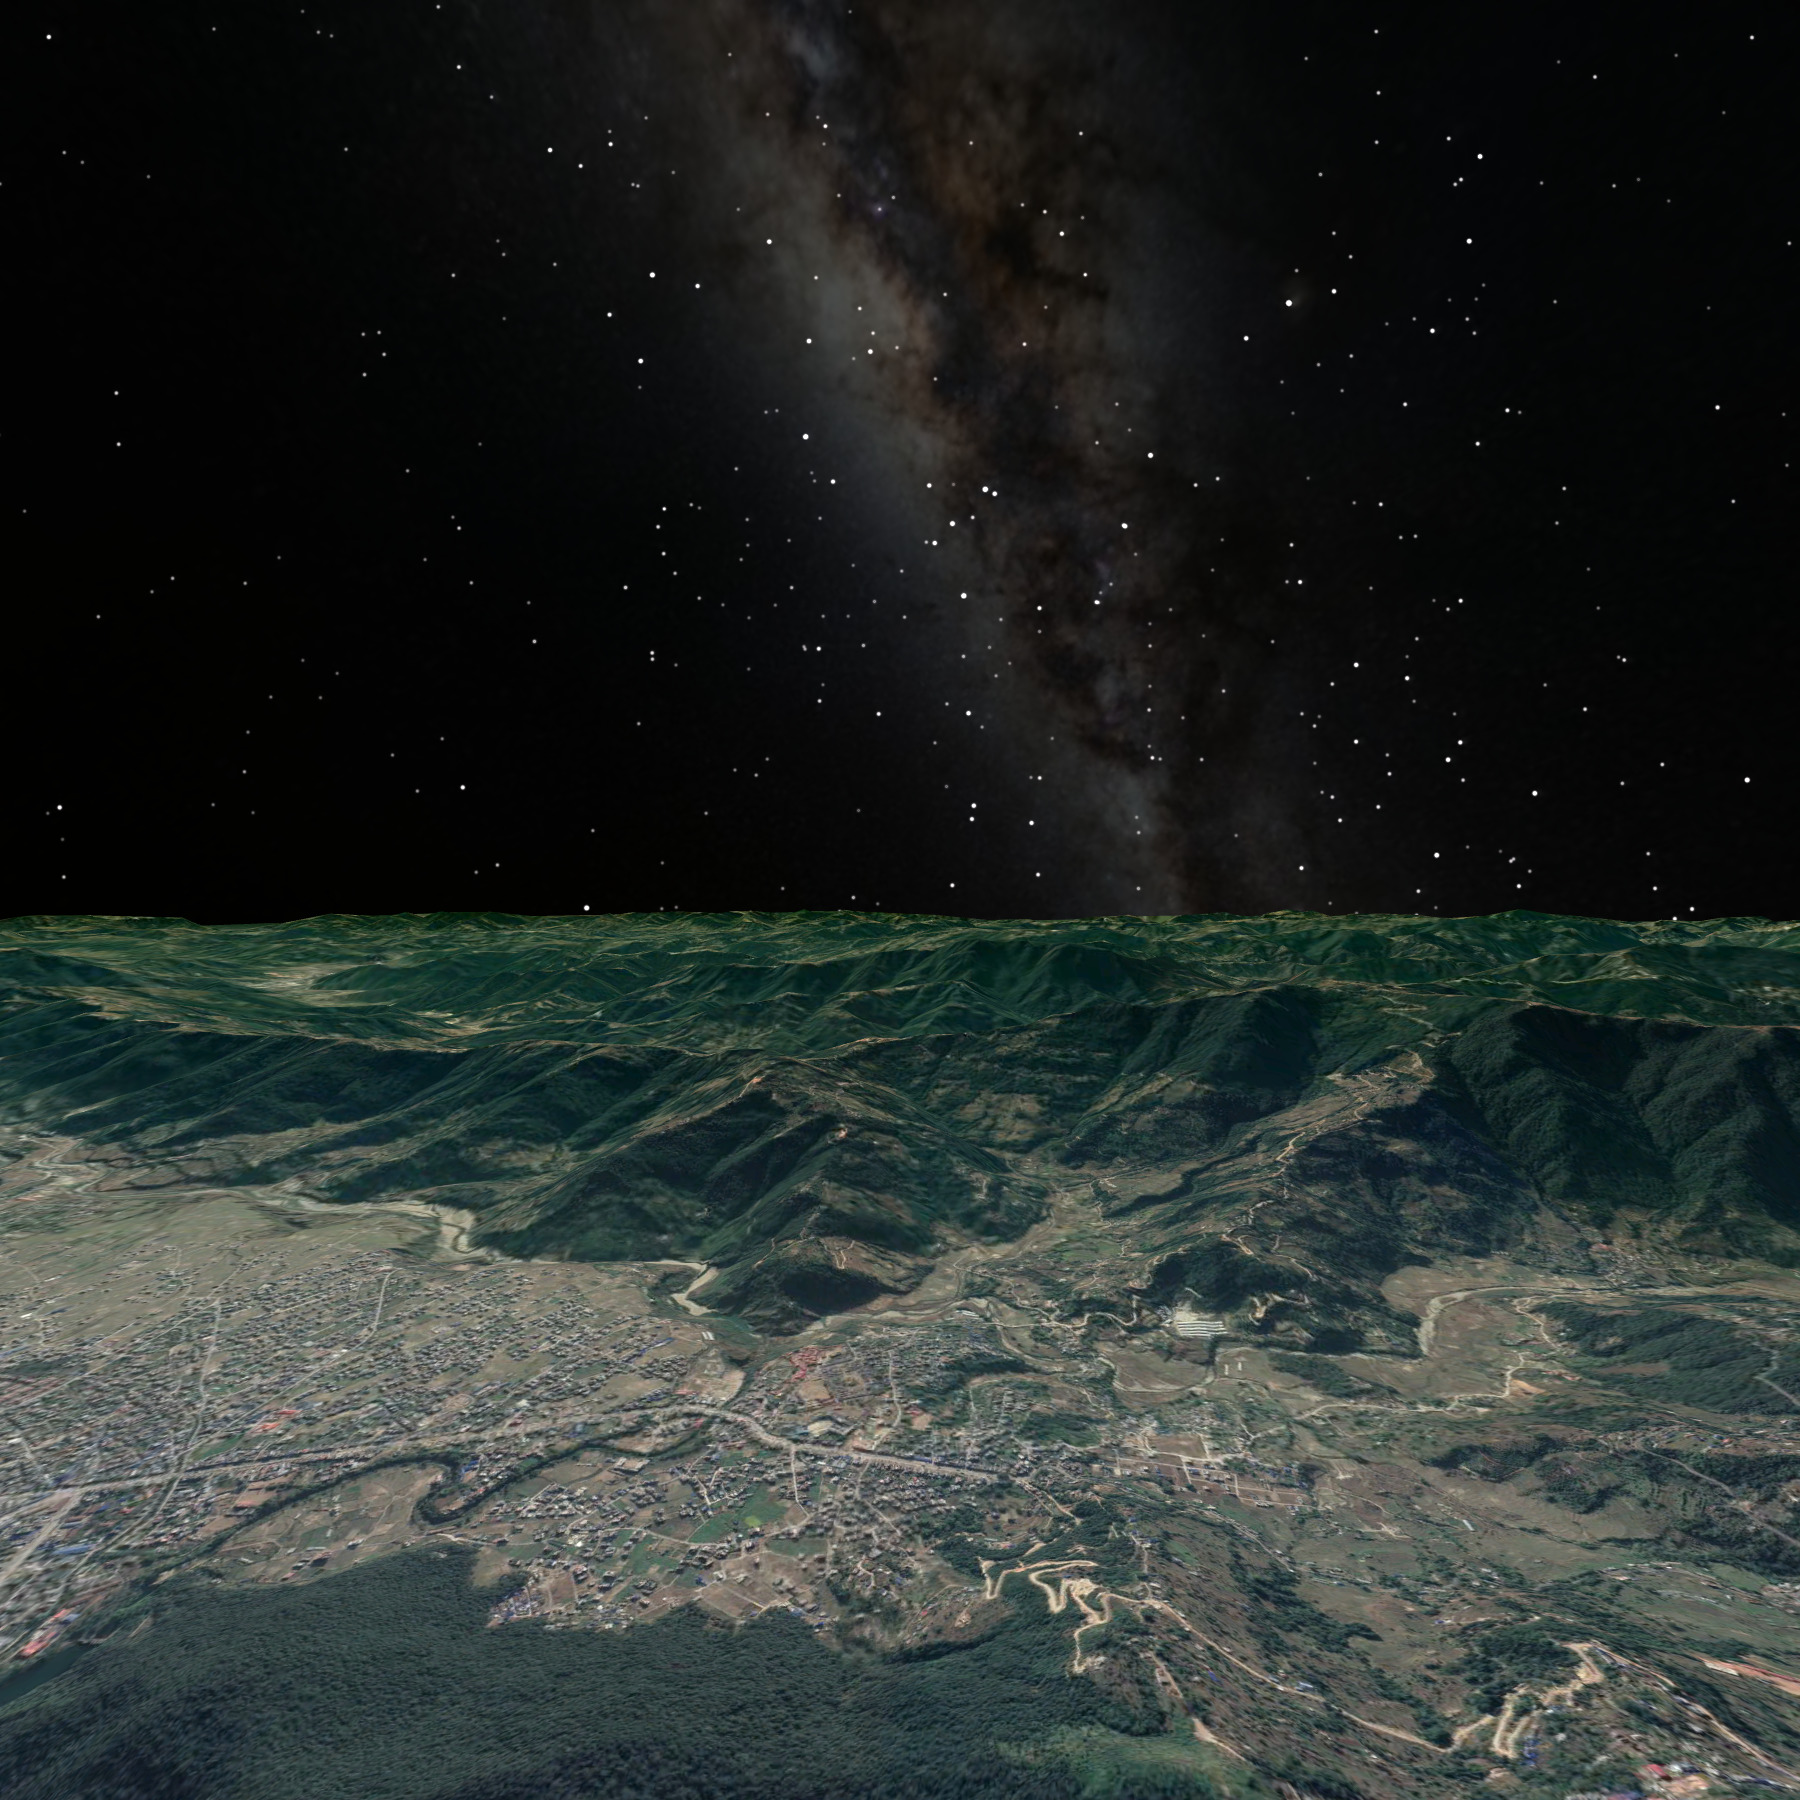
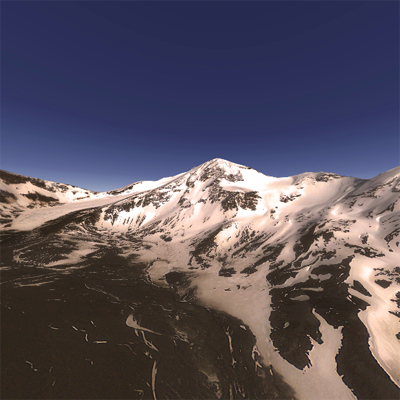
The following documents how one might create equirectangular projections from GoogleEarth. Why might one want to do this? Equirectangular projections are a convenient image format for presenting 360x180 data online or through head mounted displays. It is one of a few formats that records everything visible from a point in space. The other major format are cube maps, in the following the cube maps are created and the equirectangular derived from those. The document here: Create equirectangular projections using Stellarium achieved the result by rendering two fisheyes in order to capture the whole 360x180 view. GoogleEarth does not have a fisheye rendering mode so the "standard" alternative is to render the 6 faces of a cube, each a 90 degree by 90 degree field of view. These 6 cubemap faces can be used directly in many viewing software solutions or they can be remapped to an equirectangular. This is similar to the approach taken in Create equirectangular projections using Celestia. The 6 cube maps are automatically generated with a .kml "tour" file, specifically it orientates the camera along each of the positive and negative coordinate axes while retaining the same position in 3D space. GoogleEarth .kml files do not offer a means of doing a window or screen capture automatically so this needs to be performed manually. GoogleEarth also does not provide a means to set an exact window size, normally one would want a square window to ensure both the horizontal and vertical field of view are the same, namely 90 degrees. The way around this is made possible because the horizontal FOV can be specified in the .kml file. Given the aspect ratio of the window (or screen since the capture will be performed in full screen mode) one can calculate the horizontal FOV given the desired 90 degree vertical FOV (assuming the window is wider than high). So, in summary, one runs a tour in a .kml file with delays at each camera orientation and do a screen grab at each orientation. A simple post processing script can trim and rotate the images to conform to any desired cubemap convention. Example of cube map images are presented below, 2km above the city of Pokhara in Nepal.
The corresponding equirectangular is as follows.  Image: Maxar Technologies, CNES Airbus, Landsat / Copernicus Data: SIO, NOAA, US Navy, NGA, GEBCO Notes
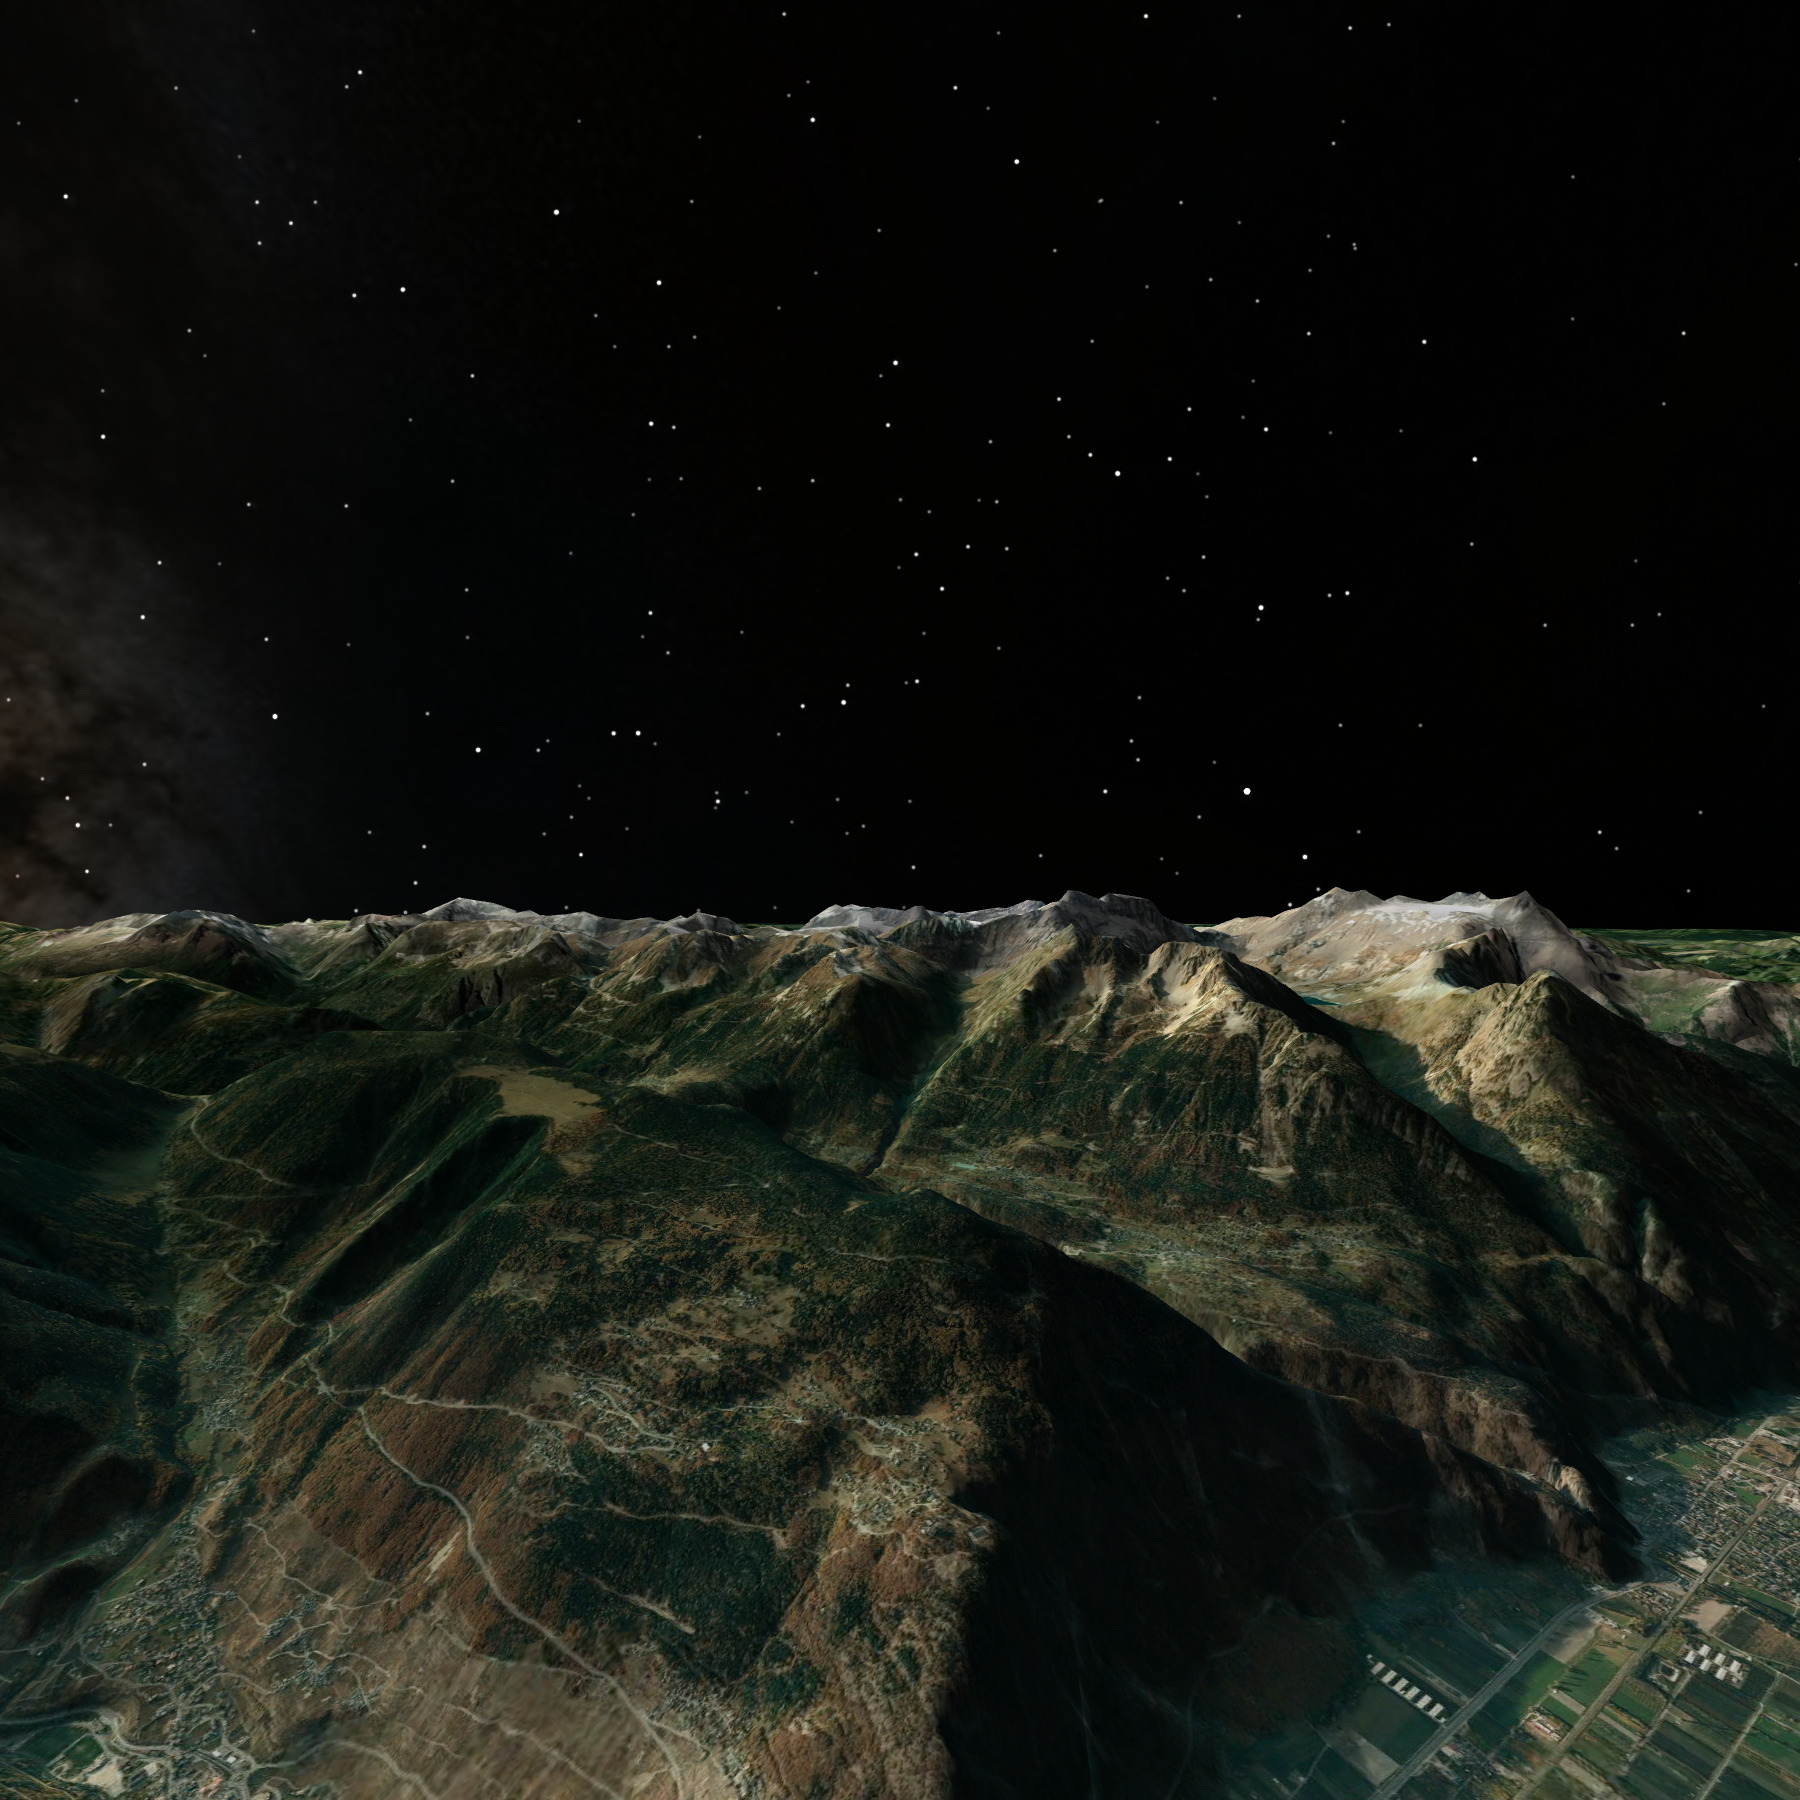
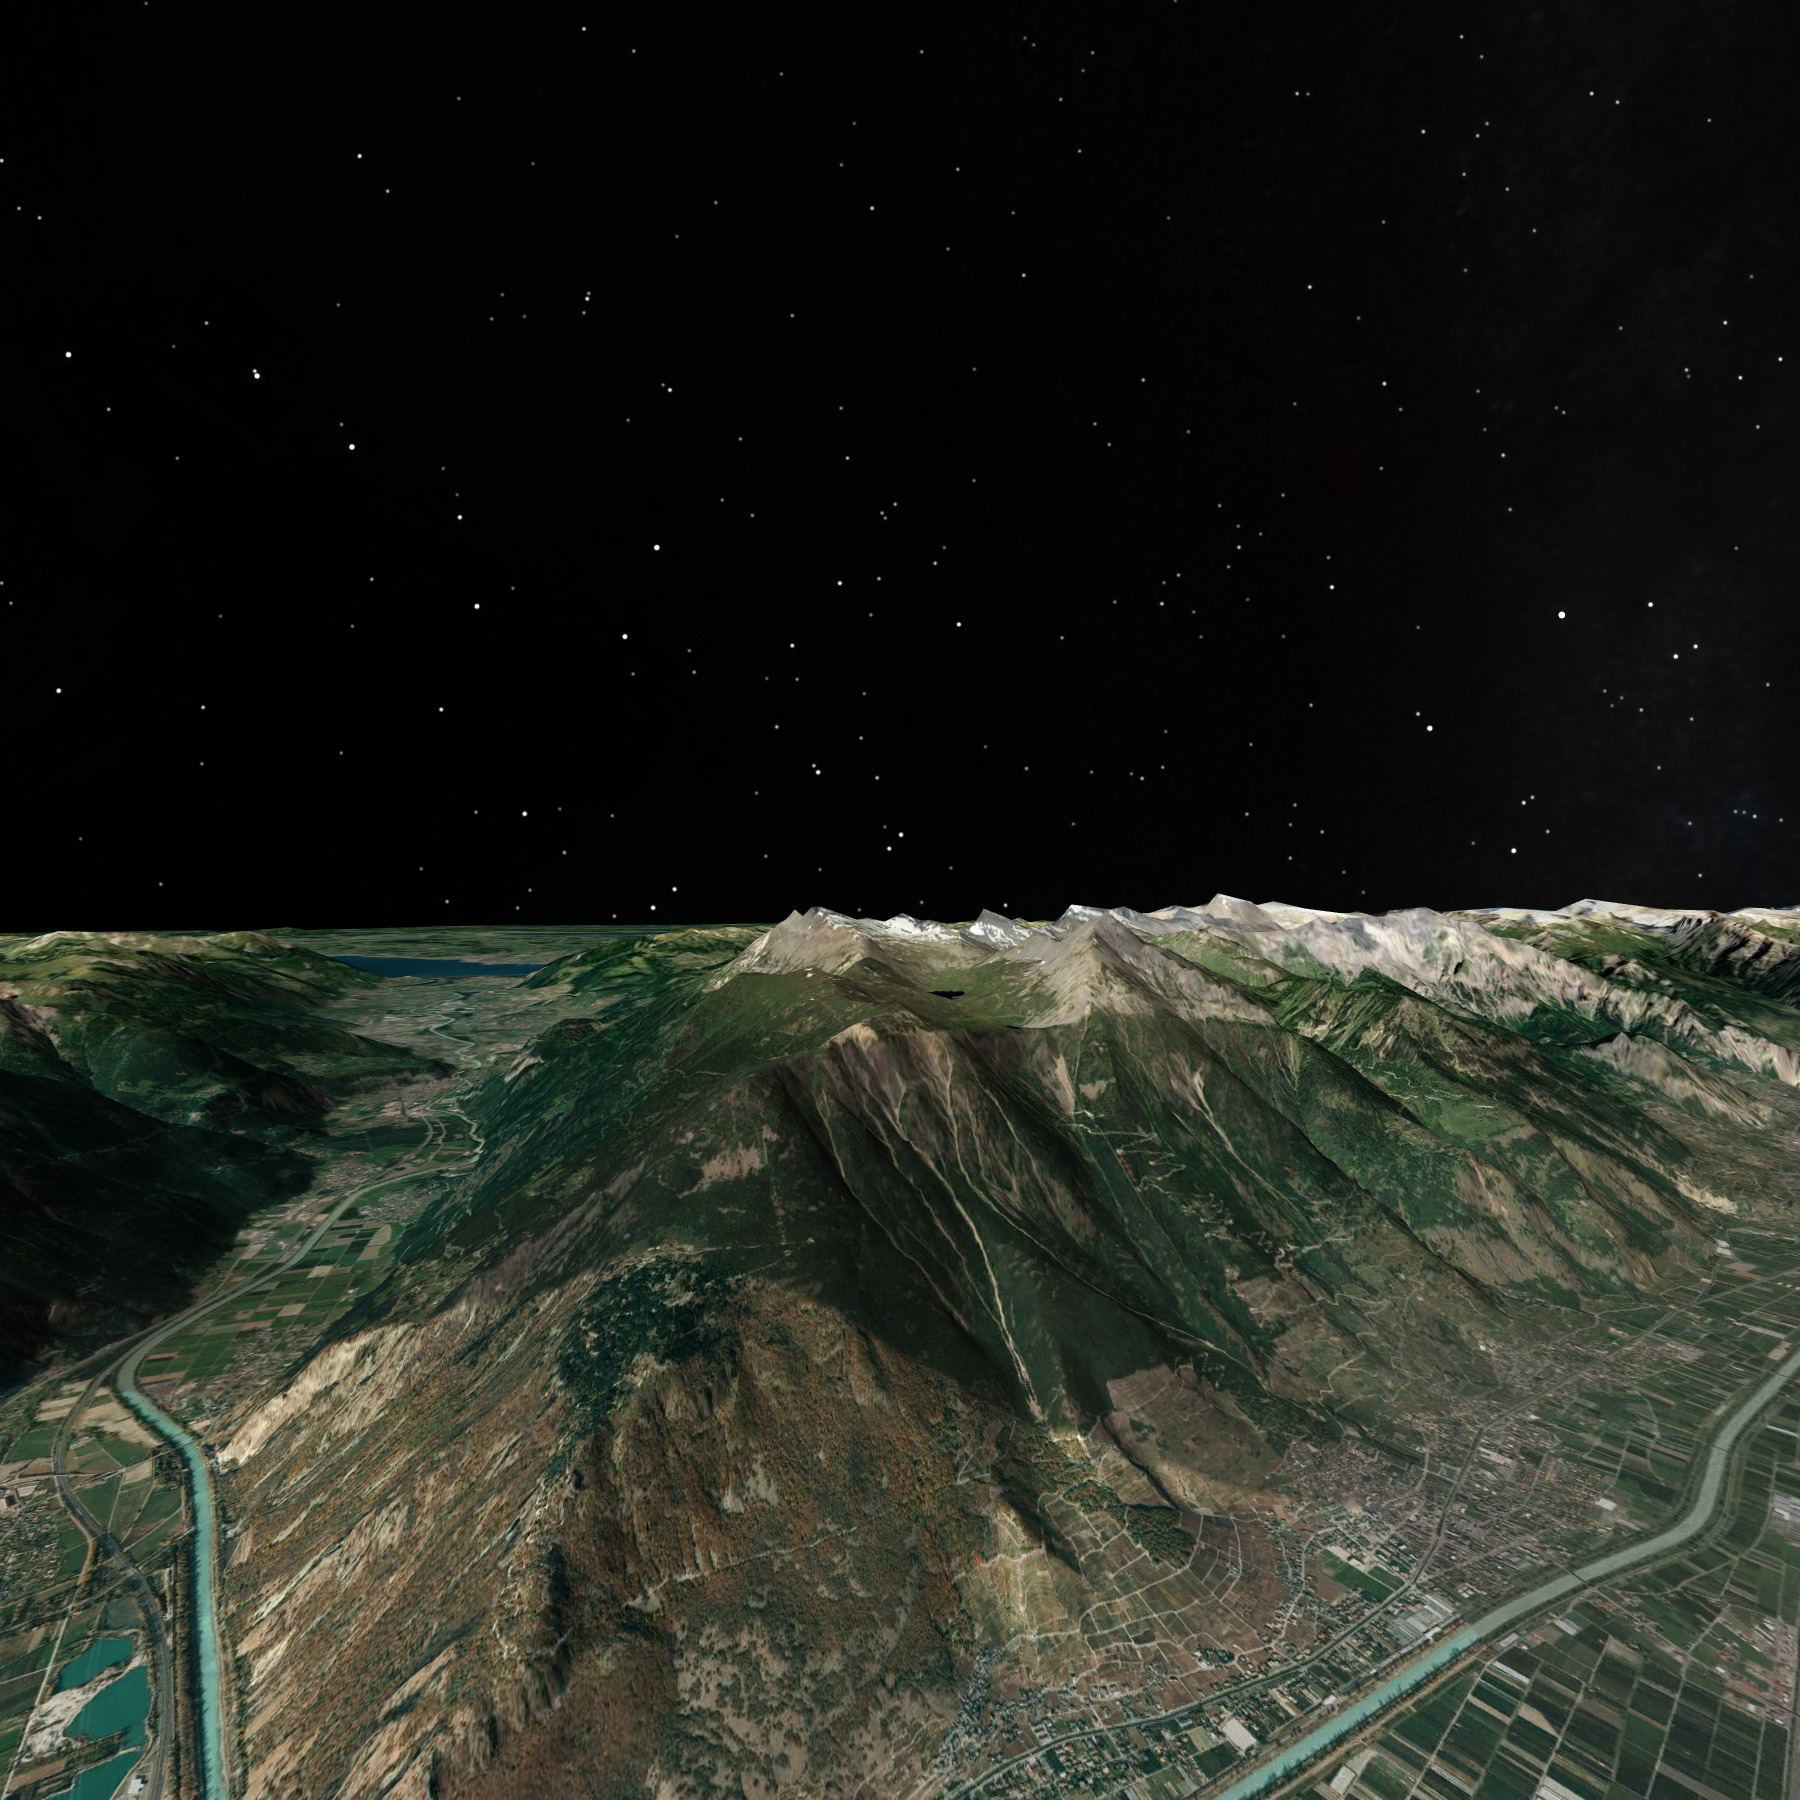
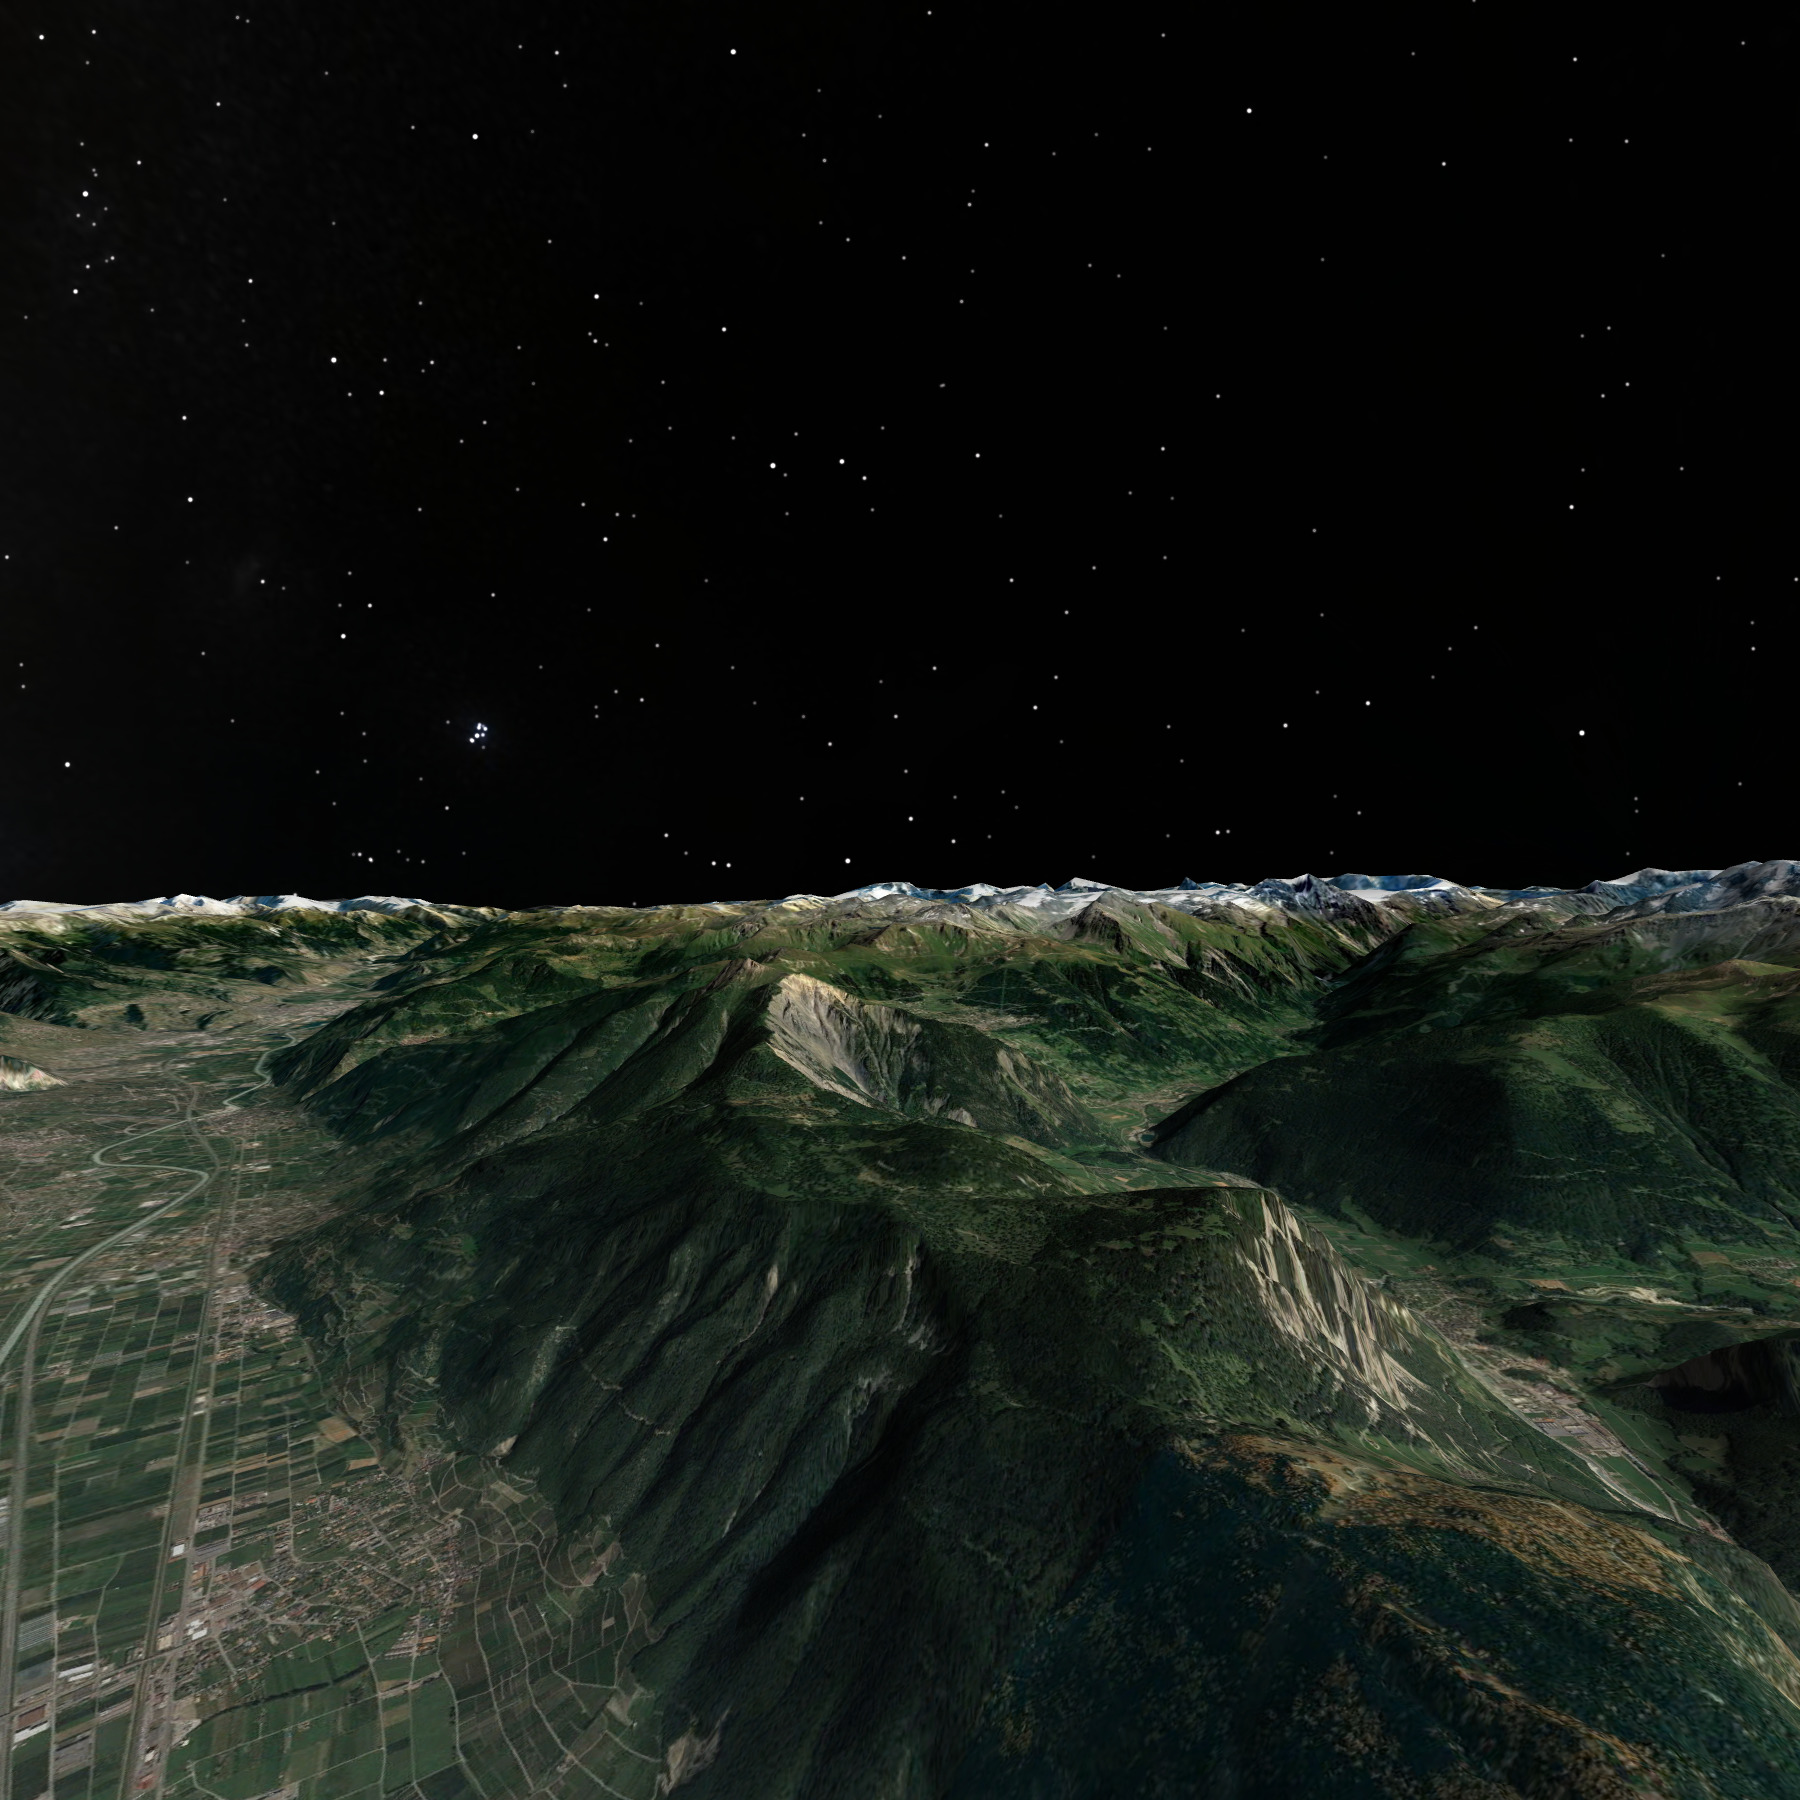
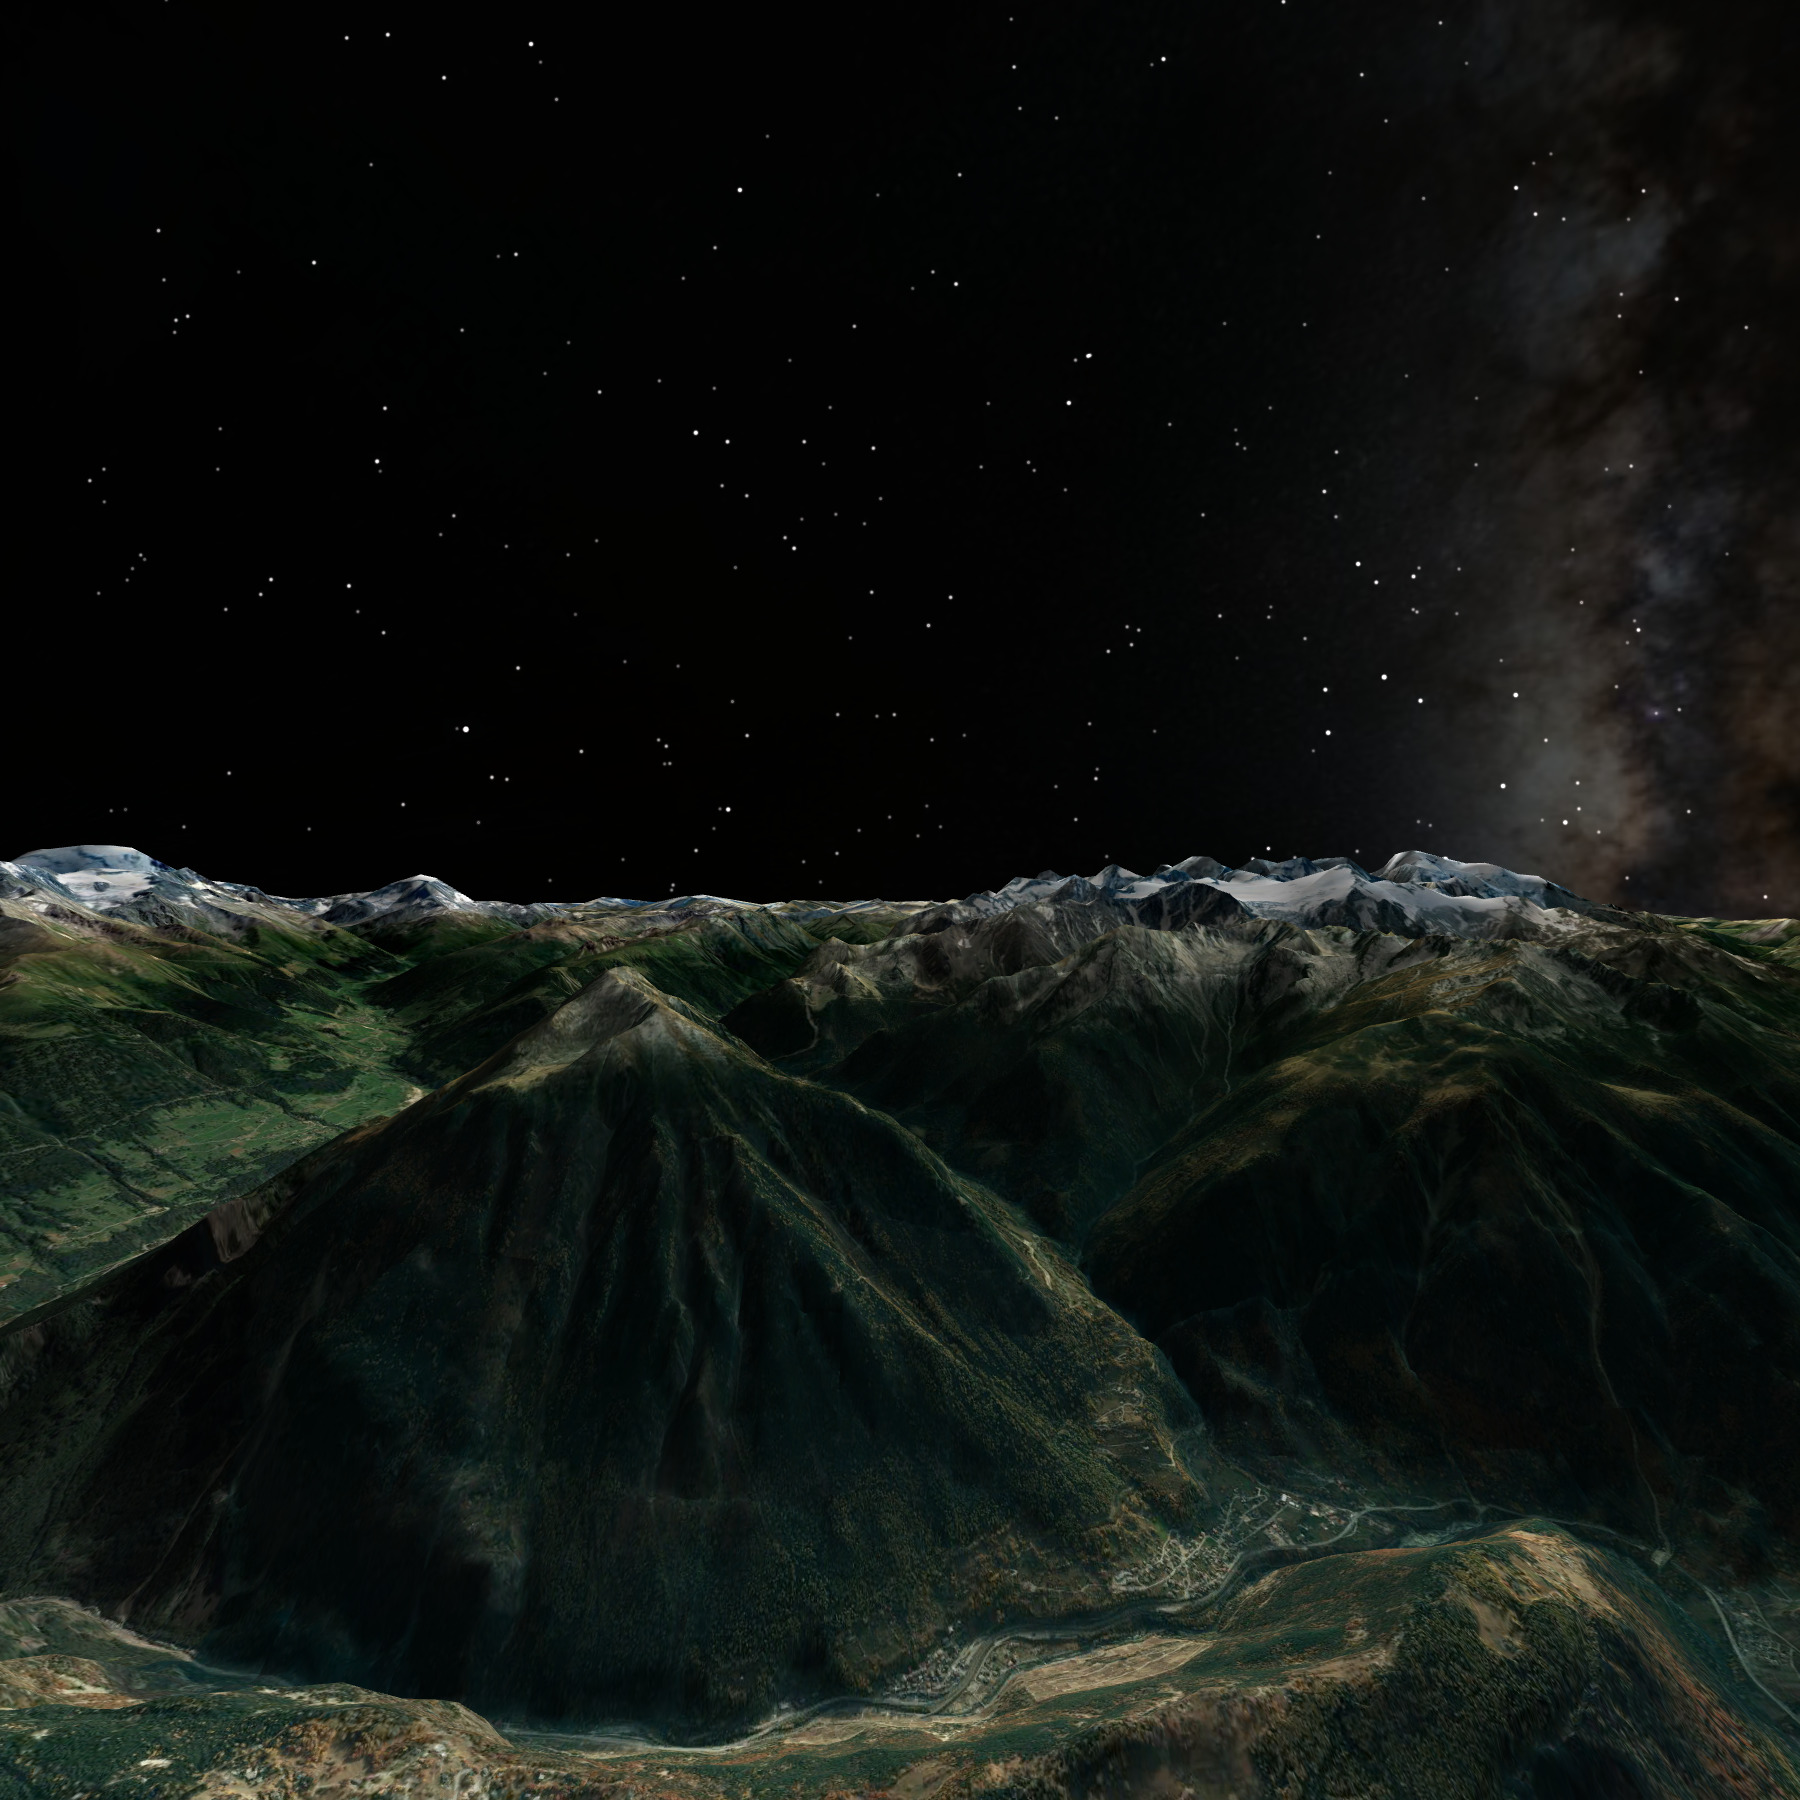
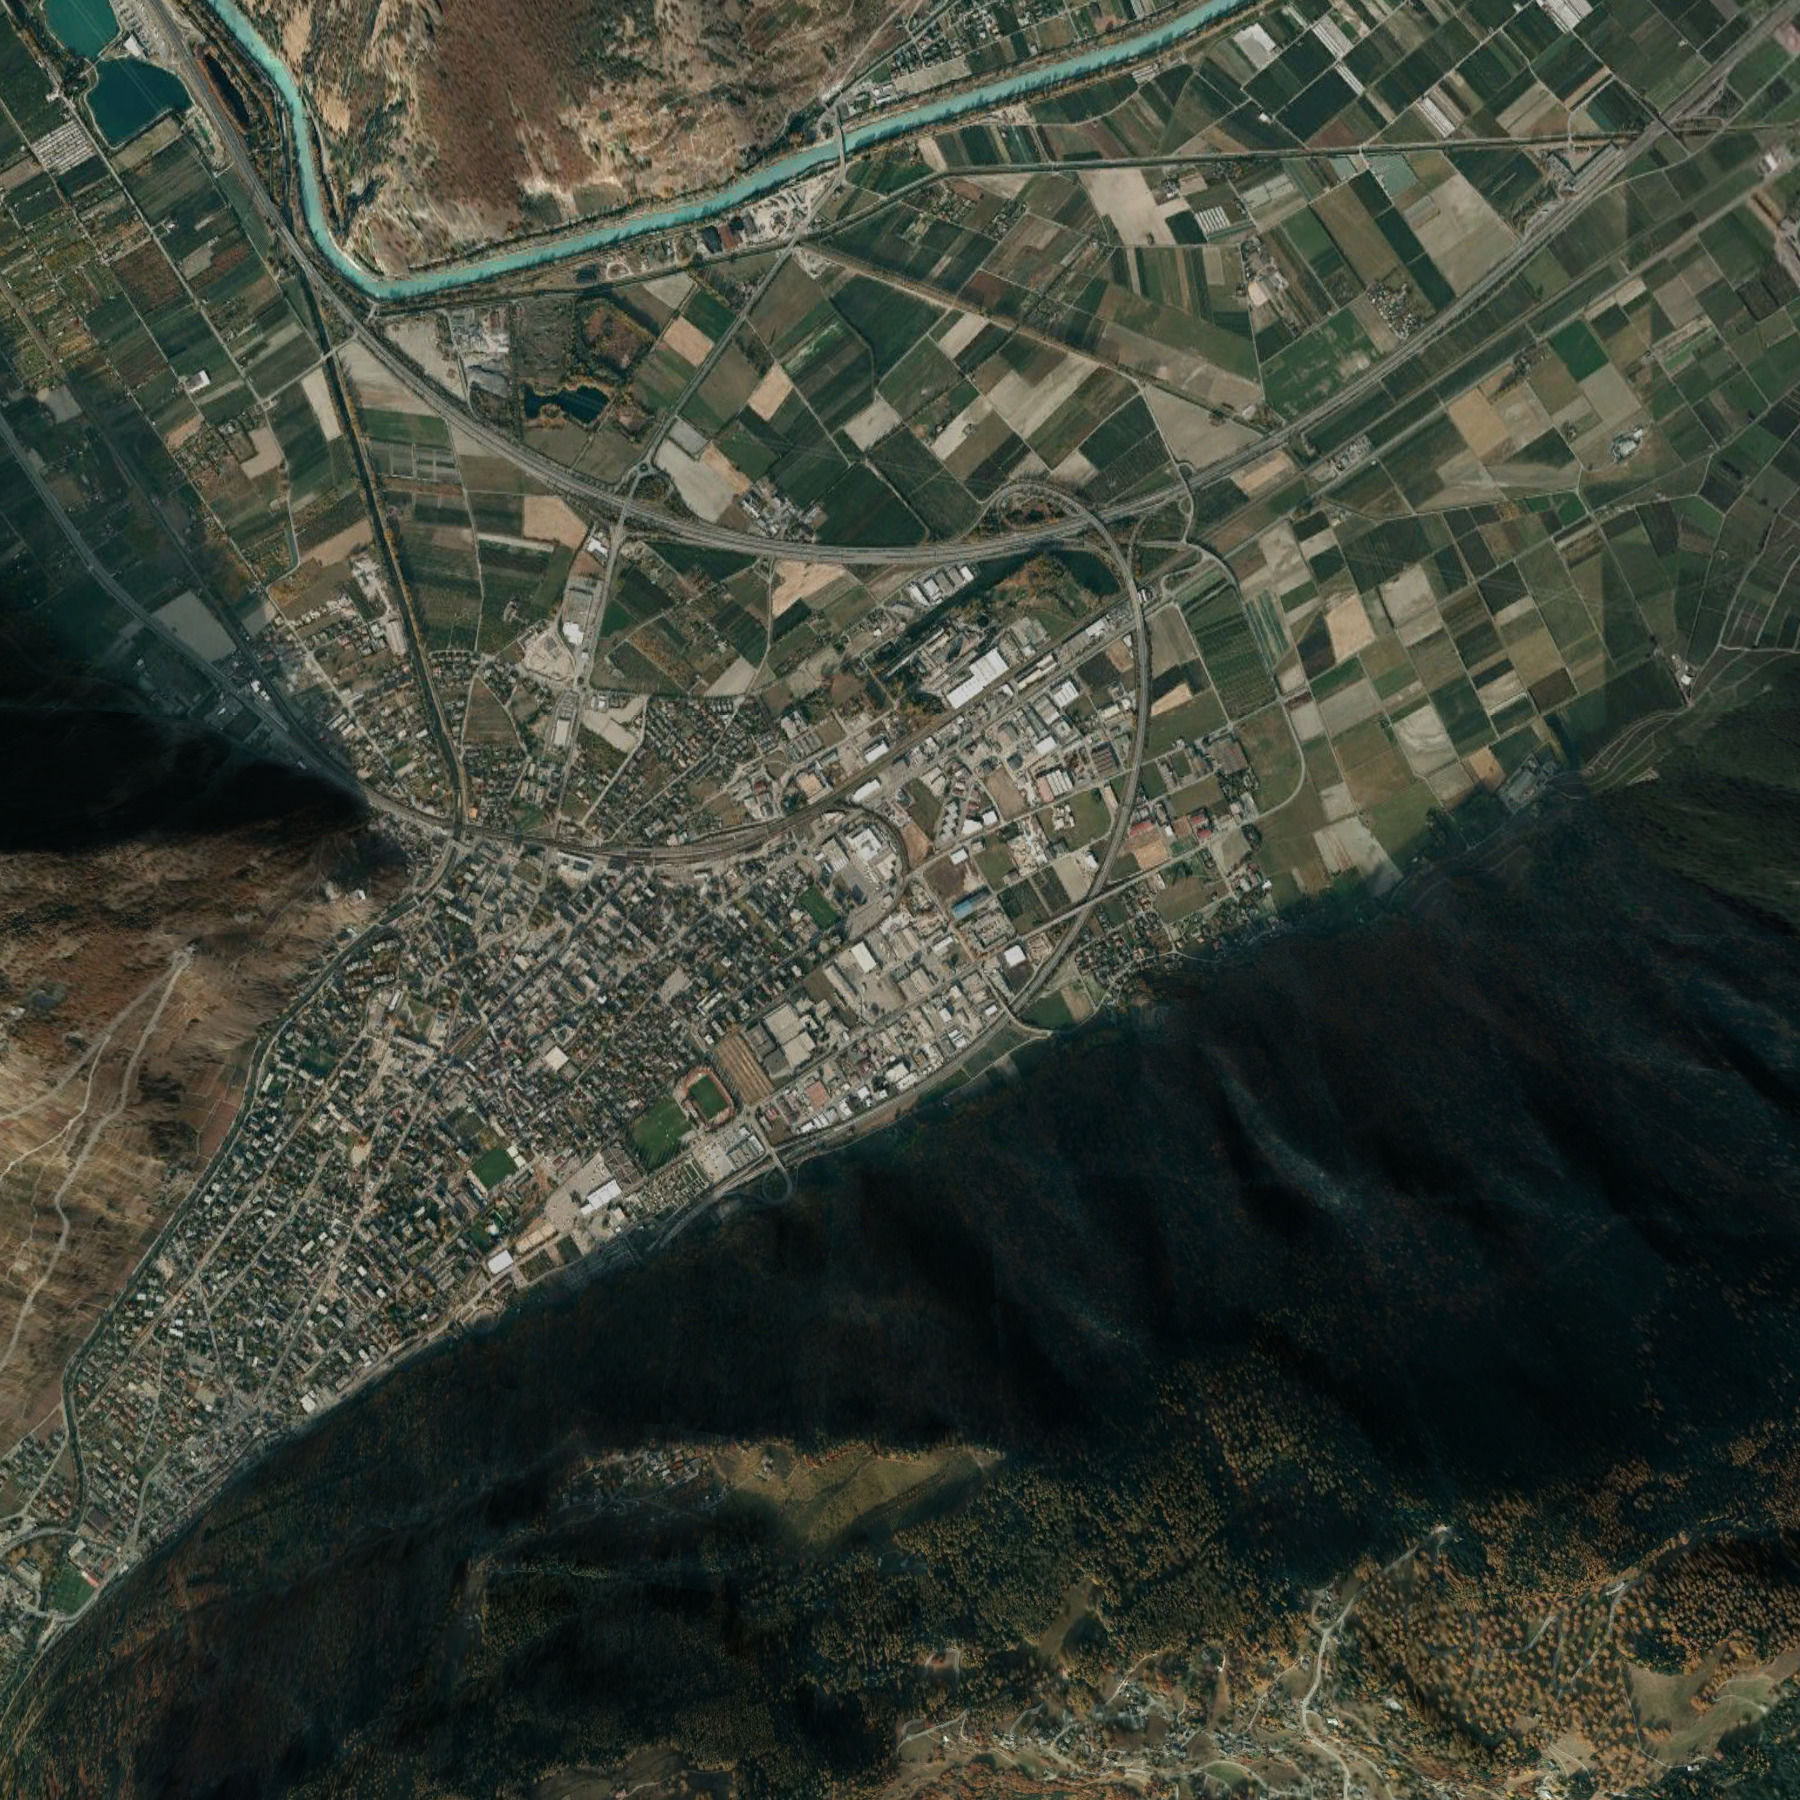
A second example from Martigny, Switzerland.
The corresponding equirectangular is as follows.  Image: Maxar Technologies, CNES Airbus, Landsat / Copernicus Data: SIO, NOAA, US Navy, NGA, GEBCO
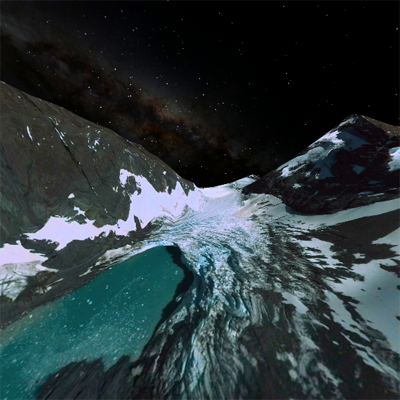
South Georgia.
|