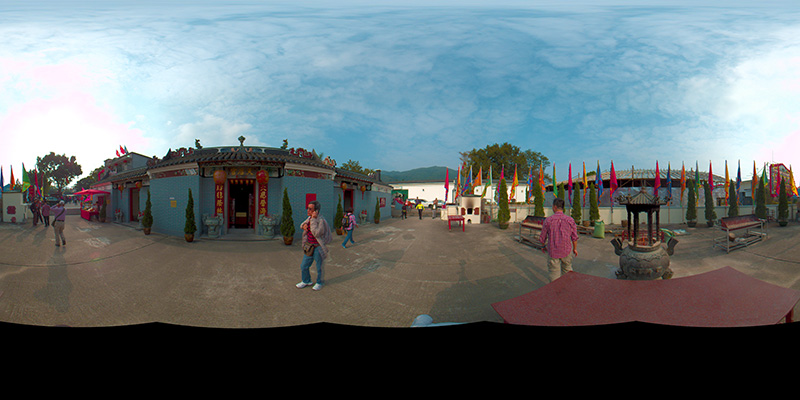
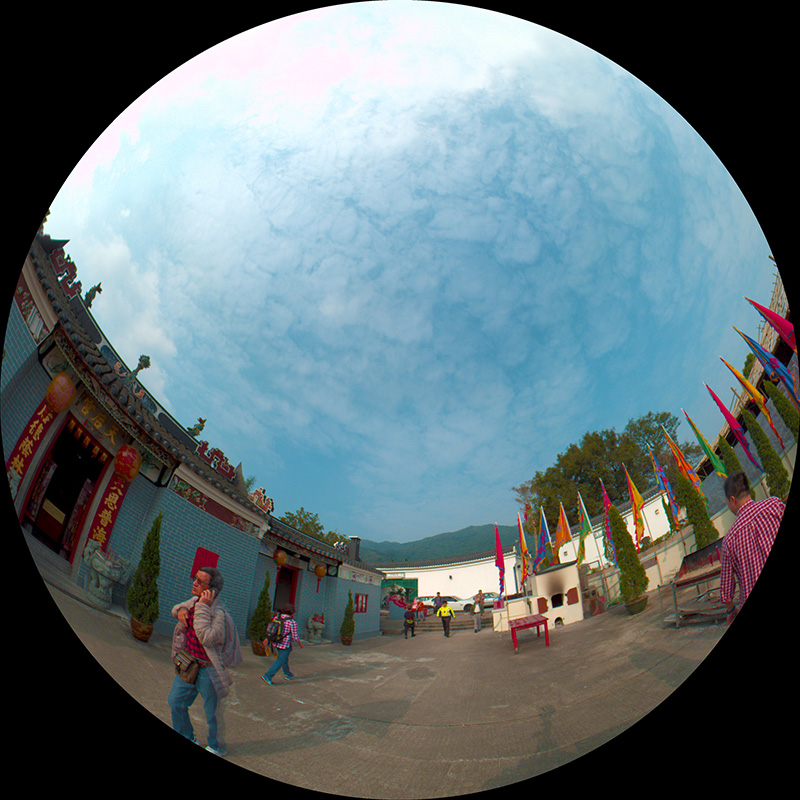
Typical pipeline for 360 video processingWritten by Paul BourkeJuly 2018
The following outlines the steps that invariably are involved in the processing of 360 video footage from multi-camera systems. Many of these steps are transparent today, being performed within integrated packages. 1. Start of the process is one image frame per camera
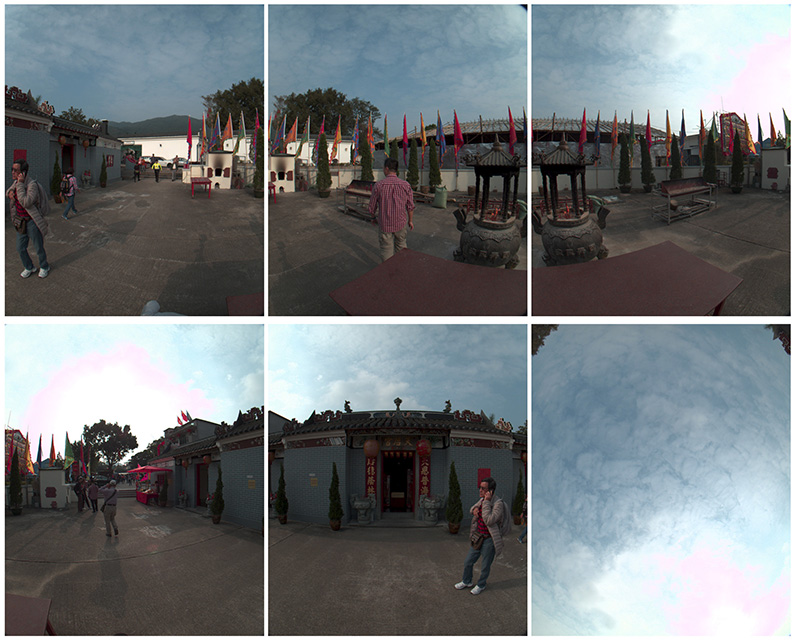
2. Image correction
Lens correction, pincushion/barrel correction for rectilinear lenses, fisheye linearisation for fisheye lenses. After this stage one has an idealised mathematical camera, pinhole for rectilinear or true-theta for fisheye. 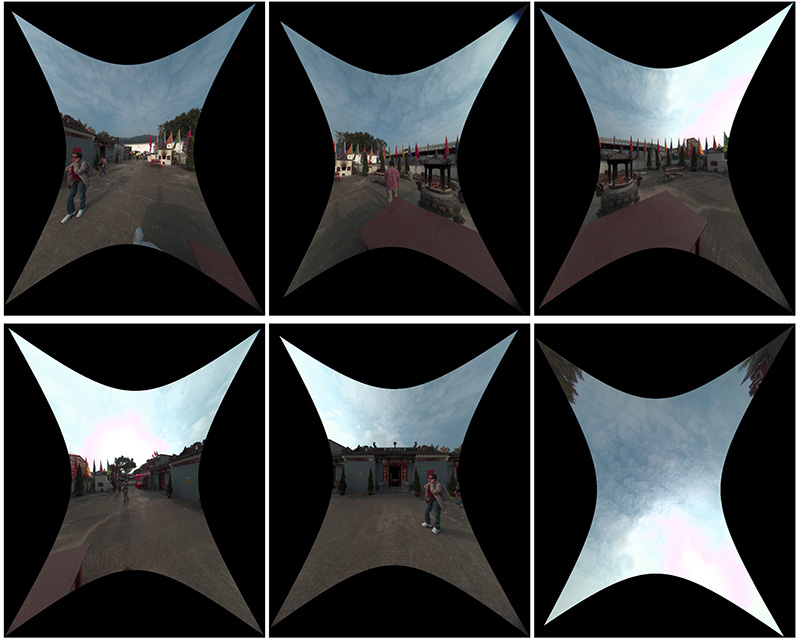
3. Warp and blend
Warp and blend of images into equirectangular. Could be a geometric algorithm (eg: LadyBug), feature point (eg: PTGui and most GoPro rigs) and/or optical flow (MistakaVR). 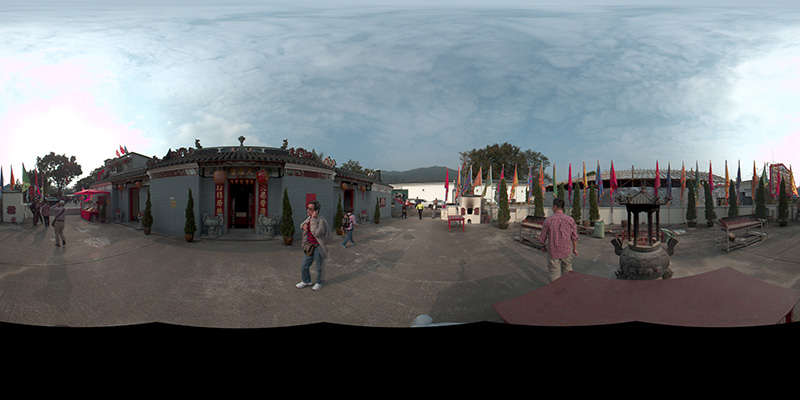
4. Colour and exposure equalisation between cameras.
5. Colour adjustment and editing. 6. Storage/backup for archive.
Most common choice is an equirectangular projection, some people prefer cube maps. 7. Optional conversion
Optional conversion of equirectangular to a format more suited for final viewing. For example, for a cylindrical display it is necessary to convert to a cylindrical panorama of a matching vertical FOV? In theory this conversion can be performed in realtime by the playback software but it is often more efficient to perform as a separate process for displays that use a fraction of the equirectangular realestate. 
8. Creation of final viewed images
This would normally be performed during playback since it generally involves display specific operations, such as warping and blending.
For example 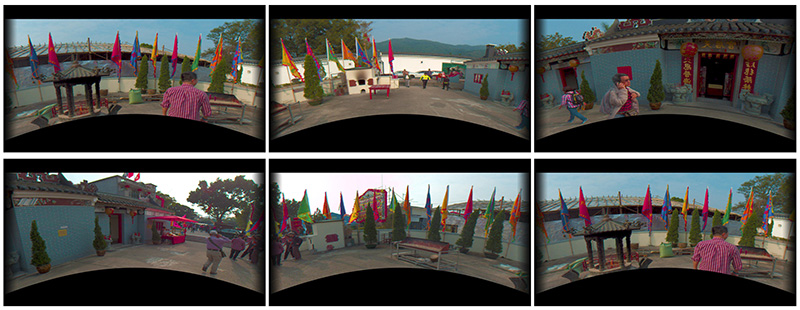
|
