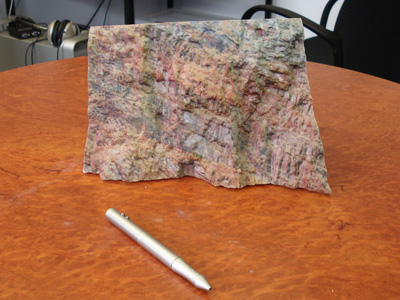
Workflow for rapid prototyping of 3D reconstructed surfaces, applications to rock artWritten by Paul BourkeSeptember 2013
The following describes one of many possible pipelines for rapid prototyping (RP) 3D reconstructed surfaces. While some comments will be made regarding the reconstruction process, that is covered in other places. The RP system will be based upon the on-line service offered by Shapeways, but the printable models created will be applicable to any RP facility capable of supporting colour. Note that as with any documentation of this type it can become out of date as time goes on, new releases of the software etc. This is especially so since some of the work flows described here result from bugs or other inadequacies in the various software tools available. The software used here and version numbers are as follows:
The overall summary of the process is as follows
Reconstruction
There are a number of software candidates for 3D reconstruction, while this is not intended to be a comprehensive survey or evaluation of the options, two of the main players to date are AutoDesks 123D Catch and PhotoScan. While 123D Catch is free, it is cloud based and thus problematic when working in the field. PhotoScan is modestly priced and has good cross platform support, unlike 123D Catch which is MSWindows only. For the purposes of this document PhotoScan is used mainly because 123D Catch has some major problems with its OBJ export which is often faulty, that is, it generates degenerate mesh triangles and other problems that adversely affect the RP process. Model editing
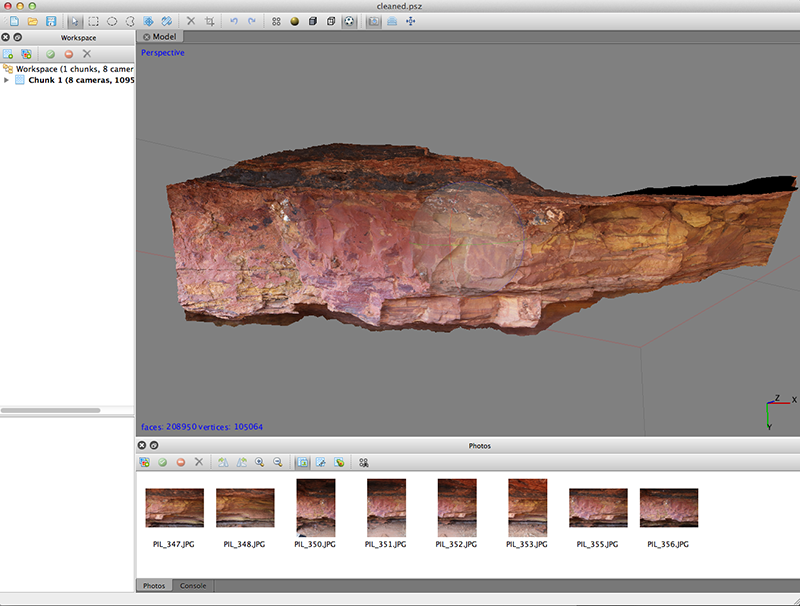
Most RP machine software place some expectations on the models being printed, Shapeways is particularly sensitive, overly so in the authors opinion. For example, models must be "watertight", otherwise referred to as manifold. There is often a minimum thickness realisable, and so on. As such, some care needs to be taken when preparing models. There are three places, at least, where editing can be performed. They are:
Before and after screen shots are shown below. 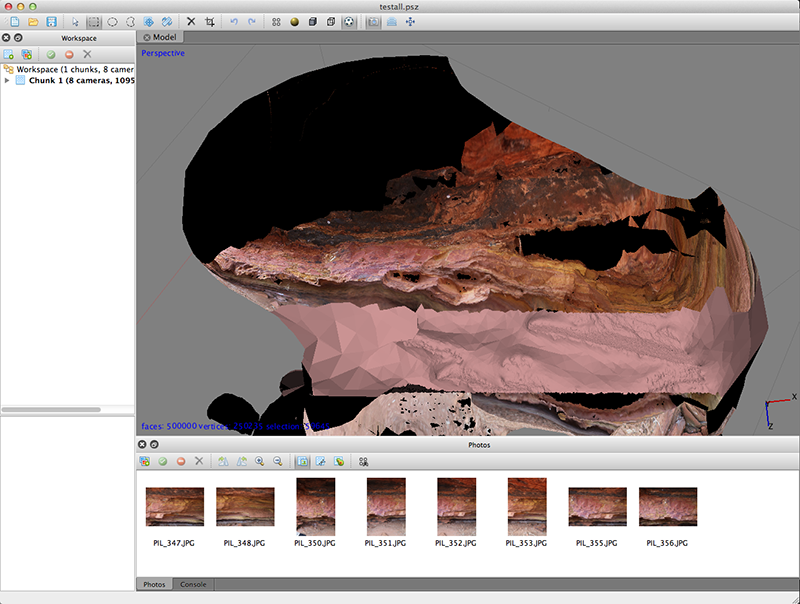
Scale
As a general rule the result of a 3D reconstruction is of arbitrary scale. At the time of writing when one uploads to Shapeways one may choose units of millimeters, inches, or meters. mm are recommended, after all, who still uses "inches"! Note: one cannot scale after uploading, a particularly frustrating aspect of Shapeways. Scaling can obviously be done in almost any 3D package, MeshLab is chosen here, the procedure is normally to scale to a unit bounding box, found in the "normals, curvatures and orientation" menu, followed by scaling to the desired size. The author also generally first translates the centroid of the object to the origin, found in the same menu: "Transform: move, translate, center". 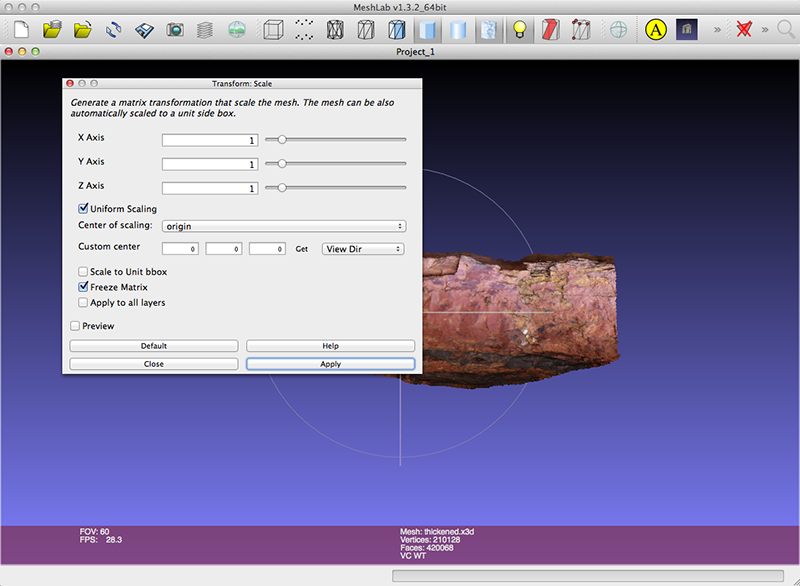
Thicken
Any rapid prototyping of the sort relevant here requires a solid object, to date the process has been working on a single infinitely thin mesh. There are a number of algorithms for doing this, a popular one being called the "rolling ball" algorithm, one imagines a ball (sphere) rolling around on the surface and the most distant point of the sphere from the surface defines an offset surface. The approach taken here is to use the "solidify" modifier found in Blender. Import the OBJ file, select the mesh and choose the "Add modifier" option. 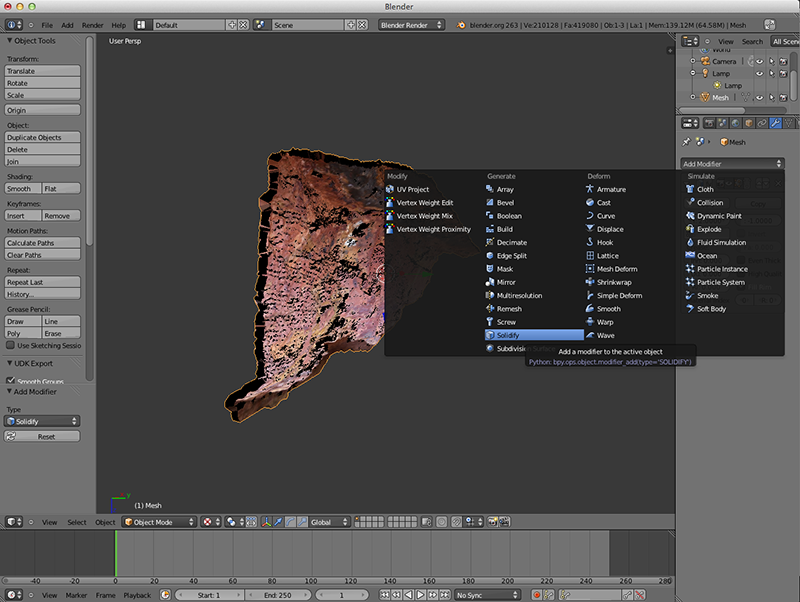
The thickness required for a particular RP machine varies. The most common colour printer at the time of writing is the ZCORP, known as the "full colour sandstone" on ShapeWays. The author finds that 5mm is a safe minimum, noting of course that one gets charged per volume of model so the thinnest is usually desirable. Export for upload
Not all formats traditionally used for RP support colour let alone a textured surface, for example STL cannot define a colour surface. Shapeways supports a number of file formats for colour models, namely DAE, WRL, X3D, X3DB, X3DV. Some of these are antiquated (eg: WRL) and others are proprietary (eg: DAE), the author has found X3D to be have the most reliable support. 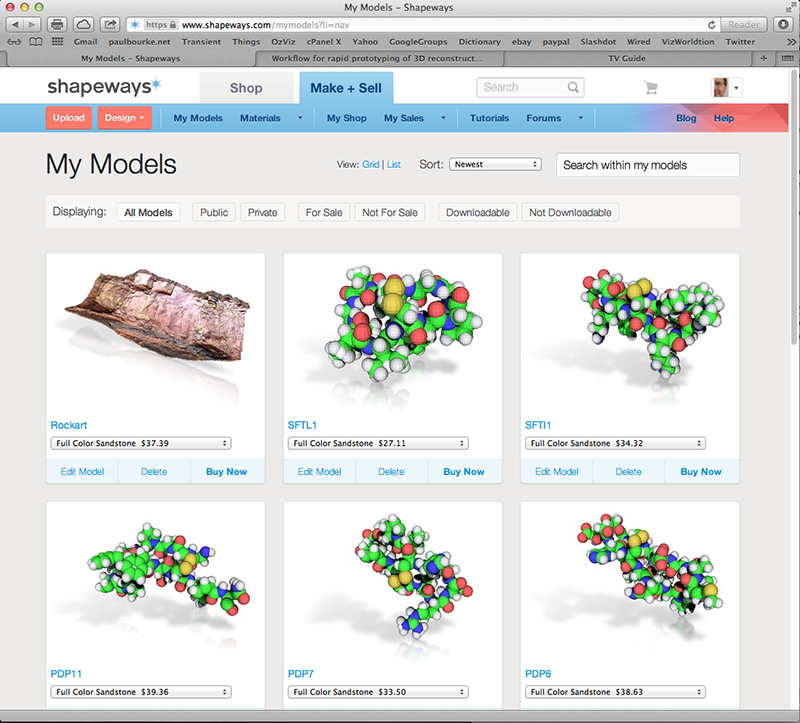
Note: Shapeways (at the time of writing) does not seem to be able to handle the (perfectly ok) zip files created by Mac OSX. That is, by selecting a folder or files and right clicking and choosing "Compress". The solution is to use the command line options of the UNIX based version of zip, namely: zip outputfilename.zip -xi file1 file2 file3 ... Workflow for rapid prototyping of molecular dataWritten by Paul BourkeFebruary 2012, Updated October 2013
The following describes one of possibly many pipelines for taking PDB models and producing physical representations using Rapid Prototyping (RP). In what follows various packages will be used to create representations, generally of PDB files. The RP system will be based upon the online service offered by Shapeways (see appendix), but the printable models created will be applicable to any RP facility based upon the two main machines in this area, namely the ZCORP and ObJet. Note that as with any documentation of this type it can become out of date as time goes on, new releases of the software etc. This is especially so since some of the work flows described here result from bugs or other inadequacies in the chemistry software or the Shapeways software. The software used here and versions numbers are as follows:
The requirements for any model destined for RP processing are
The examples provided here will use the following structure: example.pdb VMD - sphere models
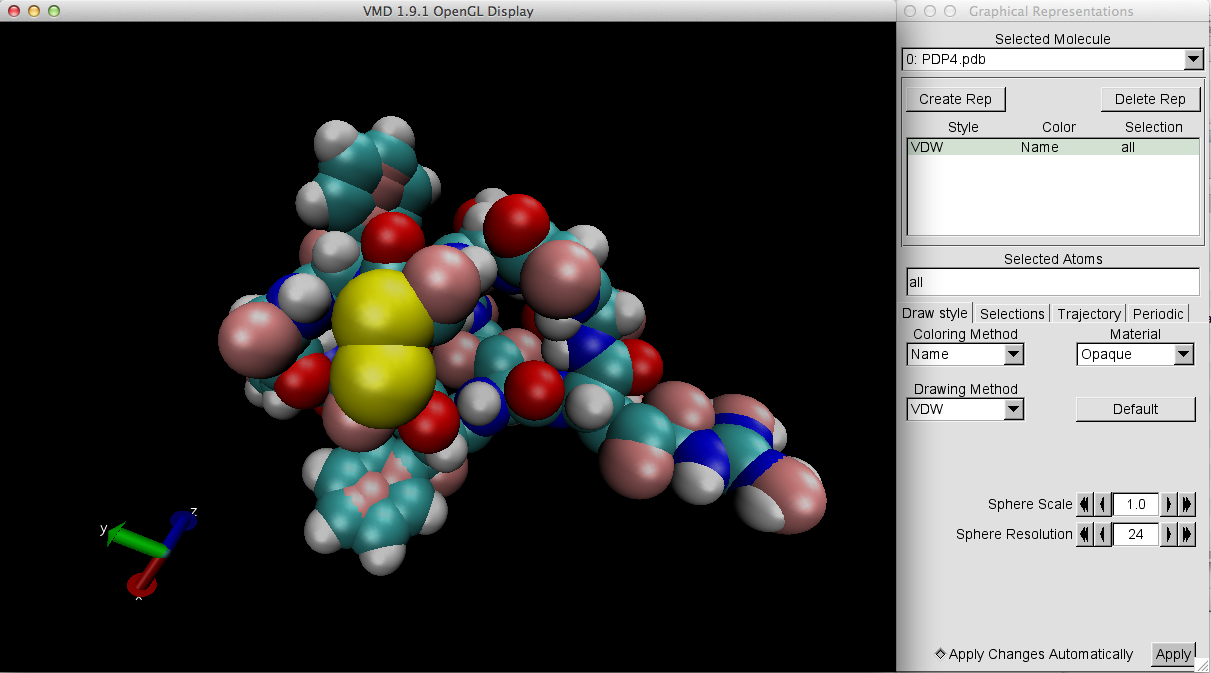

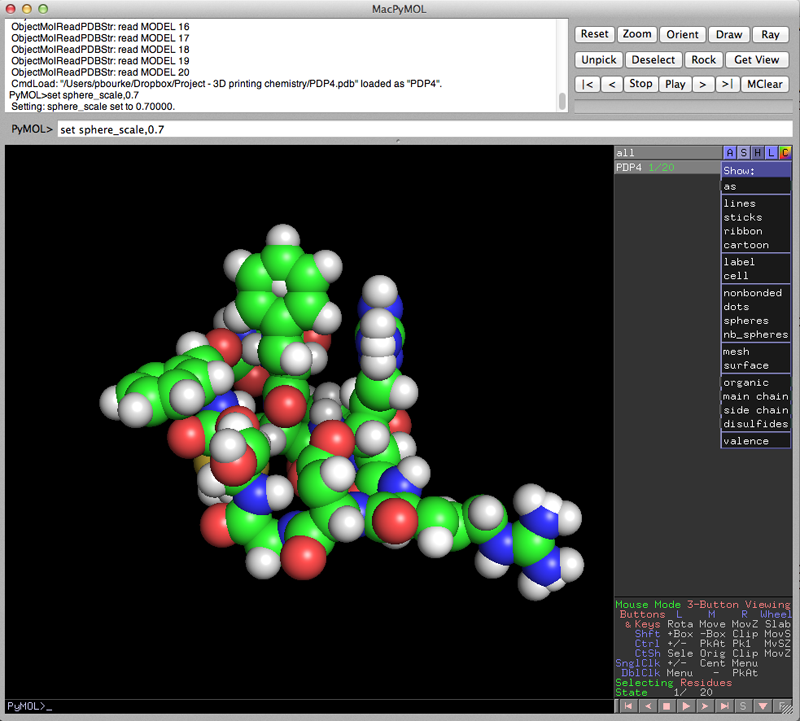
The PovRay format was chosen since it is a relatively easy format to parse in order to extract the spheres, their radius and colour, and then scale and save as wrl for upload to Shapeways (see appendix). Usage: pymol2wrl [options] povfilename Options: -s n scale factor An example of the povray file is: example.pov and an example of the output wrl file is example.wrl. Note that spheres can be represented in wrl files in multiple ways. One, and is used here is to use the sphere primitive. The risk with that is that you are relying on the RP software to tessellate the sphere suitably. The alternative is to tessellate the sphere oneself at a higher resolution, see reference to WRLSphere3() in the code above. 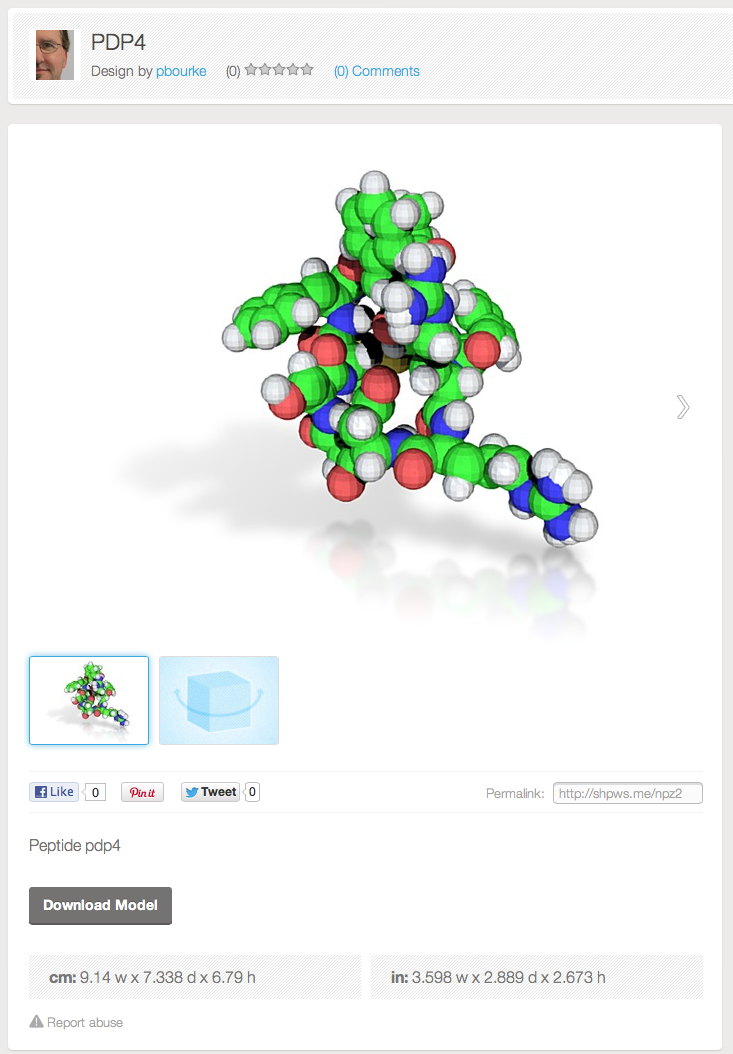
At the time of writing Shapeways allows one to upload wrl files and select units of millimeters, inches, or meters. Examples of final printed models. 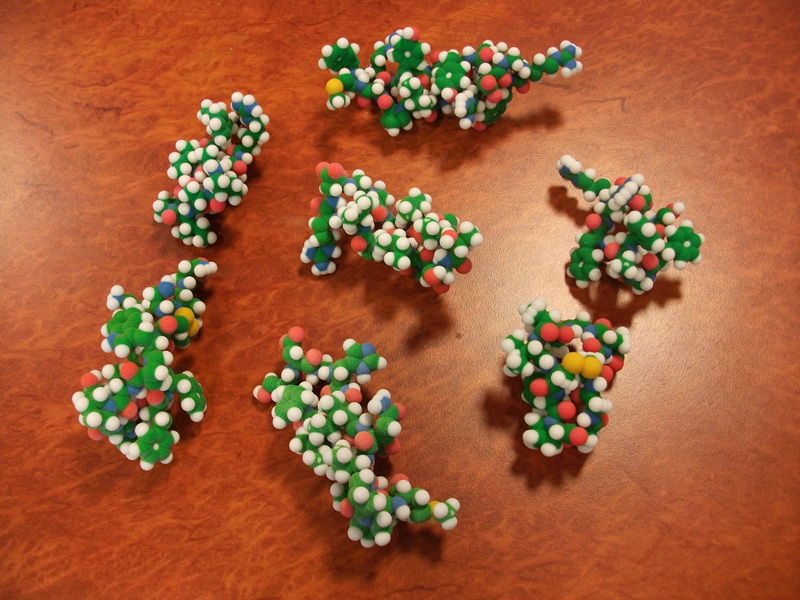
Rapid prototyping of PyMol surface models is relatively straight forward, the following outlines the steps used to create models accepted by Shapeways (see appendix). Software used is just PyMol and MeshLab. In PyMol
 In MeshLab

Unfortunately the model testing at Shapeways is overly conservative. Models that are perfectly acceptable for printing on the ZCorp printer are regularly rejected. While people creating models manually in a 3D package can normally correct such problems, there is not always the opportunity to fix models created from scientific data. At the time of writing the author is preferring to use local RP companies instead of Shapeways. 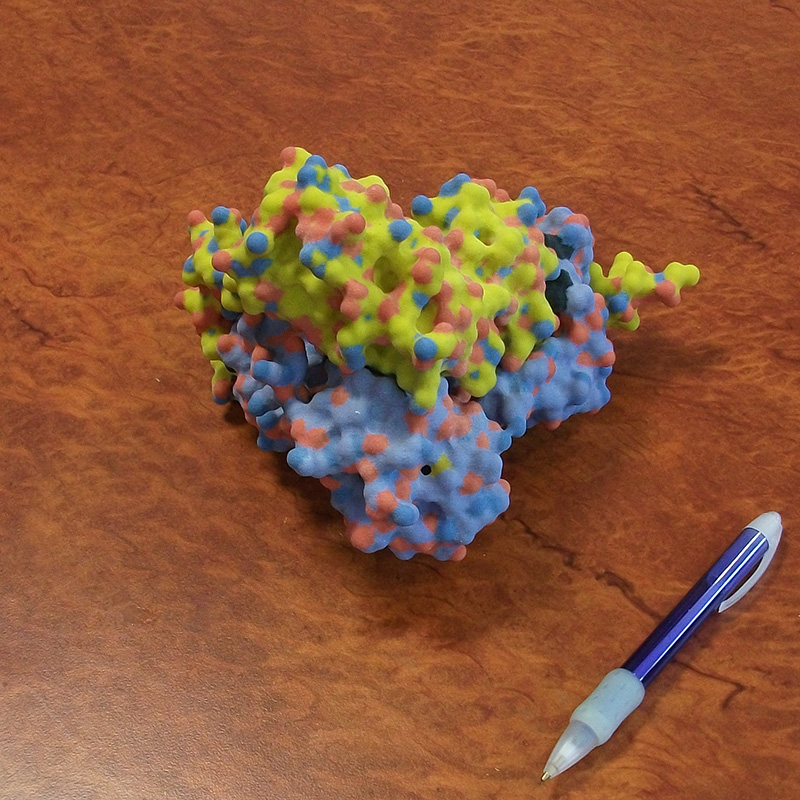
Experiments in Rapid PrototypingWritten by Paul BourkeJanuary 2005
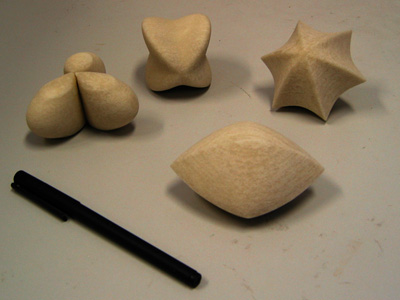
The testing here of the ZCorp colour rapid prototyping machine were geared towards determining how far one can push the technology and how useful it might be for mathematical and scientific visualisation. While these particular machines are one of the most advanced and general, they still place some significant constraints on the models they can represent. Perhaps the most serious involves the infusion process after the model has been built, the model can be extra delicate during this infusion process. This places an extra constraint on the thinnest structure over and above what the machine process can create. The machine in question has a volume of about 200 x 200 x 250 mm. The first tests below were intended to investigate the value of creating solid models of mathematical shapes, in this case supershapes.
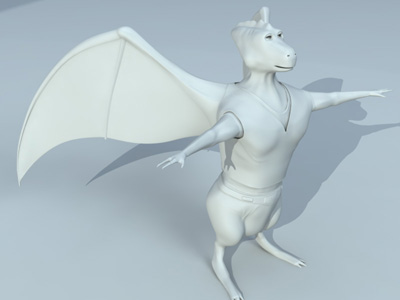
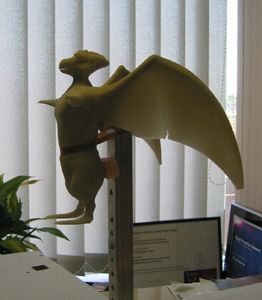
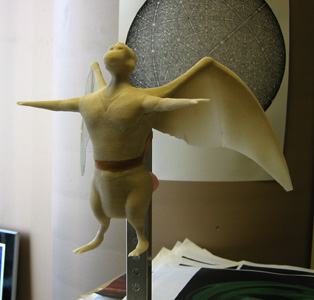
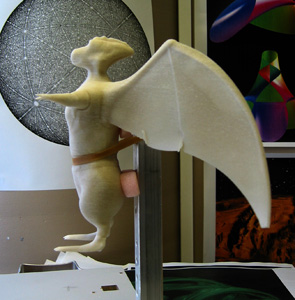
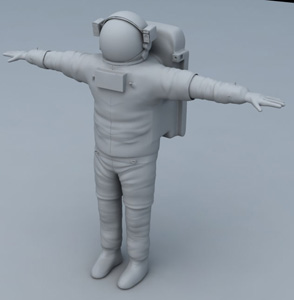
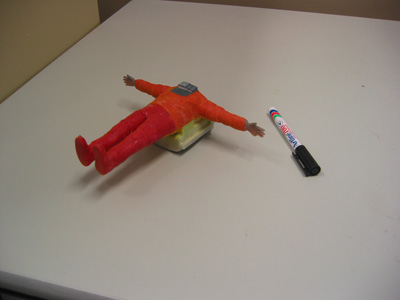
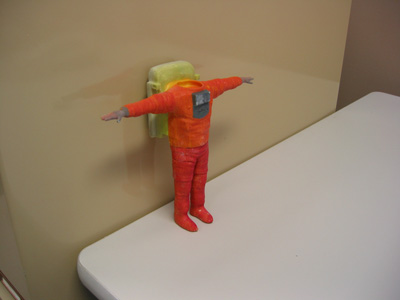
Character from an animated movie (by Russell Scott)
The following model is somewhat more demanding, firstly the wings are very thin, and secondly the model is not free standing so until it is infused with hardener it can't easily support itself. Indeed most damage to the model occurred not by the "printing" process but by the infusion process which removed the structural strength from a number of parts of the model, this seems to occur when the infusing fluid saturates right through the model.
Colour
The STL format used to represent the monochrome models here has no support for colour. The software that drives the machine expects VRML descriptions for colour models. VRML models are not difficult to create in code given parametric equations for the surfaces. The quality of the colour, see elliptic torus, was surprisingly good. This model was created intentionally with a continuous colour ramp to test this. With regard to mathematical visualisation, it is immediately obvious once it is placed on a table that the tetrahedral ellipse is perfectly flat on all sides, something that is not at all obvious from computer based exploration. 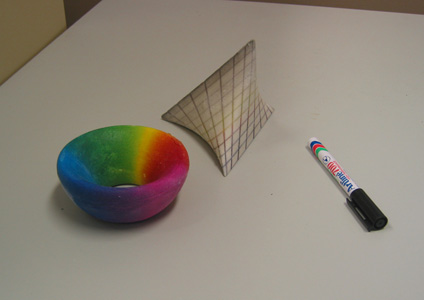 Elliptic Torus and Tetrahedral Ellipse
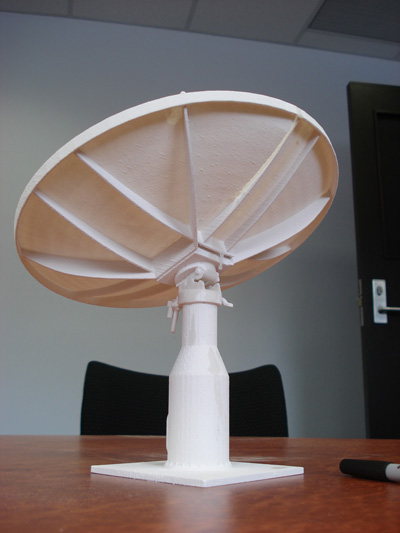
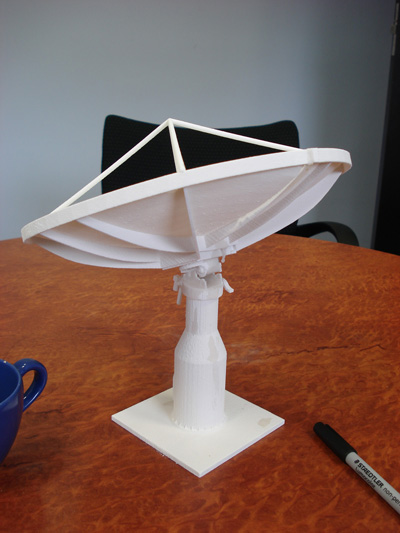
Other examples (2007)ASKAP telescope model
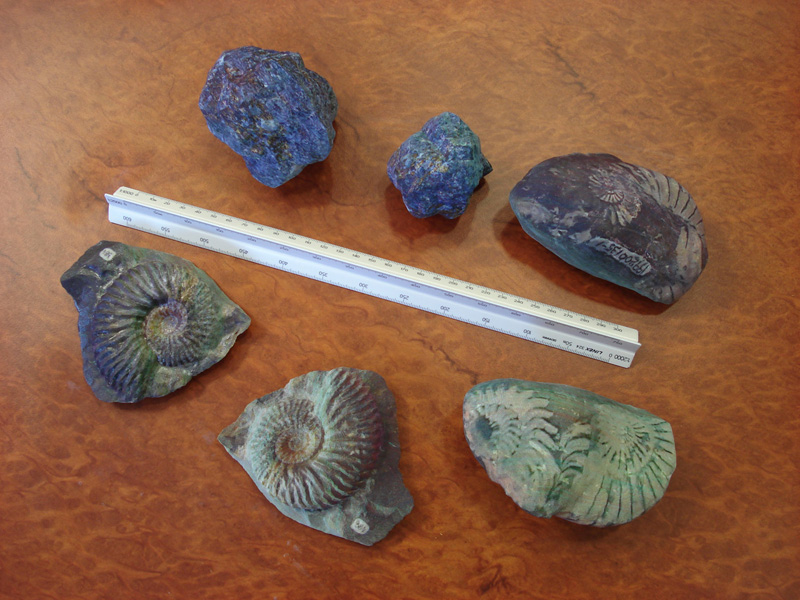
Rocks and fossils
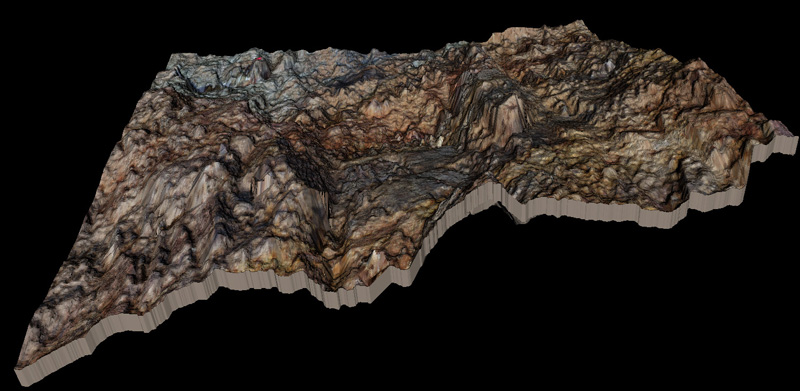
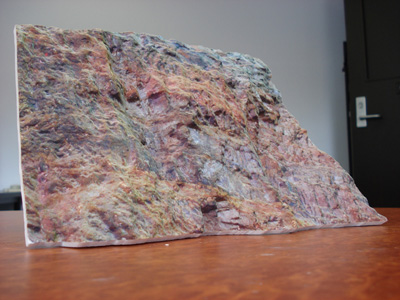
Sirovision cliff face modelsIn the following a terrain (cliff) was recreated, the original surface and texture map is automatically generated by taking two photographs of the cliff face. Software called "Sirvision" can then recreate a 3D mesh surface from the two images, one of the images can additionally be applied as a texture map. 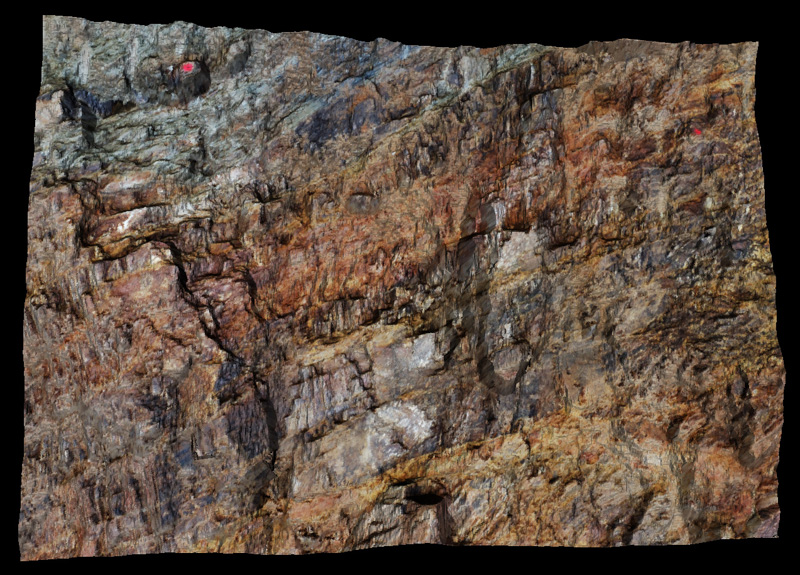
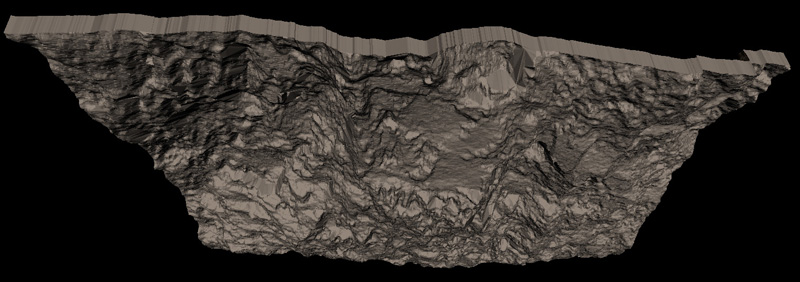
In general successful rapid prototyping require solid objects, not just (infinitely thin) surfaces. This is certainly true for the ZCORP machines, while the model can be structurally strong after curing, it can be quite delicate beforehand. The surface mesh here is simply extruded a fixed distance, this works because the surfaces here don't have "caves".
The following are two images of the modelled surface.
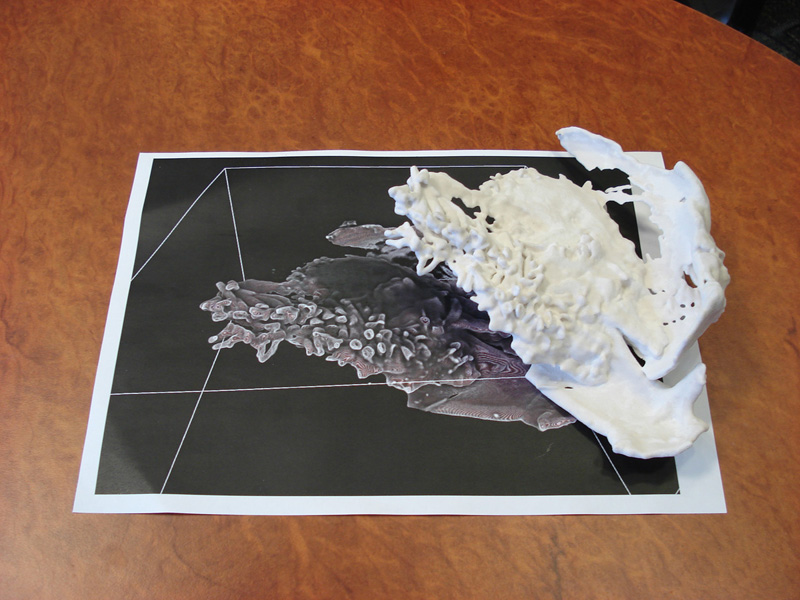
400 million year old Placoderm embryo
 Calabi-Yau model
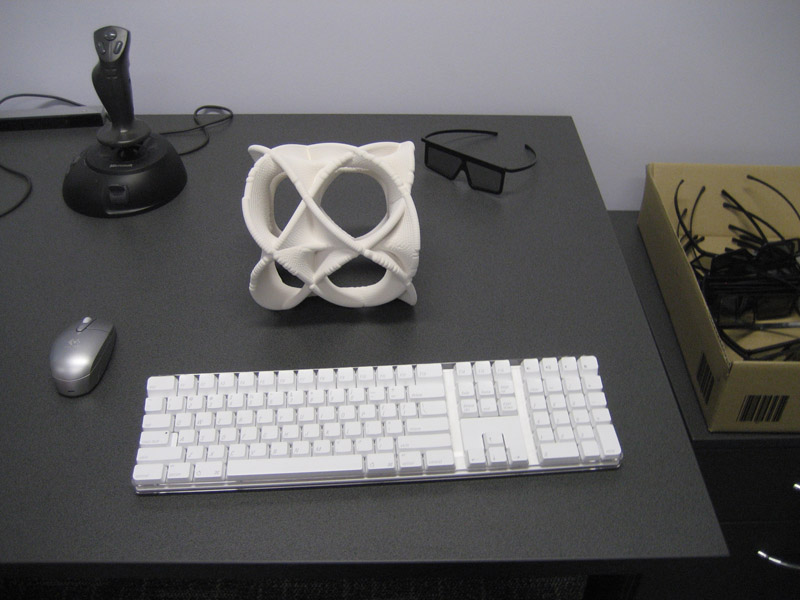 Examples from 2012-2014
Photogrammetrically derived bust of Socrates, UWA. 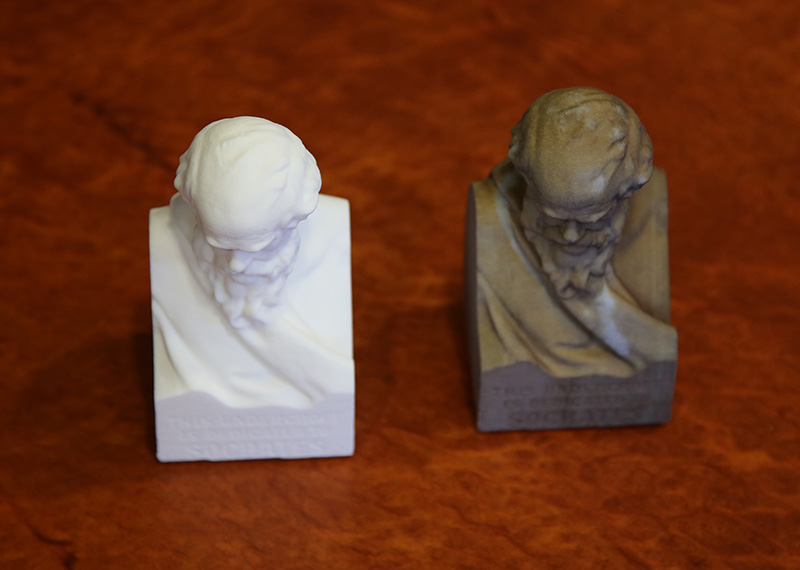
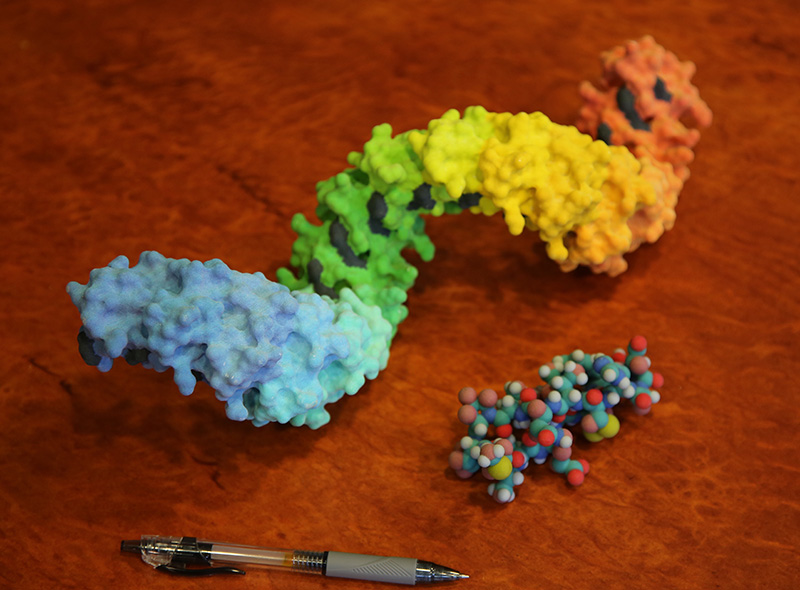
Peptide 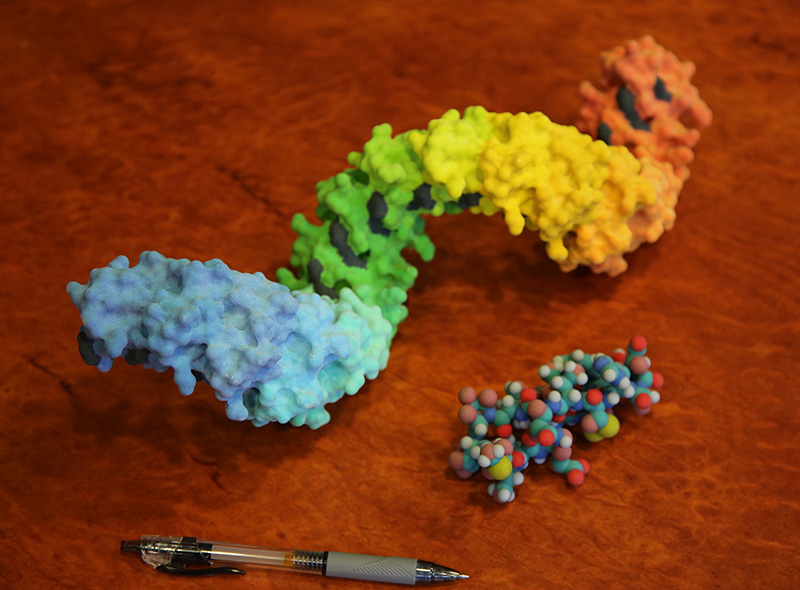
Mine Pit 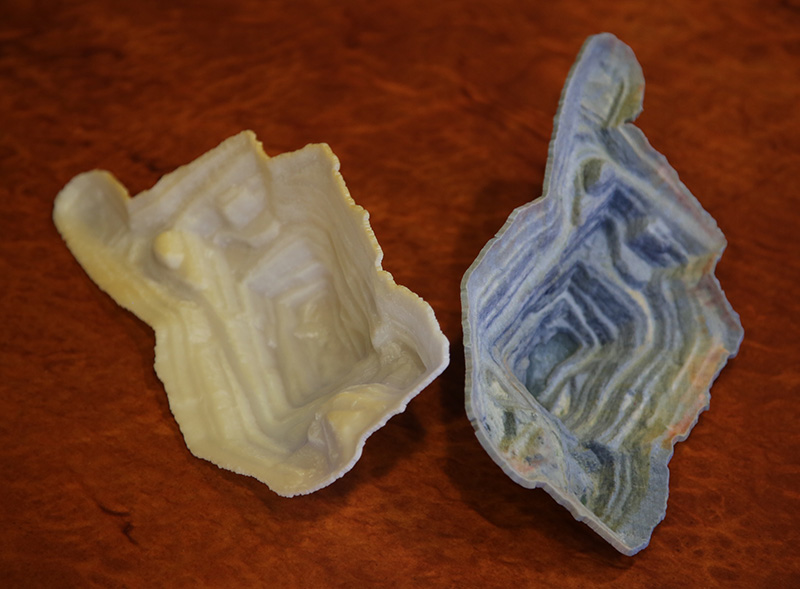
Earths Oceans 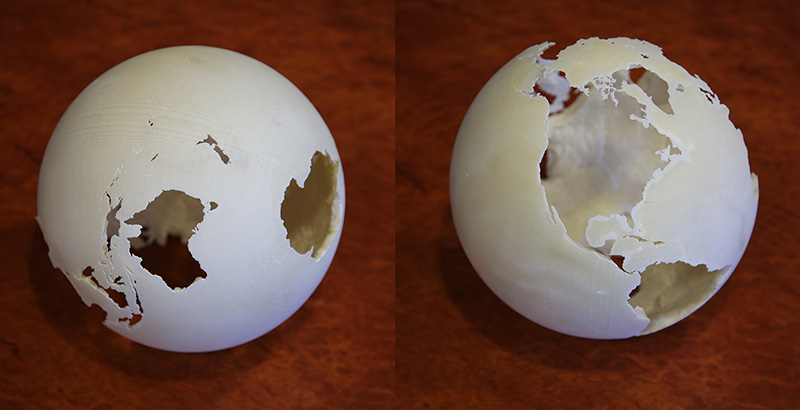
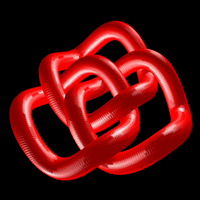
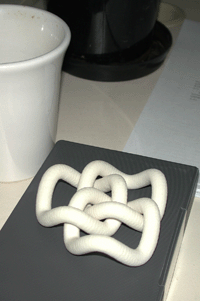
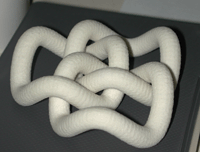
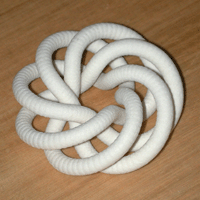
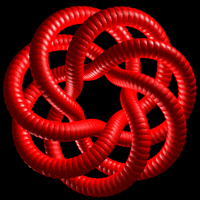
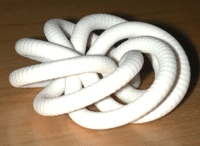
Knots 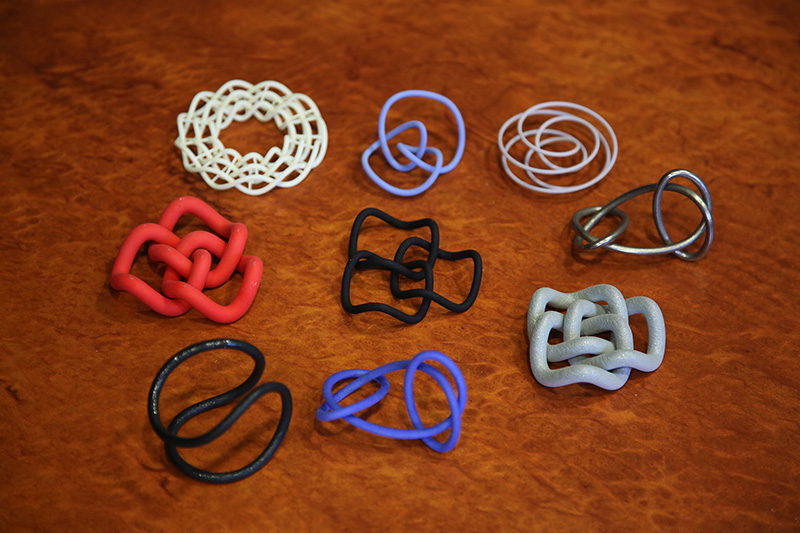
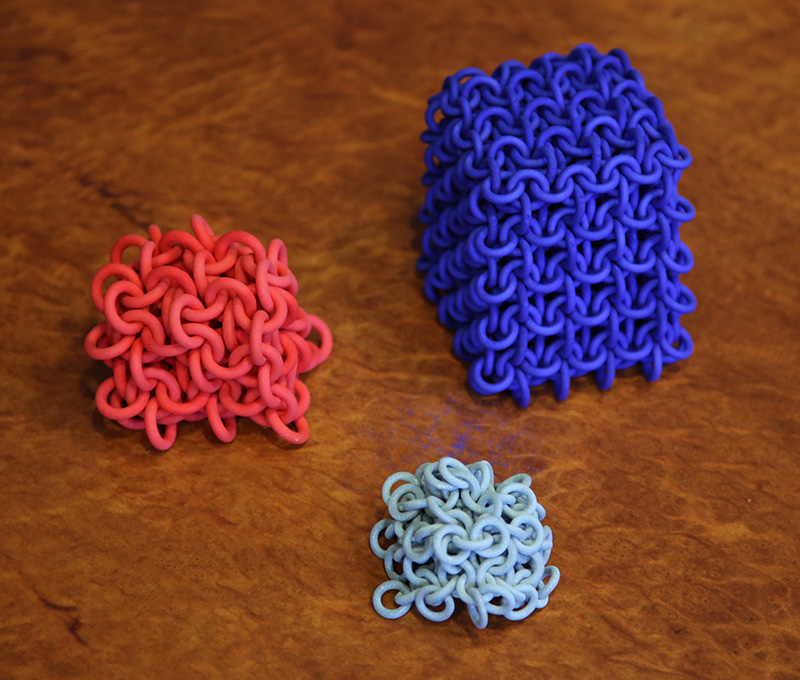
Chain mail 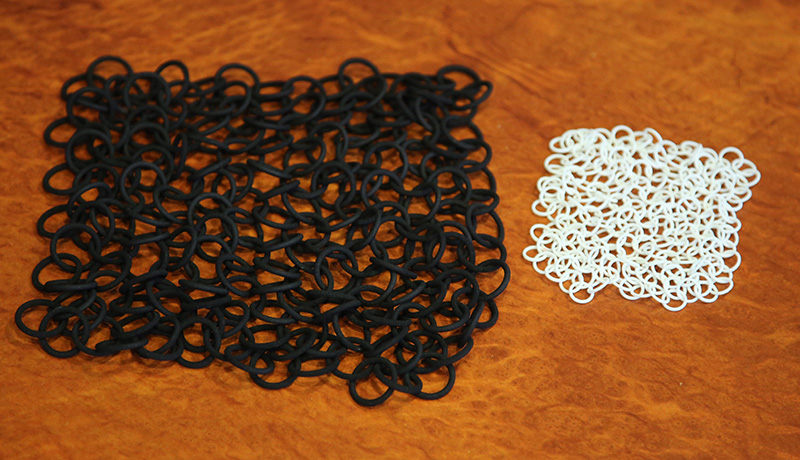
PhotoScan to ShapewaysWritten by Paul BourkeJune 2015
The following are some brief notes around the conversion of PhotoScan reconstructed models to Shapeways for 3D printing. Some additional notes can be found here around editing in MeshLab and thickening in Blender. This document is mostly aimed at the file formats available from PhotoScan and the requirements for Shapeways. As is often the case the difficulty here arises from poor software support, in this case it arises from deficiencies on the Shapeways site, they are: incomplete support for textured meshes through OBJ and 3ds files, the incomplete support for zip archives (in this case those created on the Mac by MacOSX). Build model in PhotoScan
It is assumed here that the model is a closed surface, that is, has no holes. PhotoScan has a number of tools to facilitate this, see the hole closing and the extrapolation option in the mesh building stage.  Example used in this tutorial Export
At the time of writing the following formats are recommended on the Shapeways site. 
The following export formats are available from PhotoScan. 
A commentary/comparison of the formats in common is
Zip
The preferred formats then are: obj, 3ds and dae. Unfortunately Shapeways has discontinued obj support. At the time of writing Shapeways rejects the 3ds file from PhotoScan, despite every other package tried working fine. So, only dae left. The last part of the story is how to combine all the assets (geometry file and texture) into one package for Shapeways. Instead of offering multiple file uploads of the assets, pretty simple these days, they insist on a single zip file. Unfortunately it seems Shapeways is a little fussy over what can be in the zip file. Specifically, the zip file that MacOSX creates by selecting files and right clicking isn't accepted, despite every other unzip (and other 3D printing companies) accepting it. If one is familiar with the command line then this creates a zip file that Shapeways can handle. zip slab3.zip slab3.jpg slab3.dae There are no doubt zip utilities that create zip files acceptable to Shapeways, however iZip does not work, the uploaded zip files seem to crash the Shapeways upload system. Keka does seem to work. YemuZip does seem to work. Others can be tried by the reader ... note that the issue seems to be around other files some zip applications include in the archive, so disabling that in the applications preferences (if possible) is encouraged.  Notes
|
