Workflow for reconstruction using PhotoScan: A beginners guidePaul BourkeNovember 2013 Hindi version courtesy of Mahesh Varma Hindi version courtesy of the editorial team at Hotdiscountcode.com
The following example is one possible work flow for beginners wanting to reconstruct 3D models using the PhotoScan software, considered by the author at the time of writing to be clearly the superior software solution if one considers price, performance and quality of the results. The work flow was intended for researchers creating 3D databases of Australian Indigenous rock art. It is also intended to be the "first pass", more experimentation and some of the advanced features of PhotoScan can be used if/when there are problems. As with all such guides it is linked with a particular version of the software, in this case the beta release of version 1.0. Add photos: Workspace tab
Images to be included for the reconstruction process are added to the project by clicking on the icon with the + symbol, under the Workscape tab. For some hints on lenses and how to capture for reconstruction please consult this page. 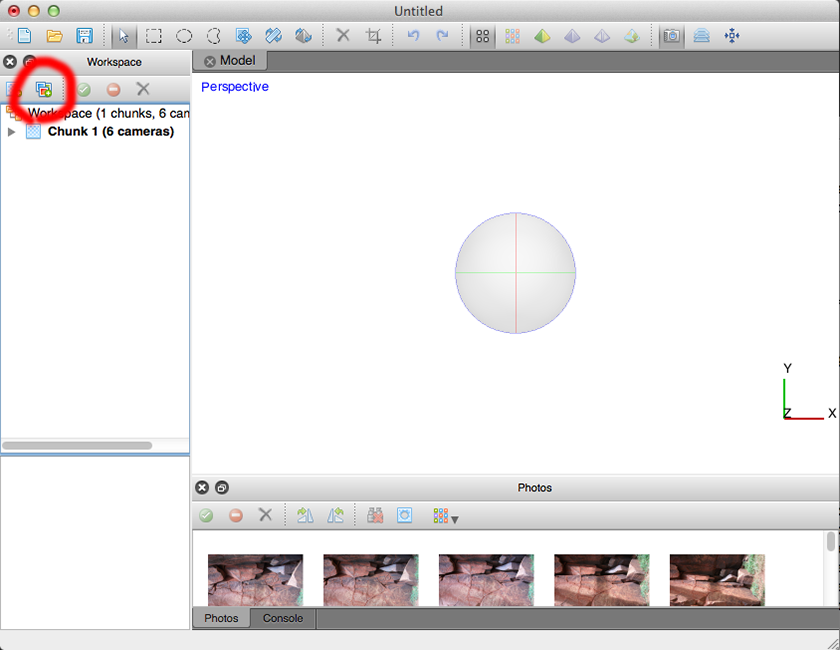 Align images: Workflow menu
It is recommended that high accuracy and pair selection be disabled and the sparse point cloud operation be limited to 200,000 points.  Build dense (point) cloud: Workflow menu
It is suggest medium quality be used to start with and moderate depth filtering. The quality setting is highly non-linear, in that the processing times increase rapidly for the high and ultra-high settings. 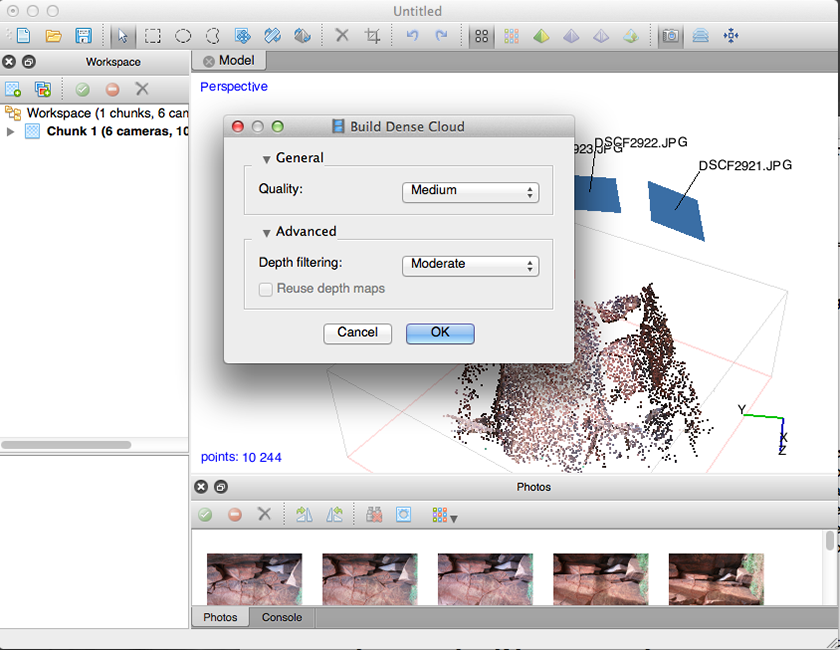
Next, select dense point cloud view and remove unwanted points using the delete and crop tools. 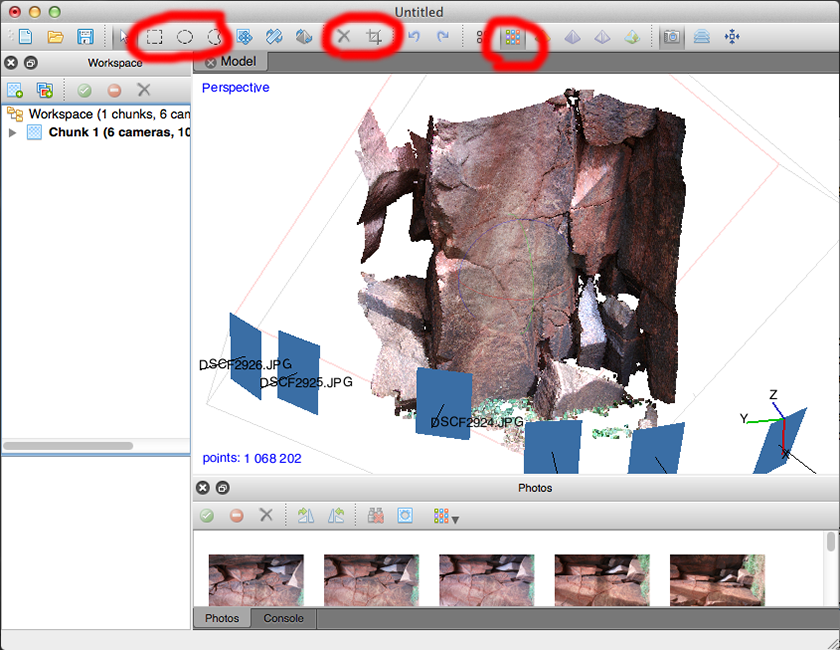 Build mesh: Workflow menu
Base the mesh on the dense point cloud. 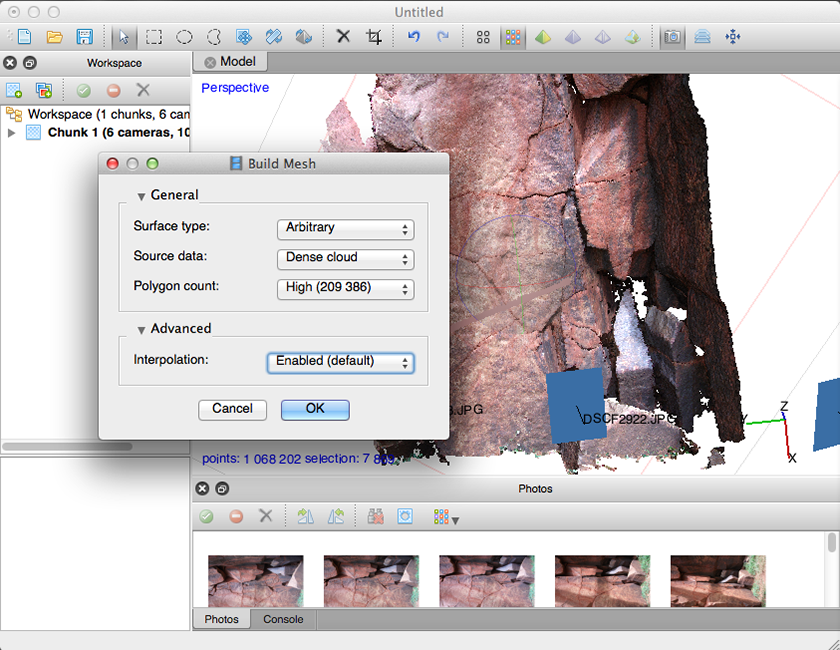
Next, view the surface. Triangles can additionally be removed at this stage and future stages using the same tools used to remove dense mesh points, however the author believes the main model clean-up is best performed on the dense point cloud. Editing here and at later stages tends to result in more jagged edges. 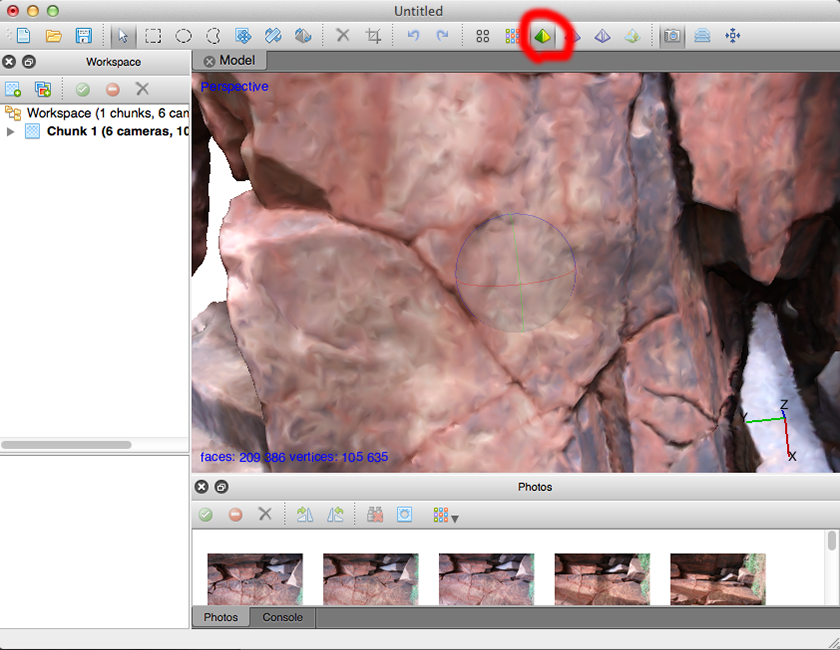
The surface texture at this point is just an interpolation of the dense point cloud colours and thus appears blurred. Build textures: Work flow menu
Up to this point the underlying geometric detail is being created. Textures will give a higher visual appearance and while this may be desirable for virtual environments and other experiential applications, it can suggest a higher level of geometric detail than actually exists. The author suggests 4 x 4096 textures for an archive quality asset. 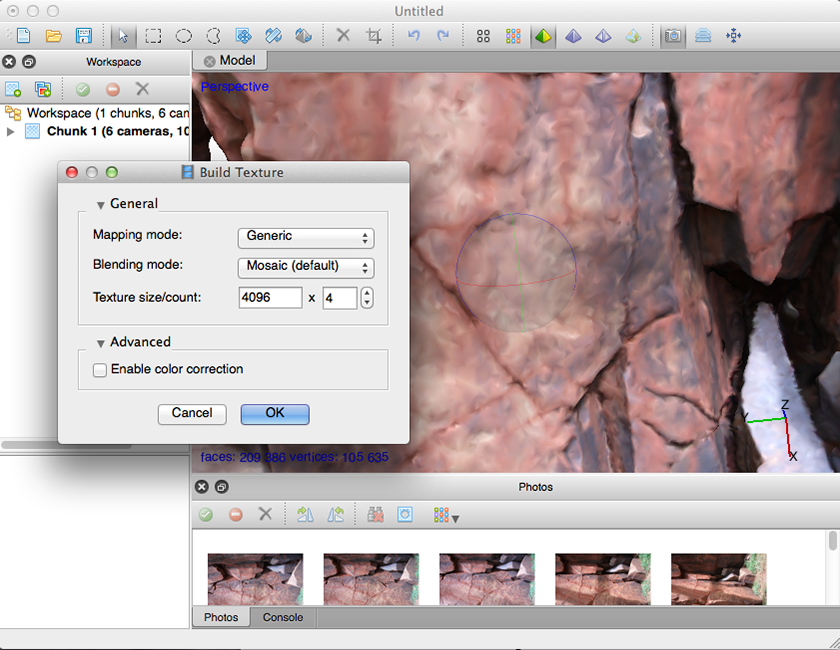
One view of a textured model. 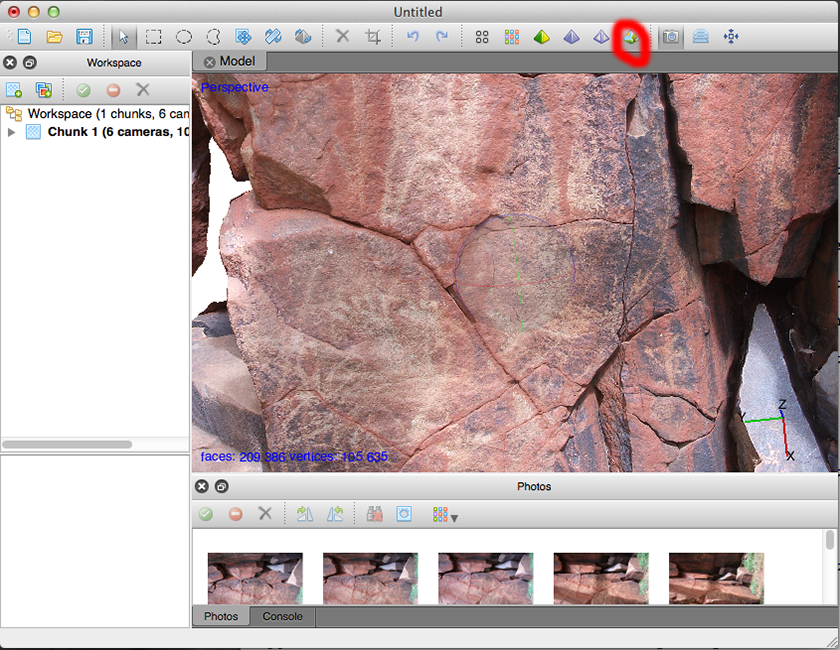
The reconstruction progress can be saved at any stage (.psz files), one should save at regular intervals, generally the .psz file would be saved in the same directory as the images. This .psz file allows one to go back and redo steps in the pipeline if higher quality is required or to attempt to fix problems. Close holes: Tools menus
A common post-processing step is to close holes, although ideally these would not occur with careful or optimal camera shots. The slider will close increasingly larger holes as it moves to the right. 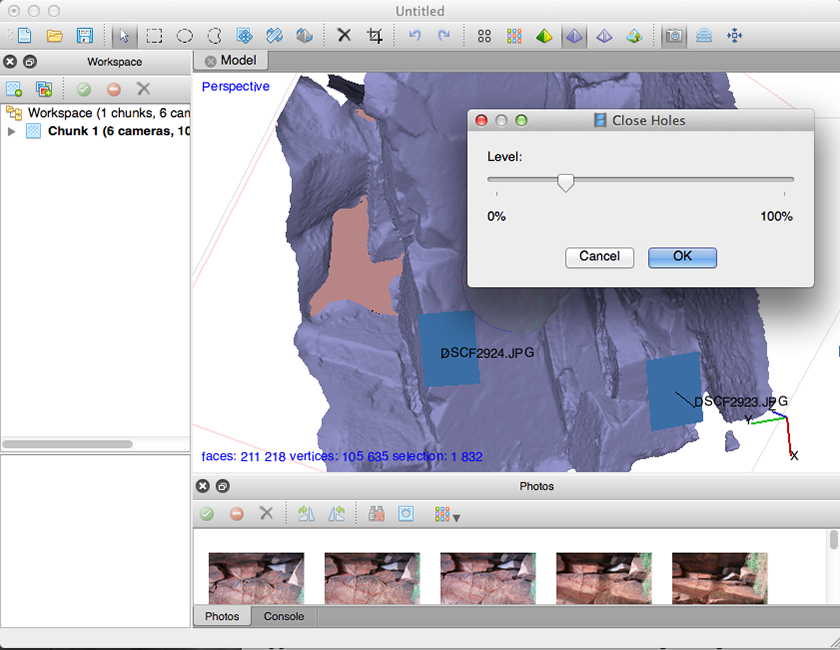
A reality check on the geometric detail can be achieved by using the solid or wire frame display options. 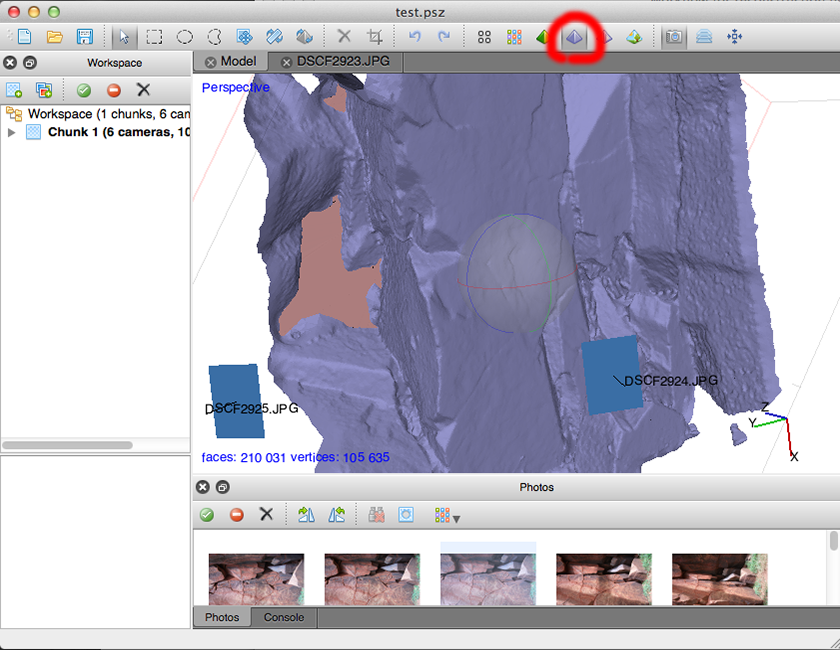 Export model: File menu
The two most common file formats are fbx (for example the most reliable input into Unity3D) and OBJ which is a simple and standard import into many/most 3D modelling packages. An example of this model be found here: objsample.zip. 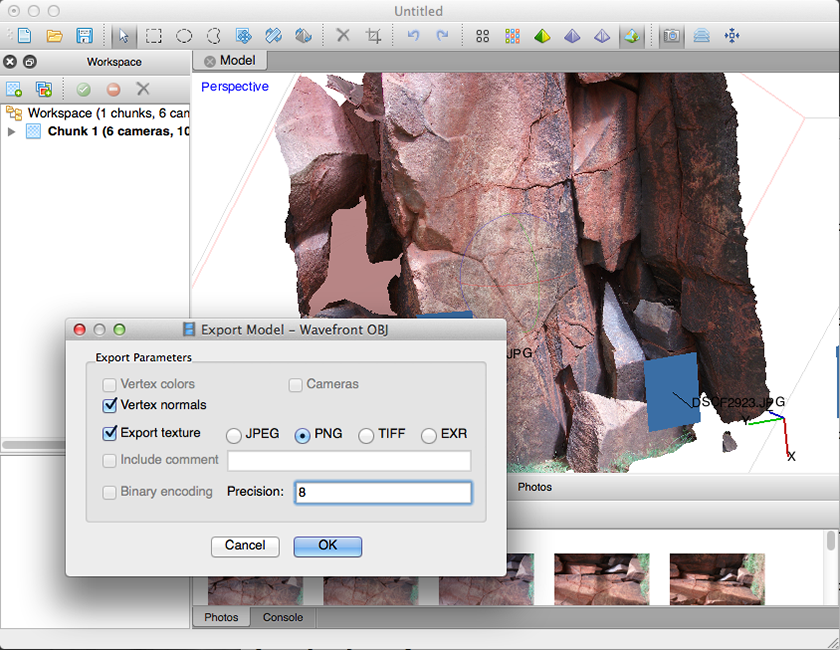
An OBJ export results in a number of different files as can be seen in the example below. 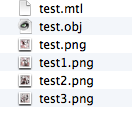
The geometry is stored in the .obj file, this is just a plain text file so can be opened in a text editor. It consists of a list of vertices (lines starting with "v"), normals (lines starting with "vn"), texture coordinates (lines starting with "vt"), and finally a description of each triangular face (lines starting with "f"). The .mtl file describes the material properties of the triangles, these will be further linked to one of the 4 texture files created or in the case of filled holes it will be a single colour. In summary, to successfully use the OBJ format these files need to be kept together. Additional tools
Besides a myriad of commercial tools that can import these meshes for rendering and animation, two particular free tools are Blender and Meshlab. Meshlab provides a number of leading edge mesh editing/processing algorithms. For example, while it is possible to subdivide the mesh in PhotoScan, this can also be achieved in MeshLab. 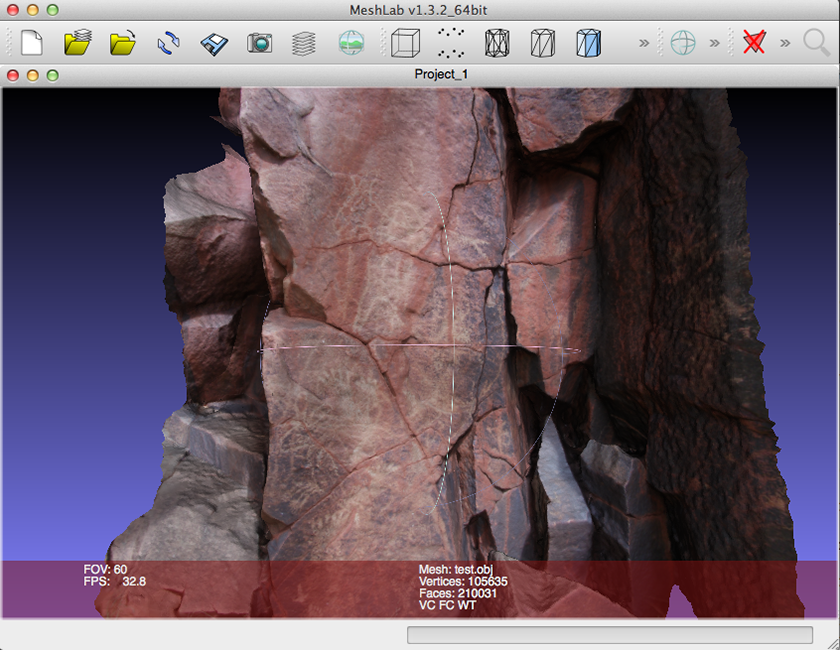
Blender is used by the author to, amongst other things, thicken the reconstructed surface making them suitable for solid 3D printing. 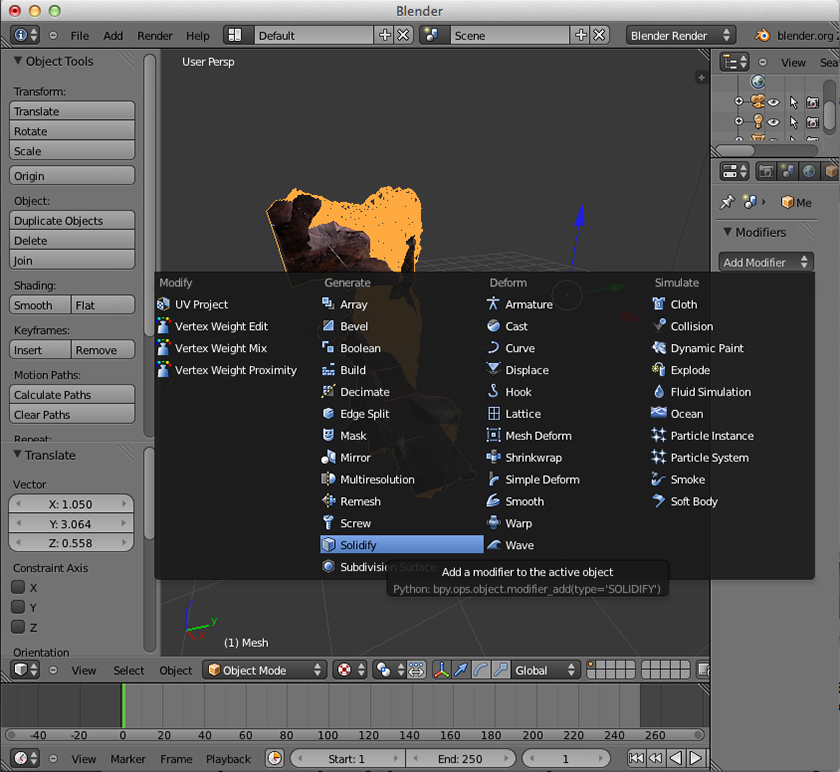
The texture files created when exporting to OBJ and fbx (among others) are ordinary PNG files. As such they can be readily edited to change the appearance of the textured surfaces. Noting of course that if multiple textures are created then each image needs to be edited identically to avoid artefacts. 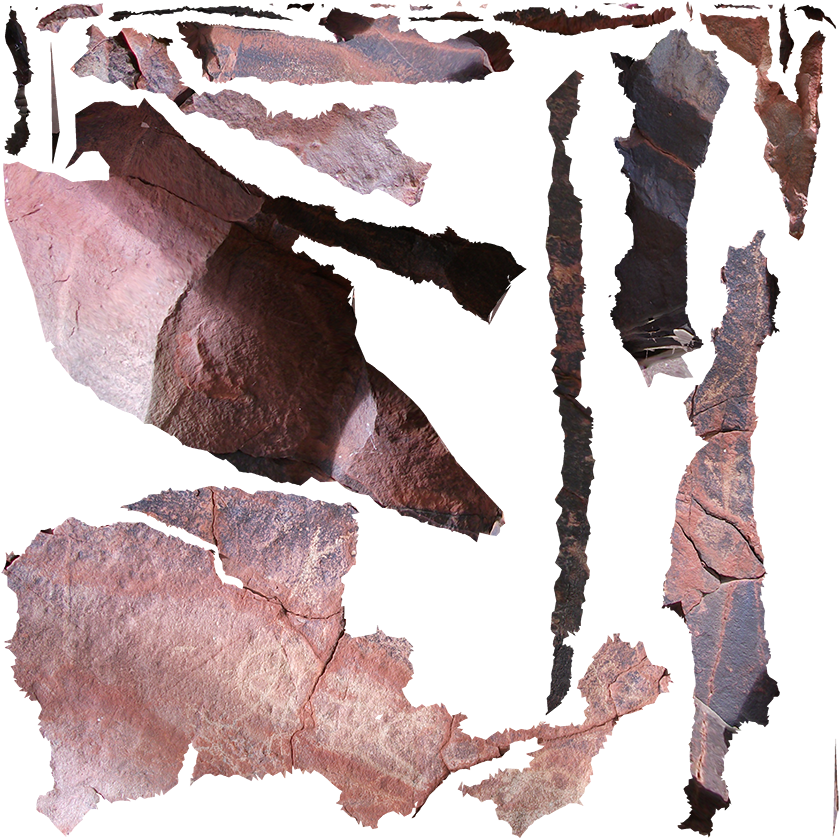
|