Creating depth maps using PovRayWritten by Paul BourkeSeptember 2019
Norwegian translation courtesy Lars Olden.
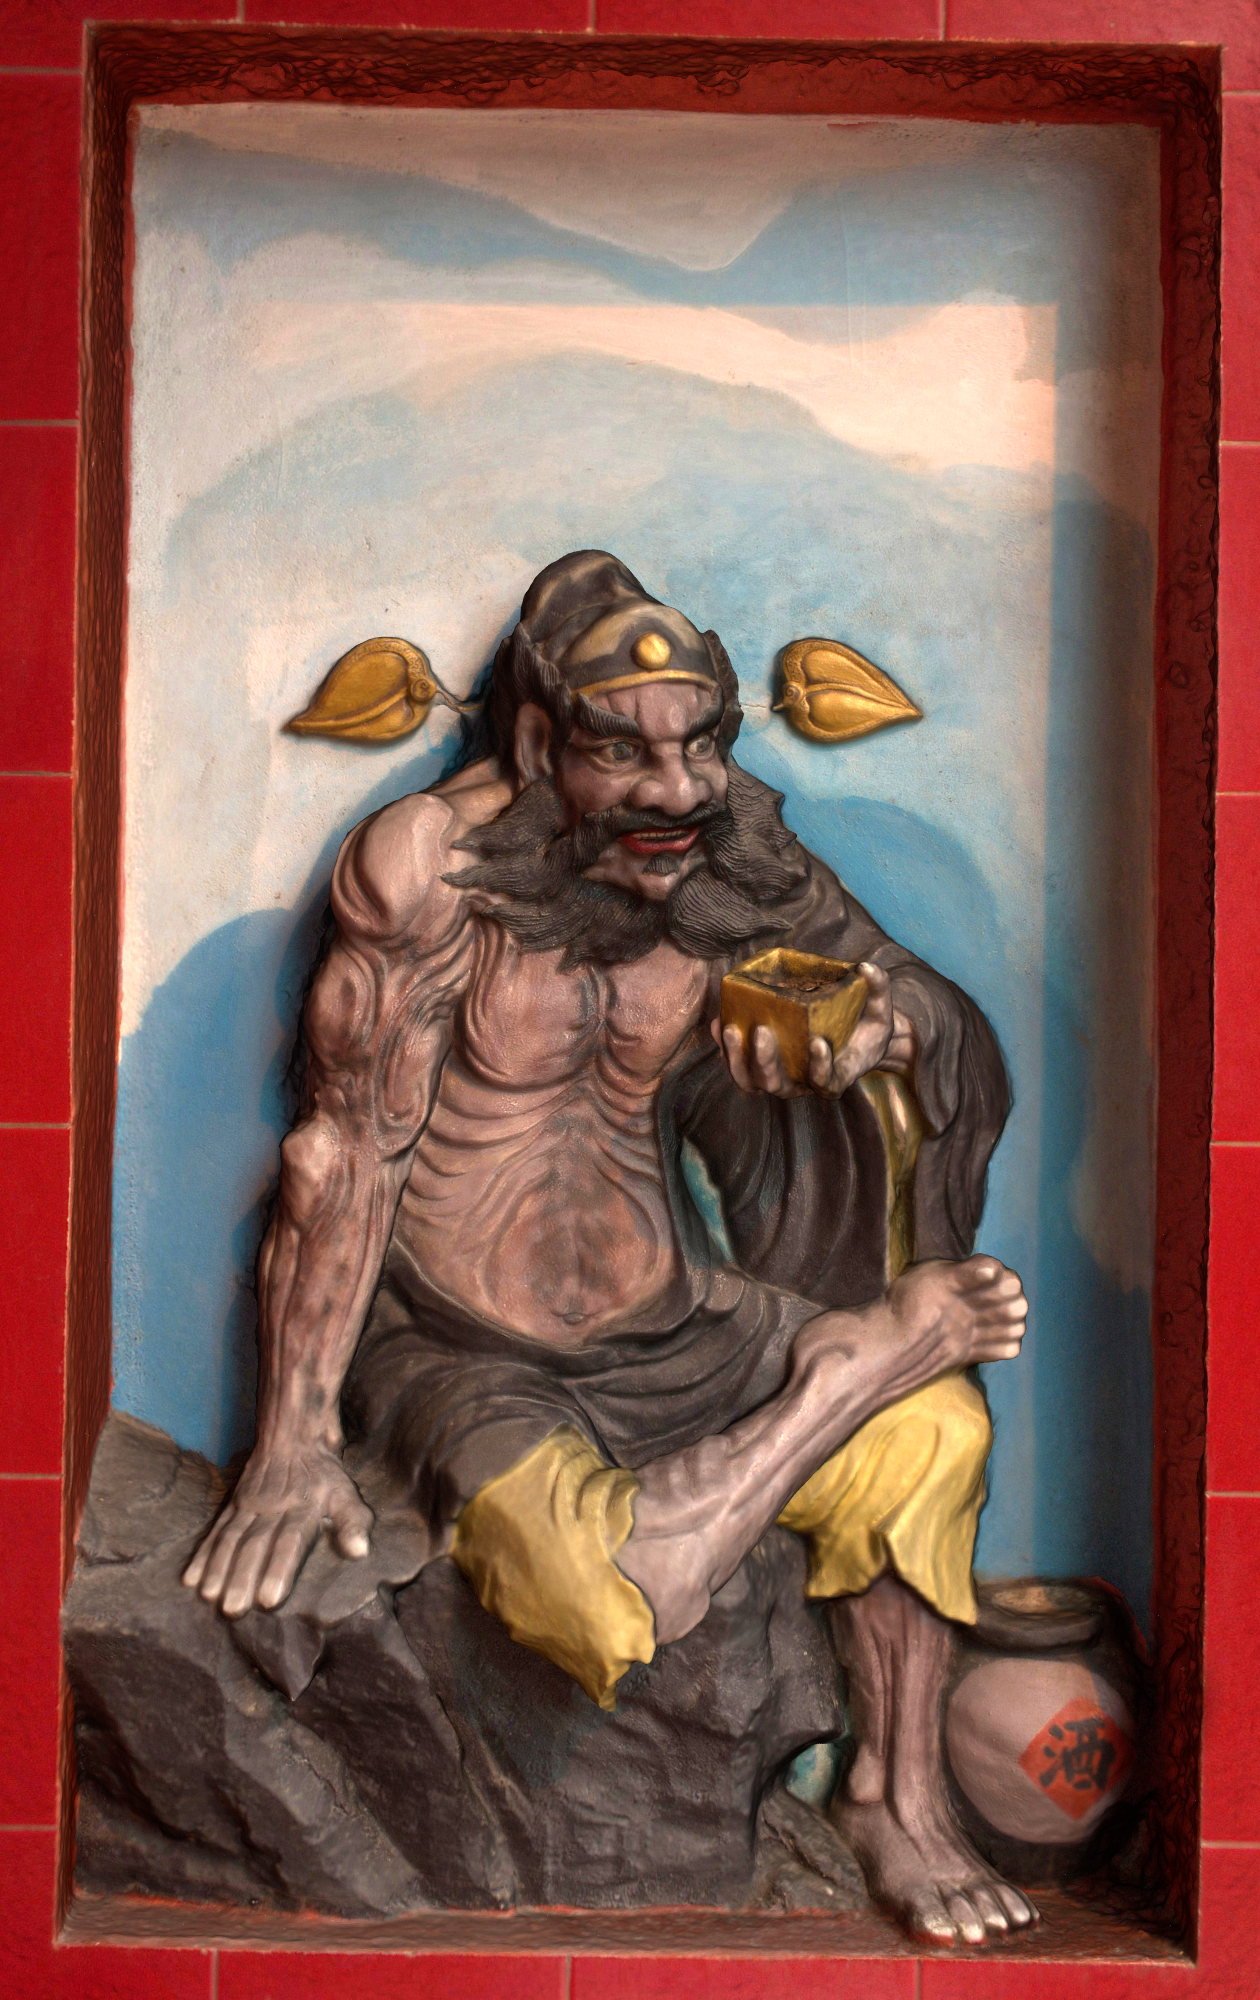
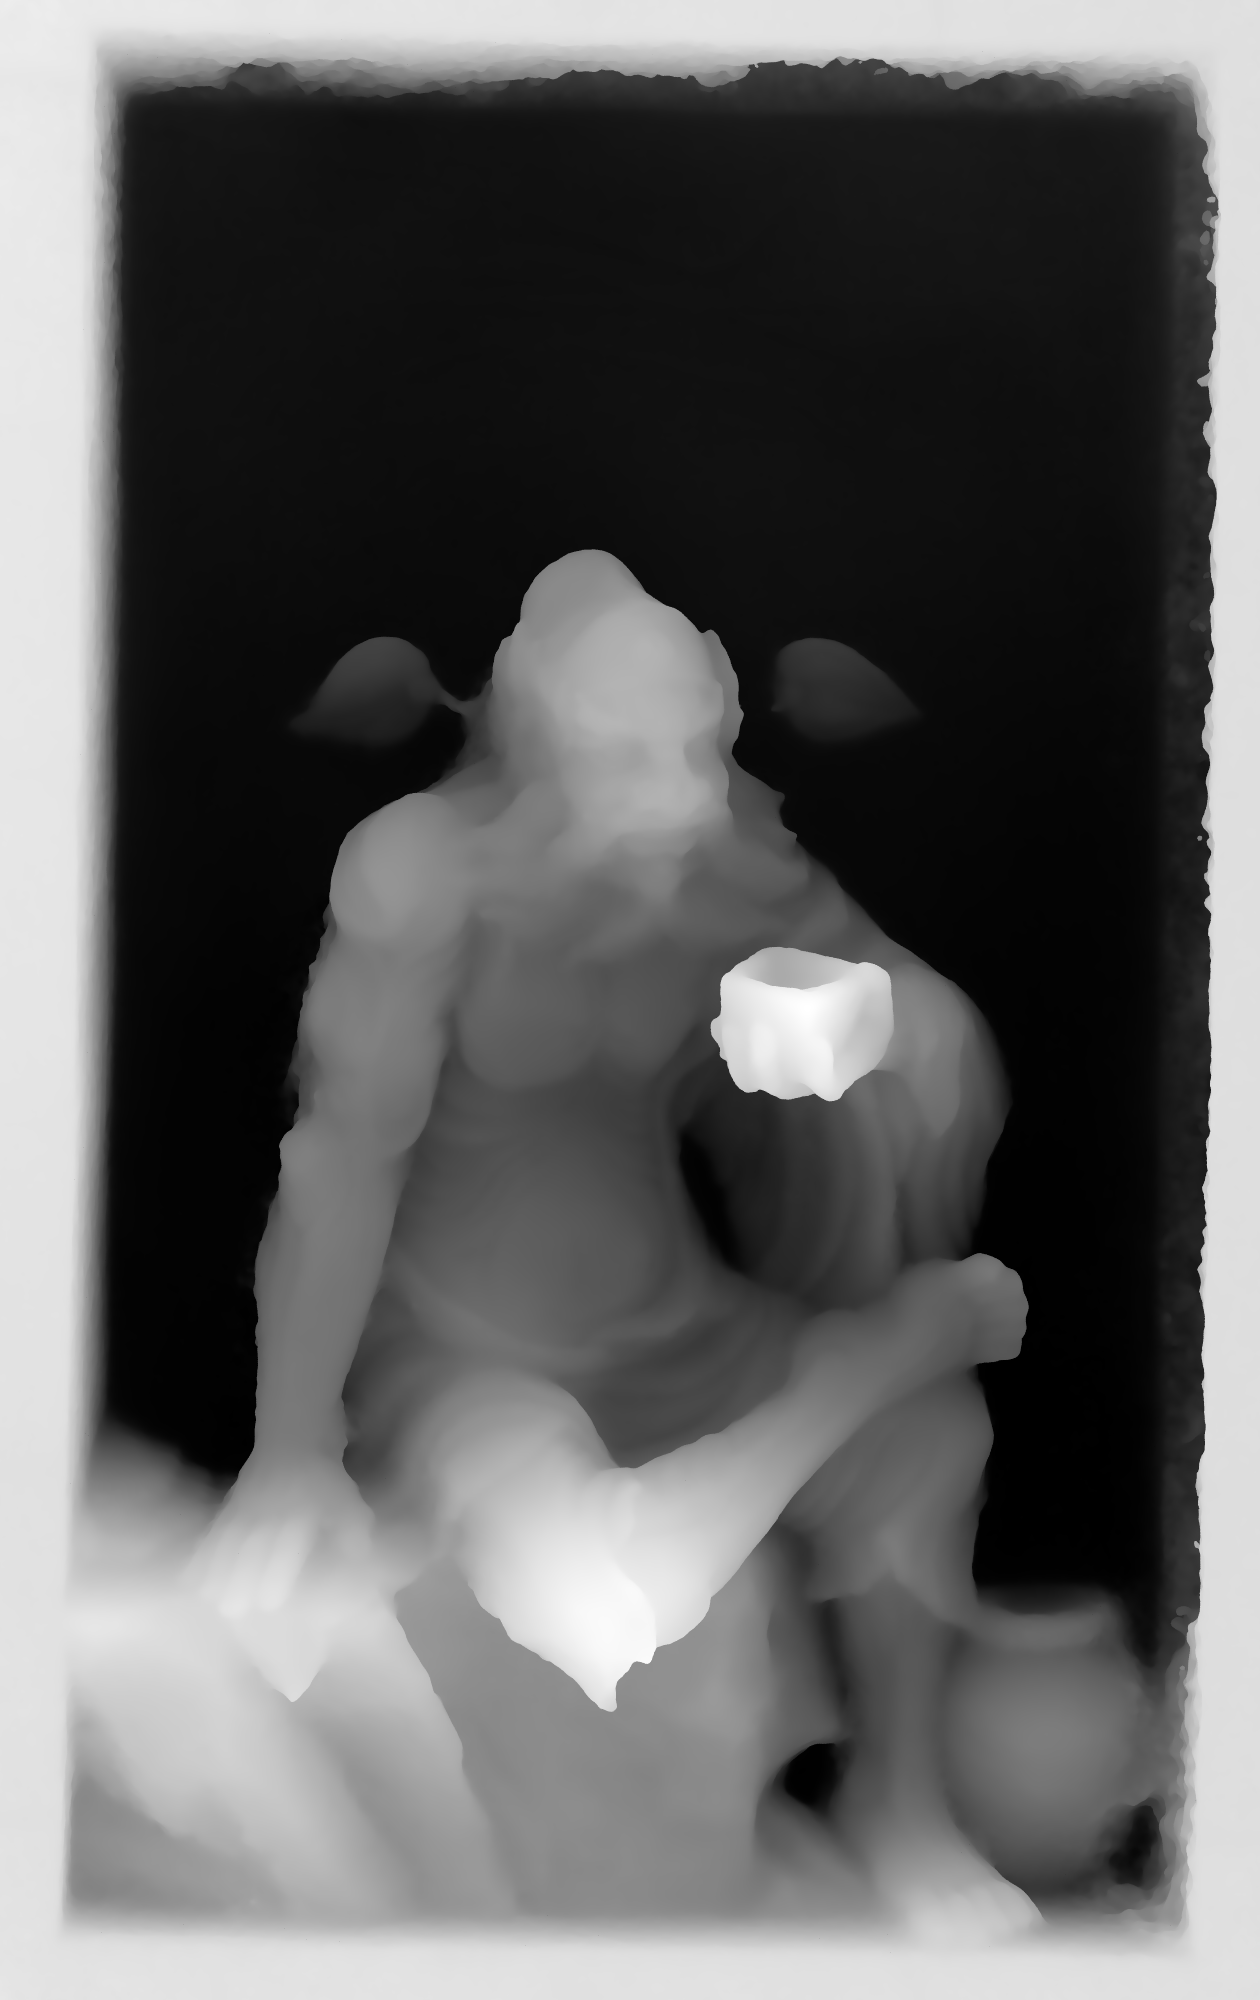
The following is a short instructional guide to how to create depth maps using PovRay. There are various applications in stereoscopy why one might want to do this, but the motivation at the time of writing was to create depth maps for FaceBooks "3D model" images. These take an image along with an associated depth map image allowing a viewer to slightly change their view point left-right-up-down. An example of what FaceBook accepts when a 3D model is uploaded, is illustrated below. It consists of the primary image along with a secondary image with the same name but with "_depth" appended. Obviously these are expected to match, that is, are rendered from the same view position. In this secondary image white refers to objects close to the camera and black to objects further away.
Depth maps can be generated in a number of different ways. For example, one can manually mask regions of almost constant depth and create depth maps in an image editing package. Depth maps can be created by taking a number (2 or more) photographs of an object or scene and using photogrammetric techniques derive depth maps. In the discussion here we are only going to present how to use PovRay to create depth maps of an existing 3D model. The principles are likely to be similar in other rendering packages but the terminology will be different. For example the reference below to a gradient pigment would in other packages be called a shader. The basic features of PovRay that can be used to create depth maps is a combination of a "gradient" pigment and "colour_maps". A gradient pigment generates a number between 0 and 1 depending on the position in space of a point on the surface of the object. A colour_map is used to map that value to black-white ramp that is ultimately mapped back to depth. The following PovRay code snippet for the texture might be used.
   #declare thetexture = texture {
      pigment {
         gradient z
         color_map {
            [0 color rgb <1,1,1> ]
            [1 color rgb <0,0,0> ]
          }
         scale <1,1,ZMAX-ZMIN>
         translate <0,0,ZMIN>
      }
      finish { ambient 1 diffuse 0 specular 0 }
   }
Notes on the above:
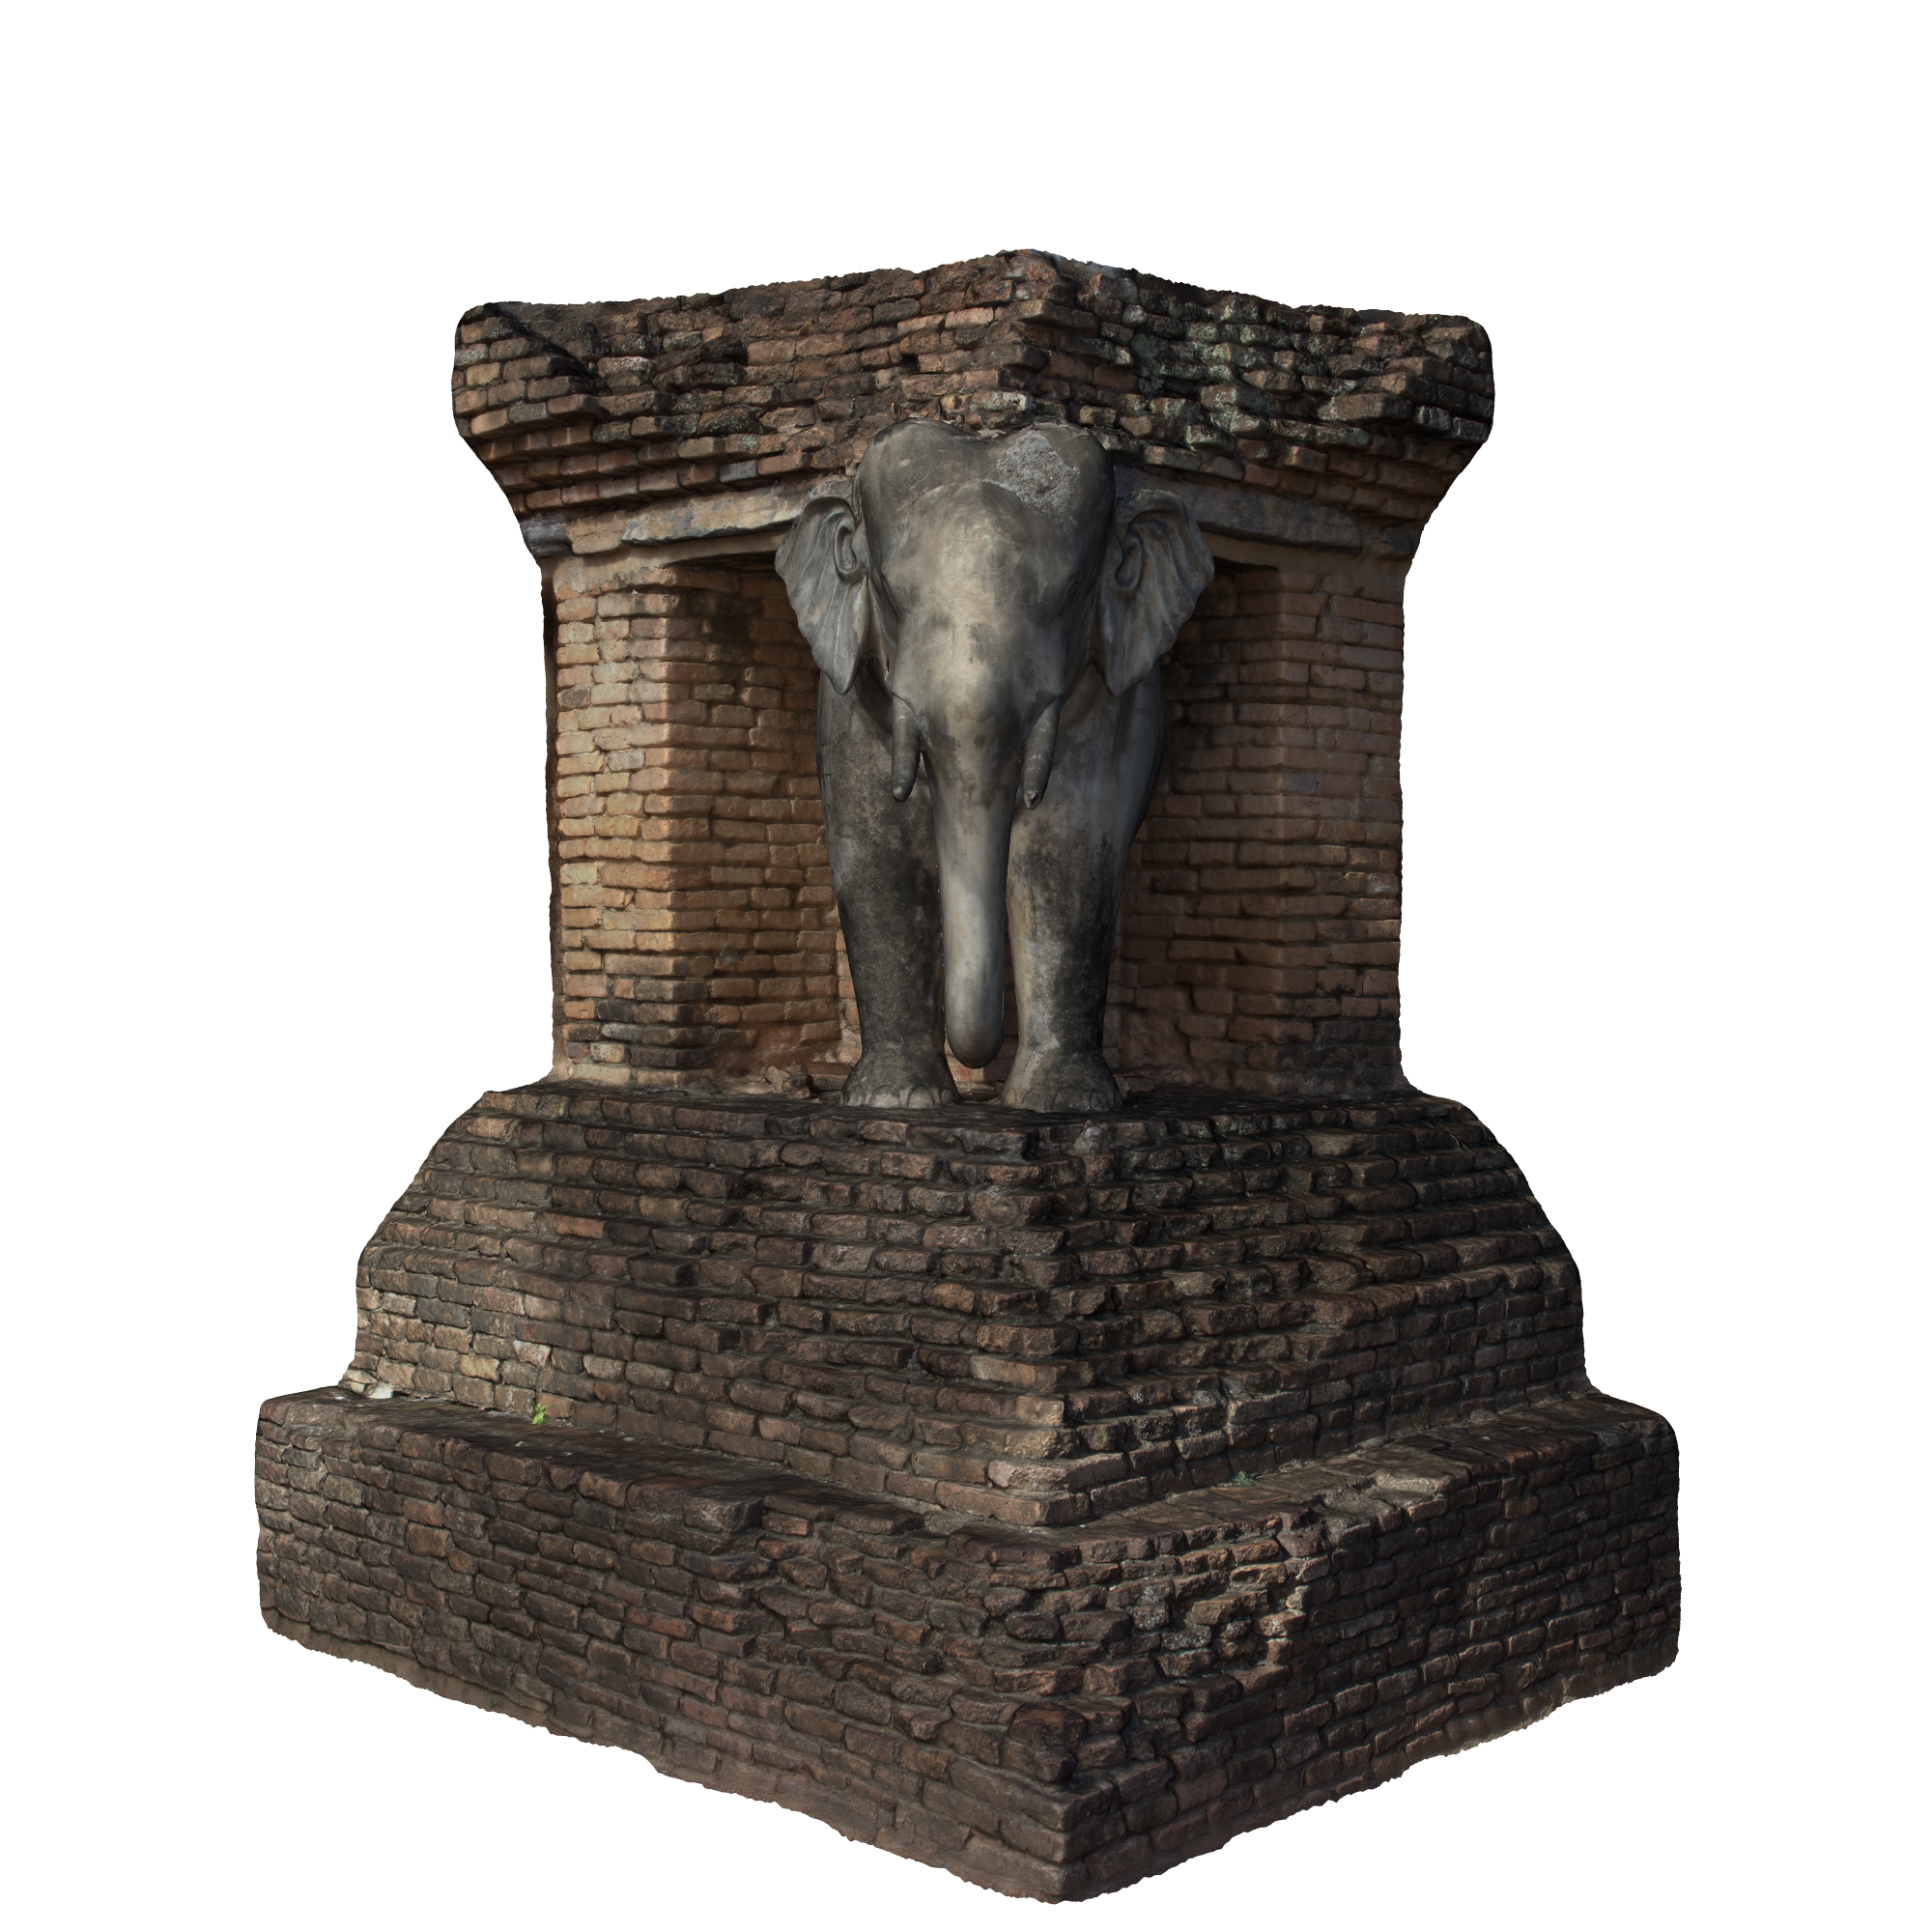
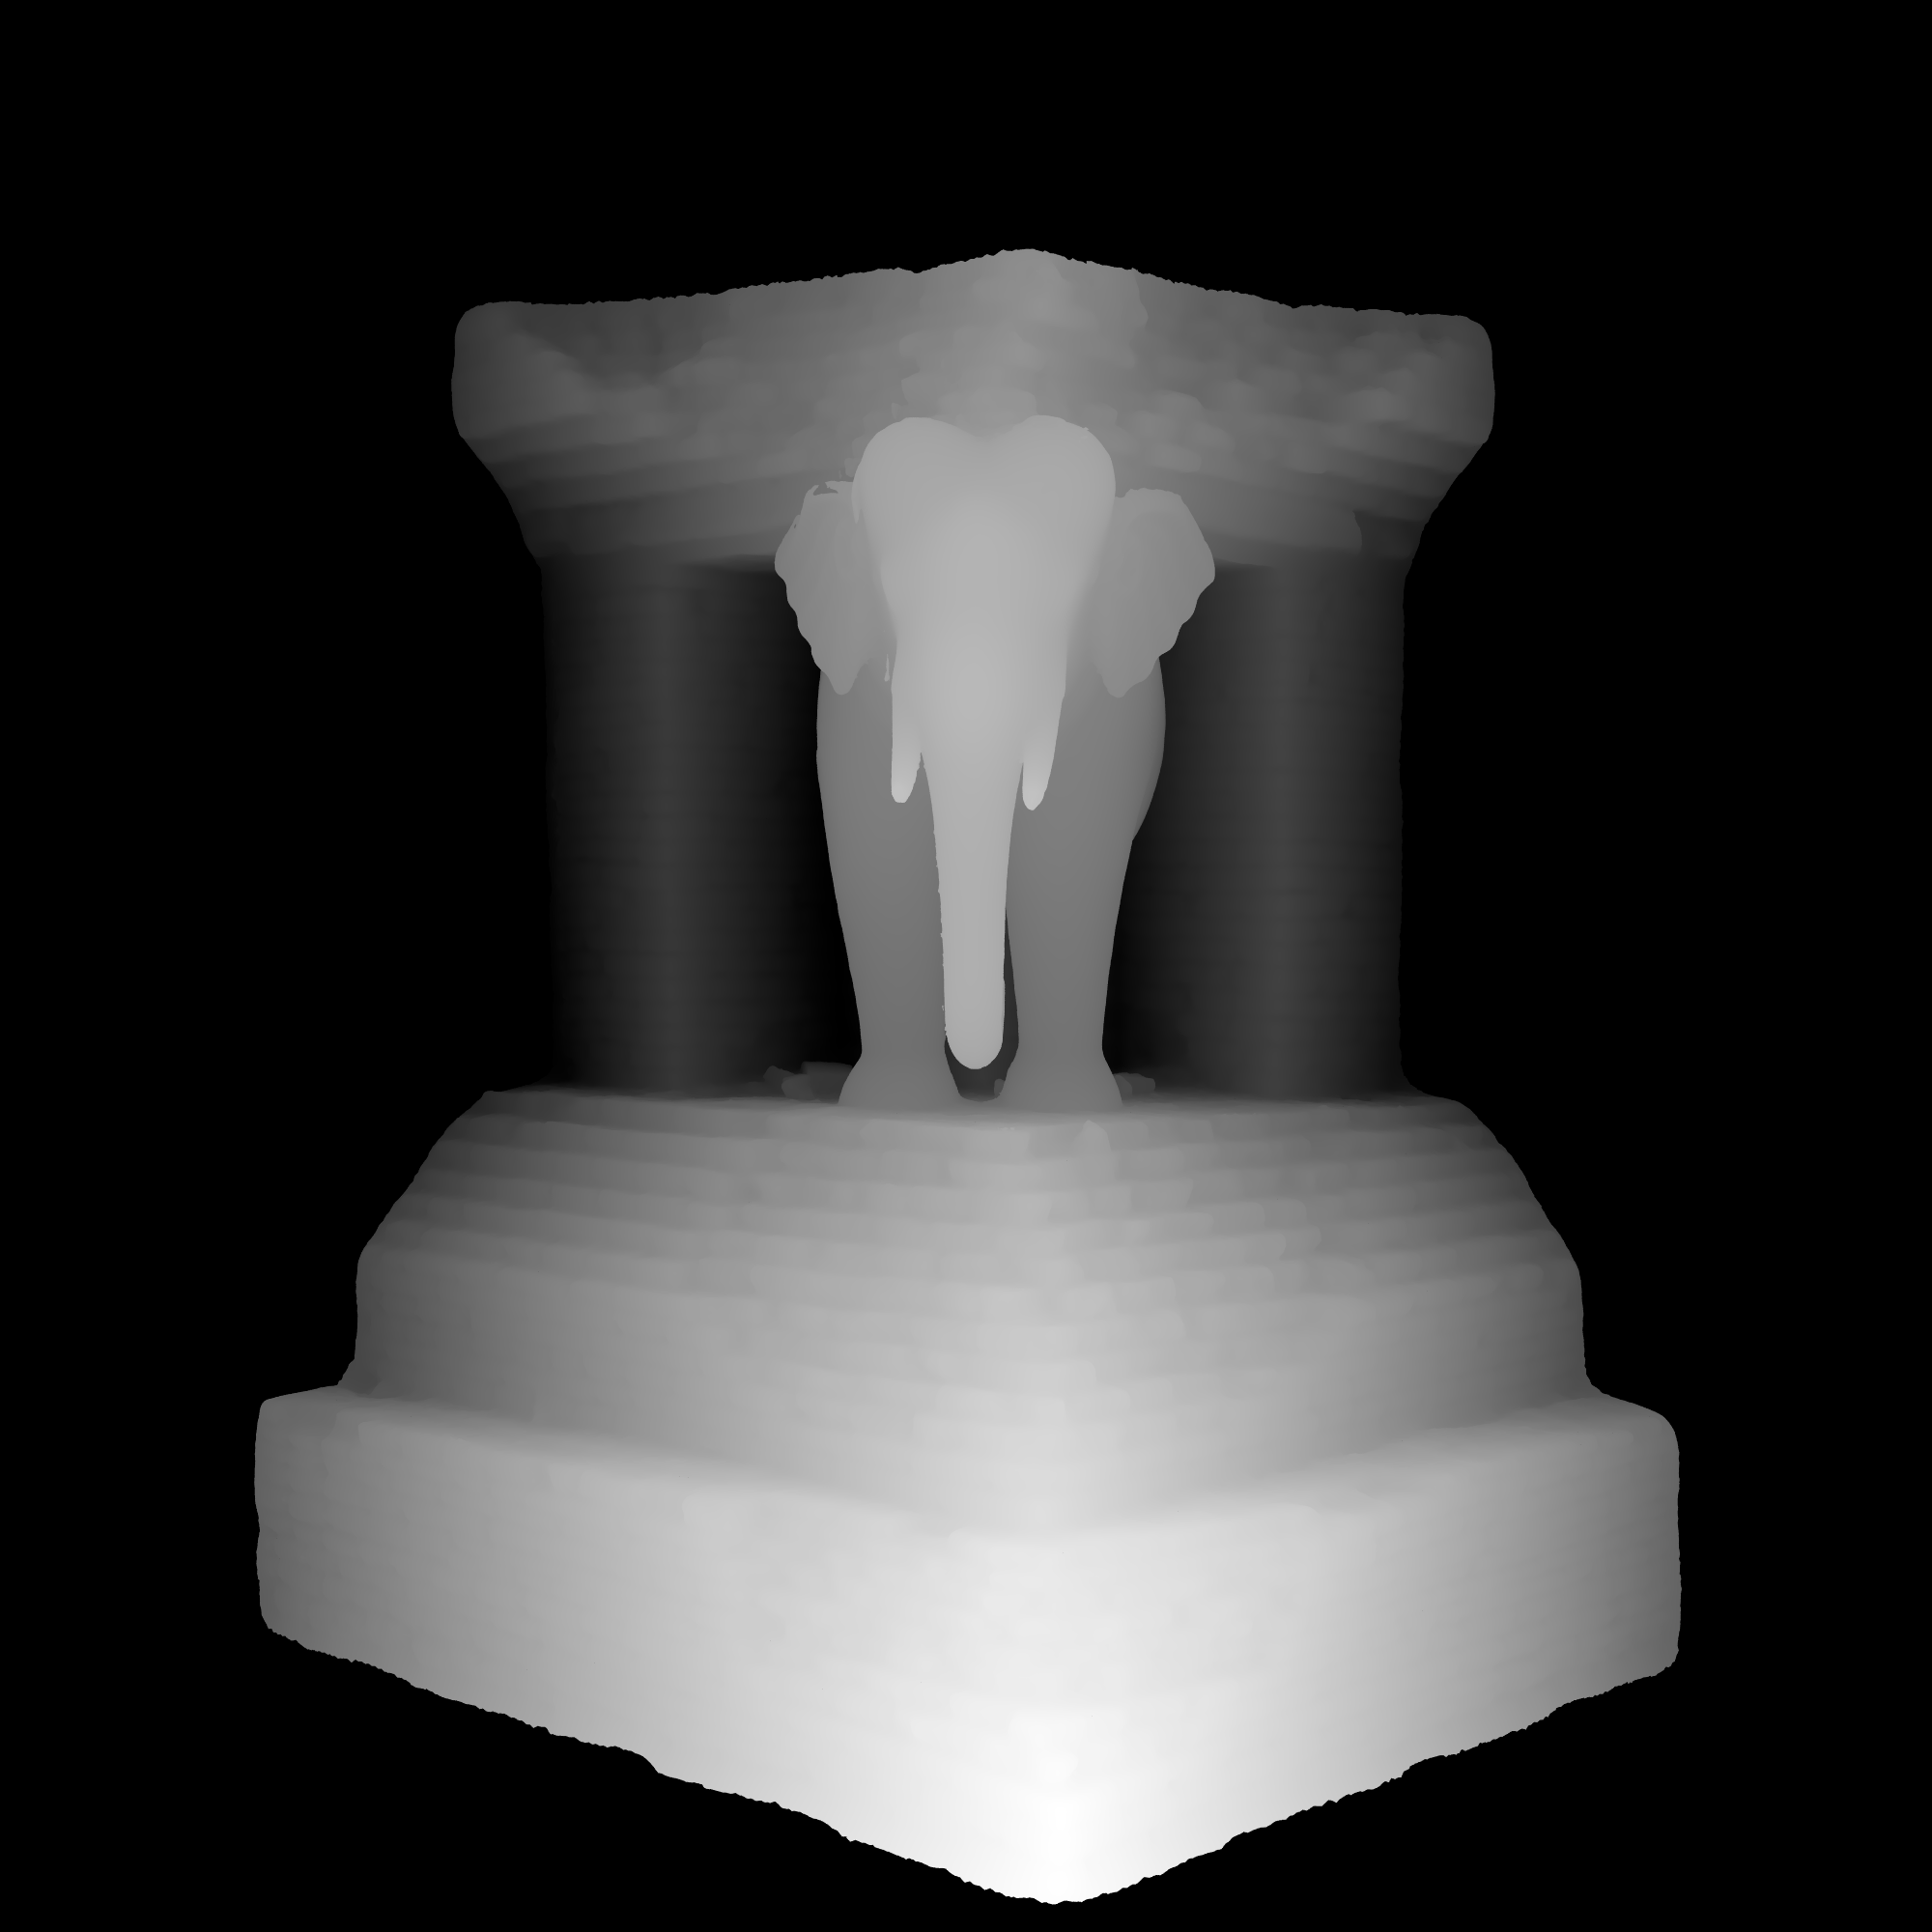
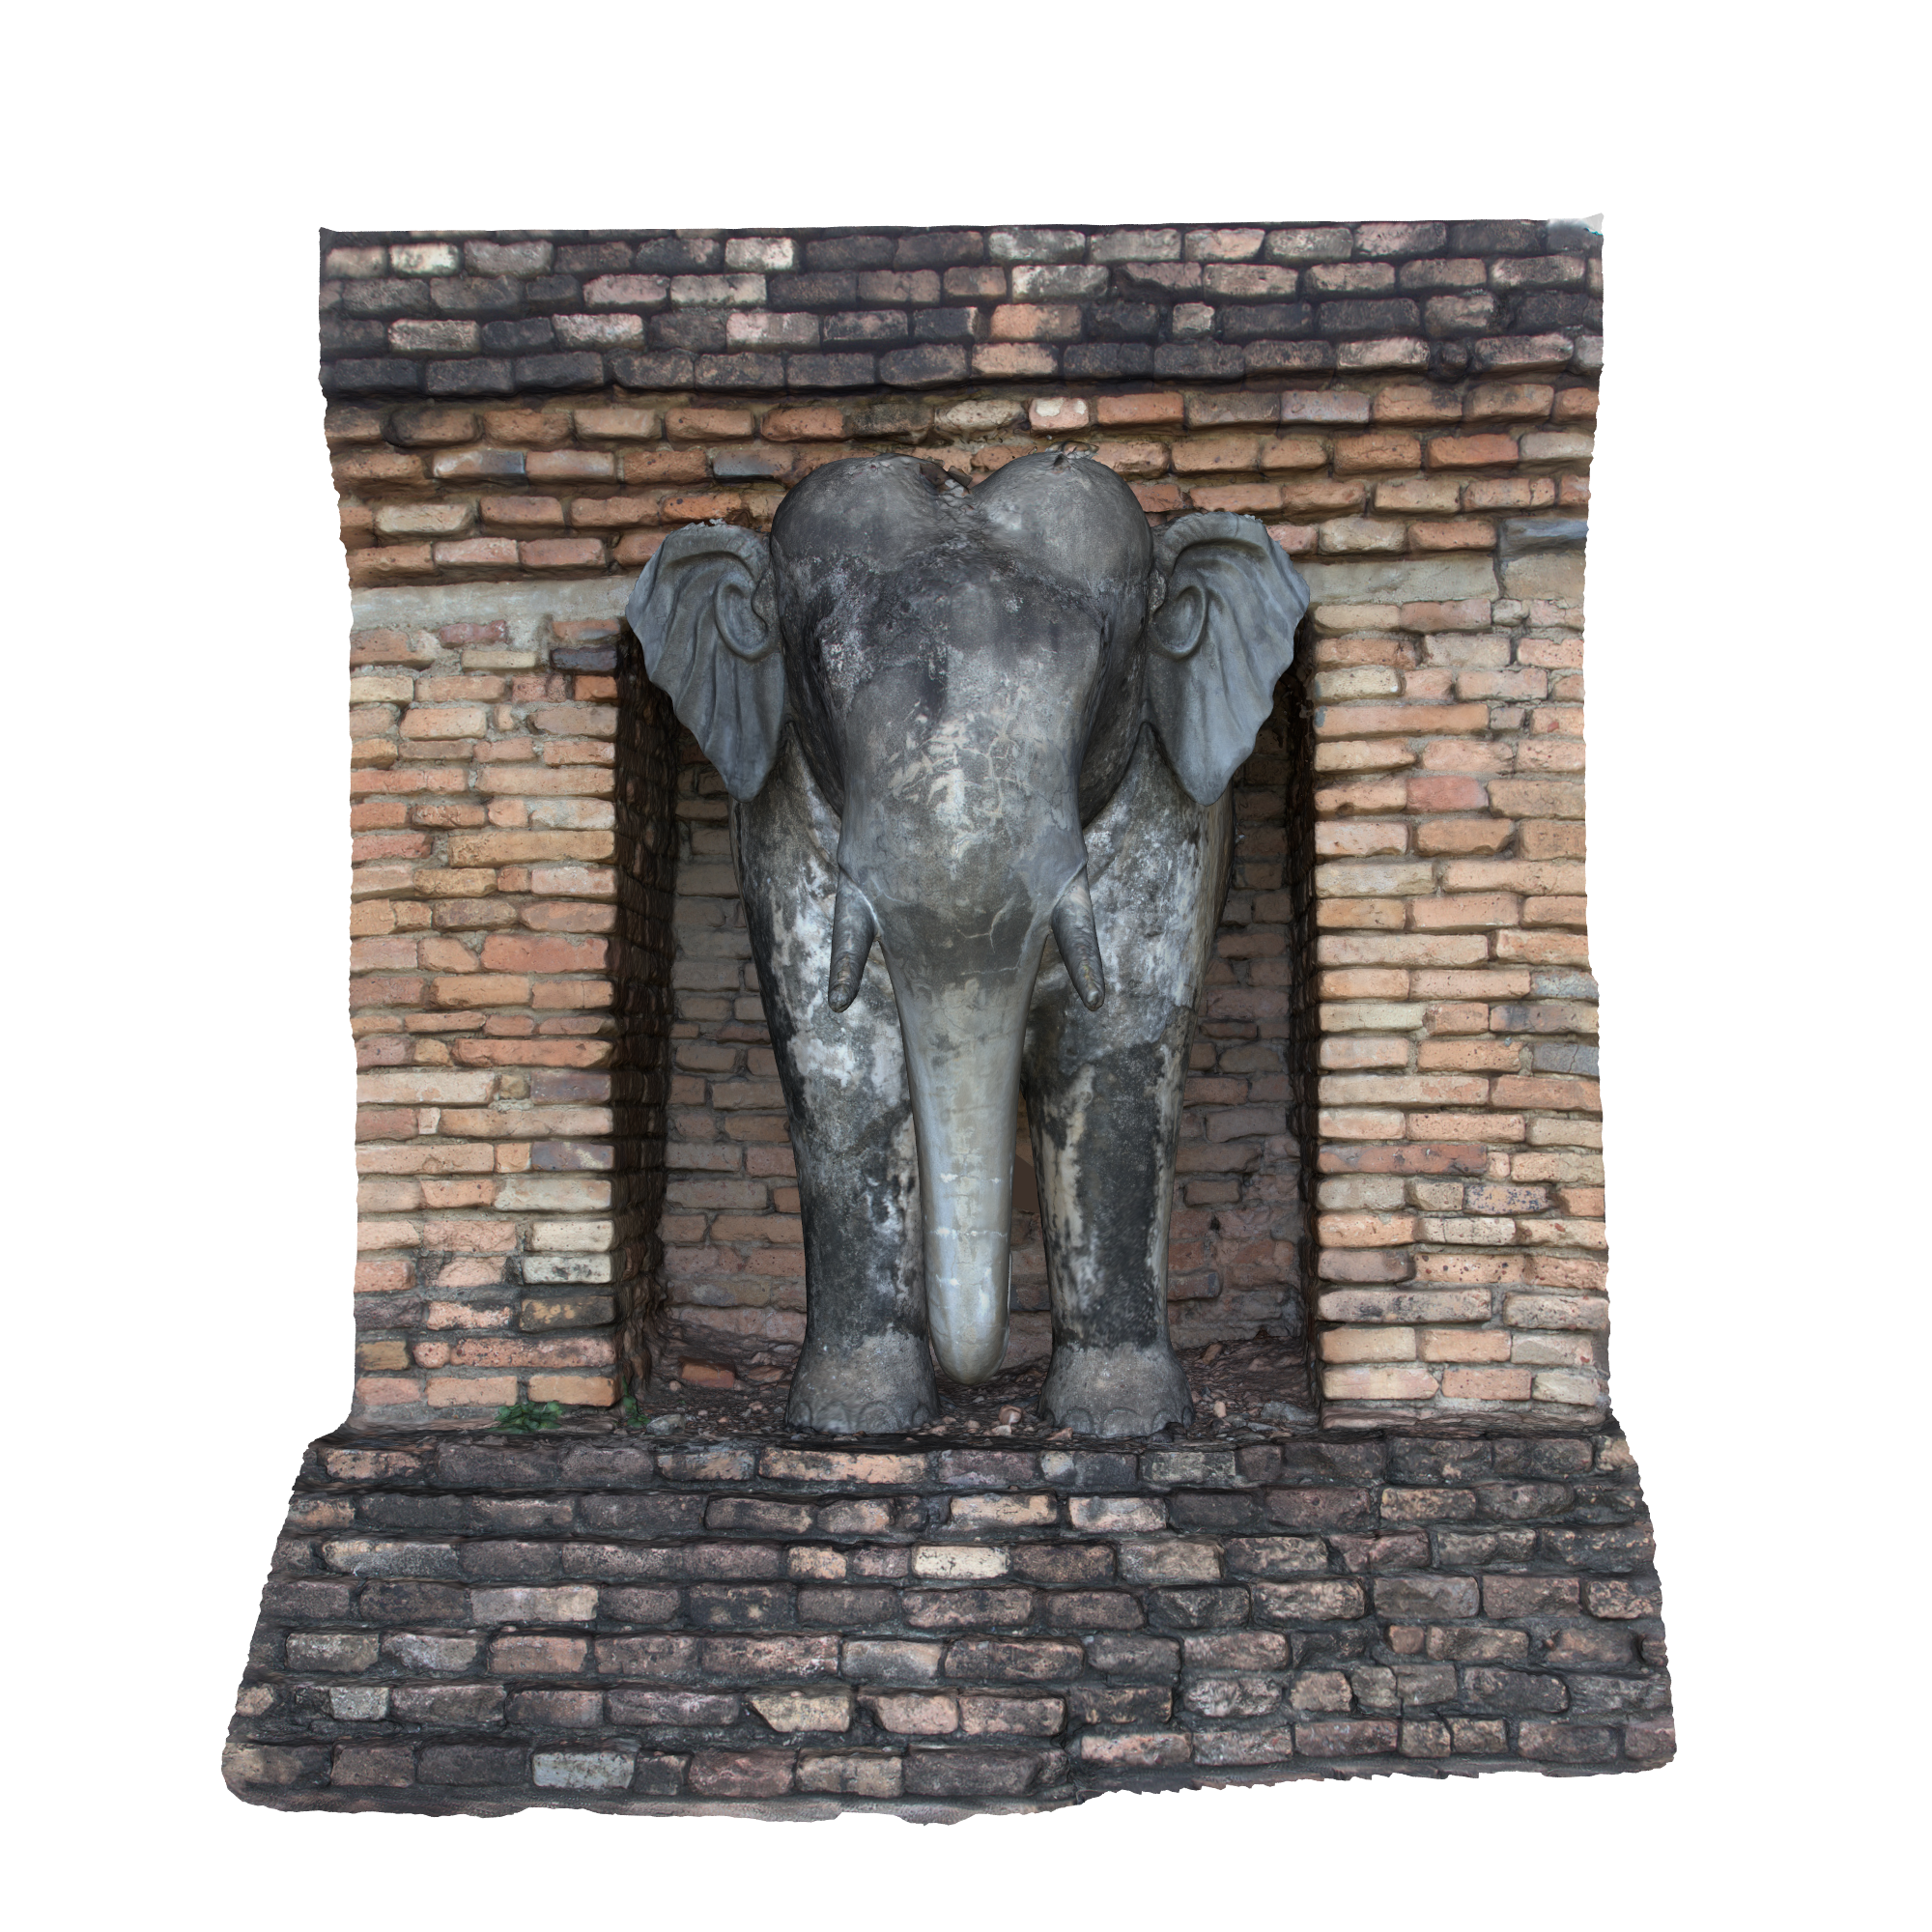
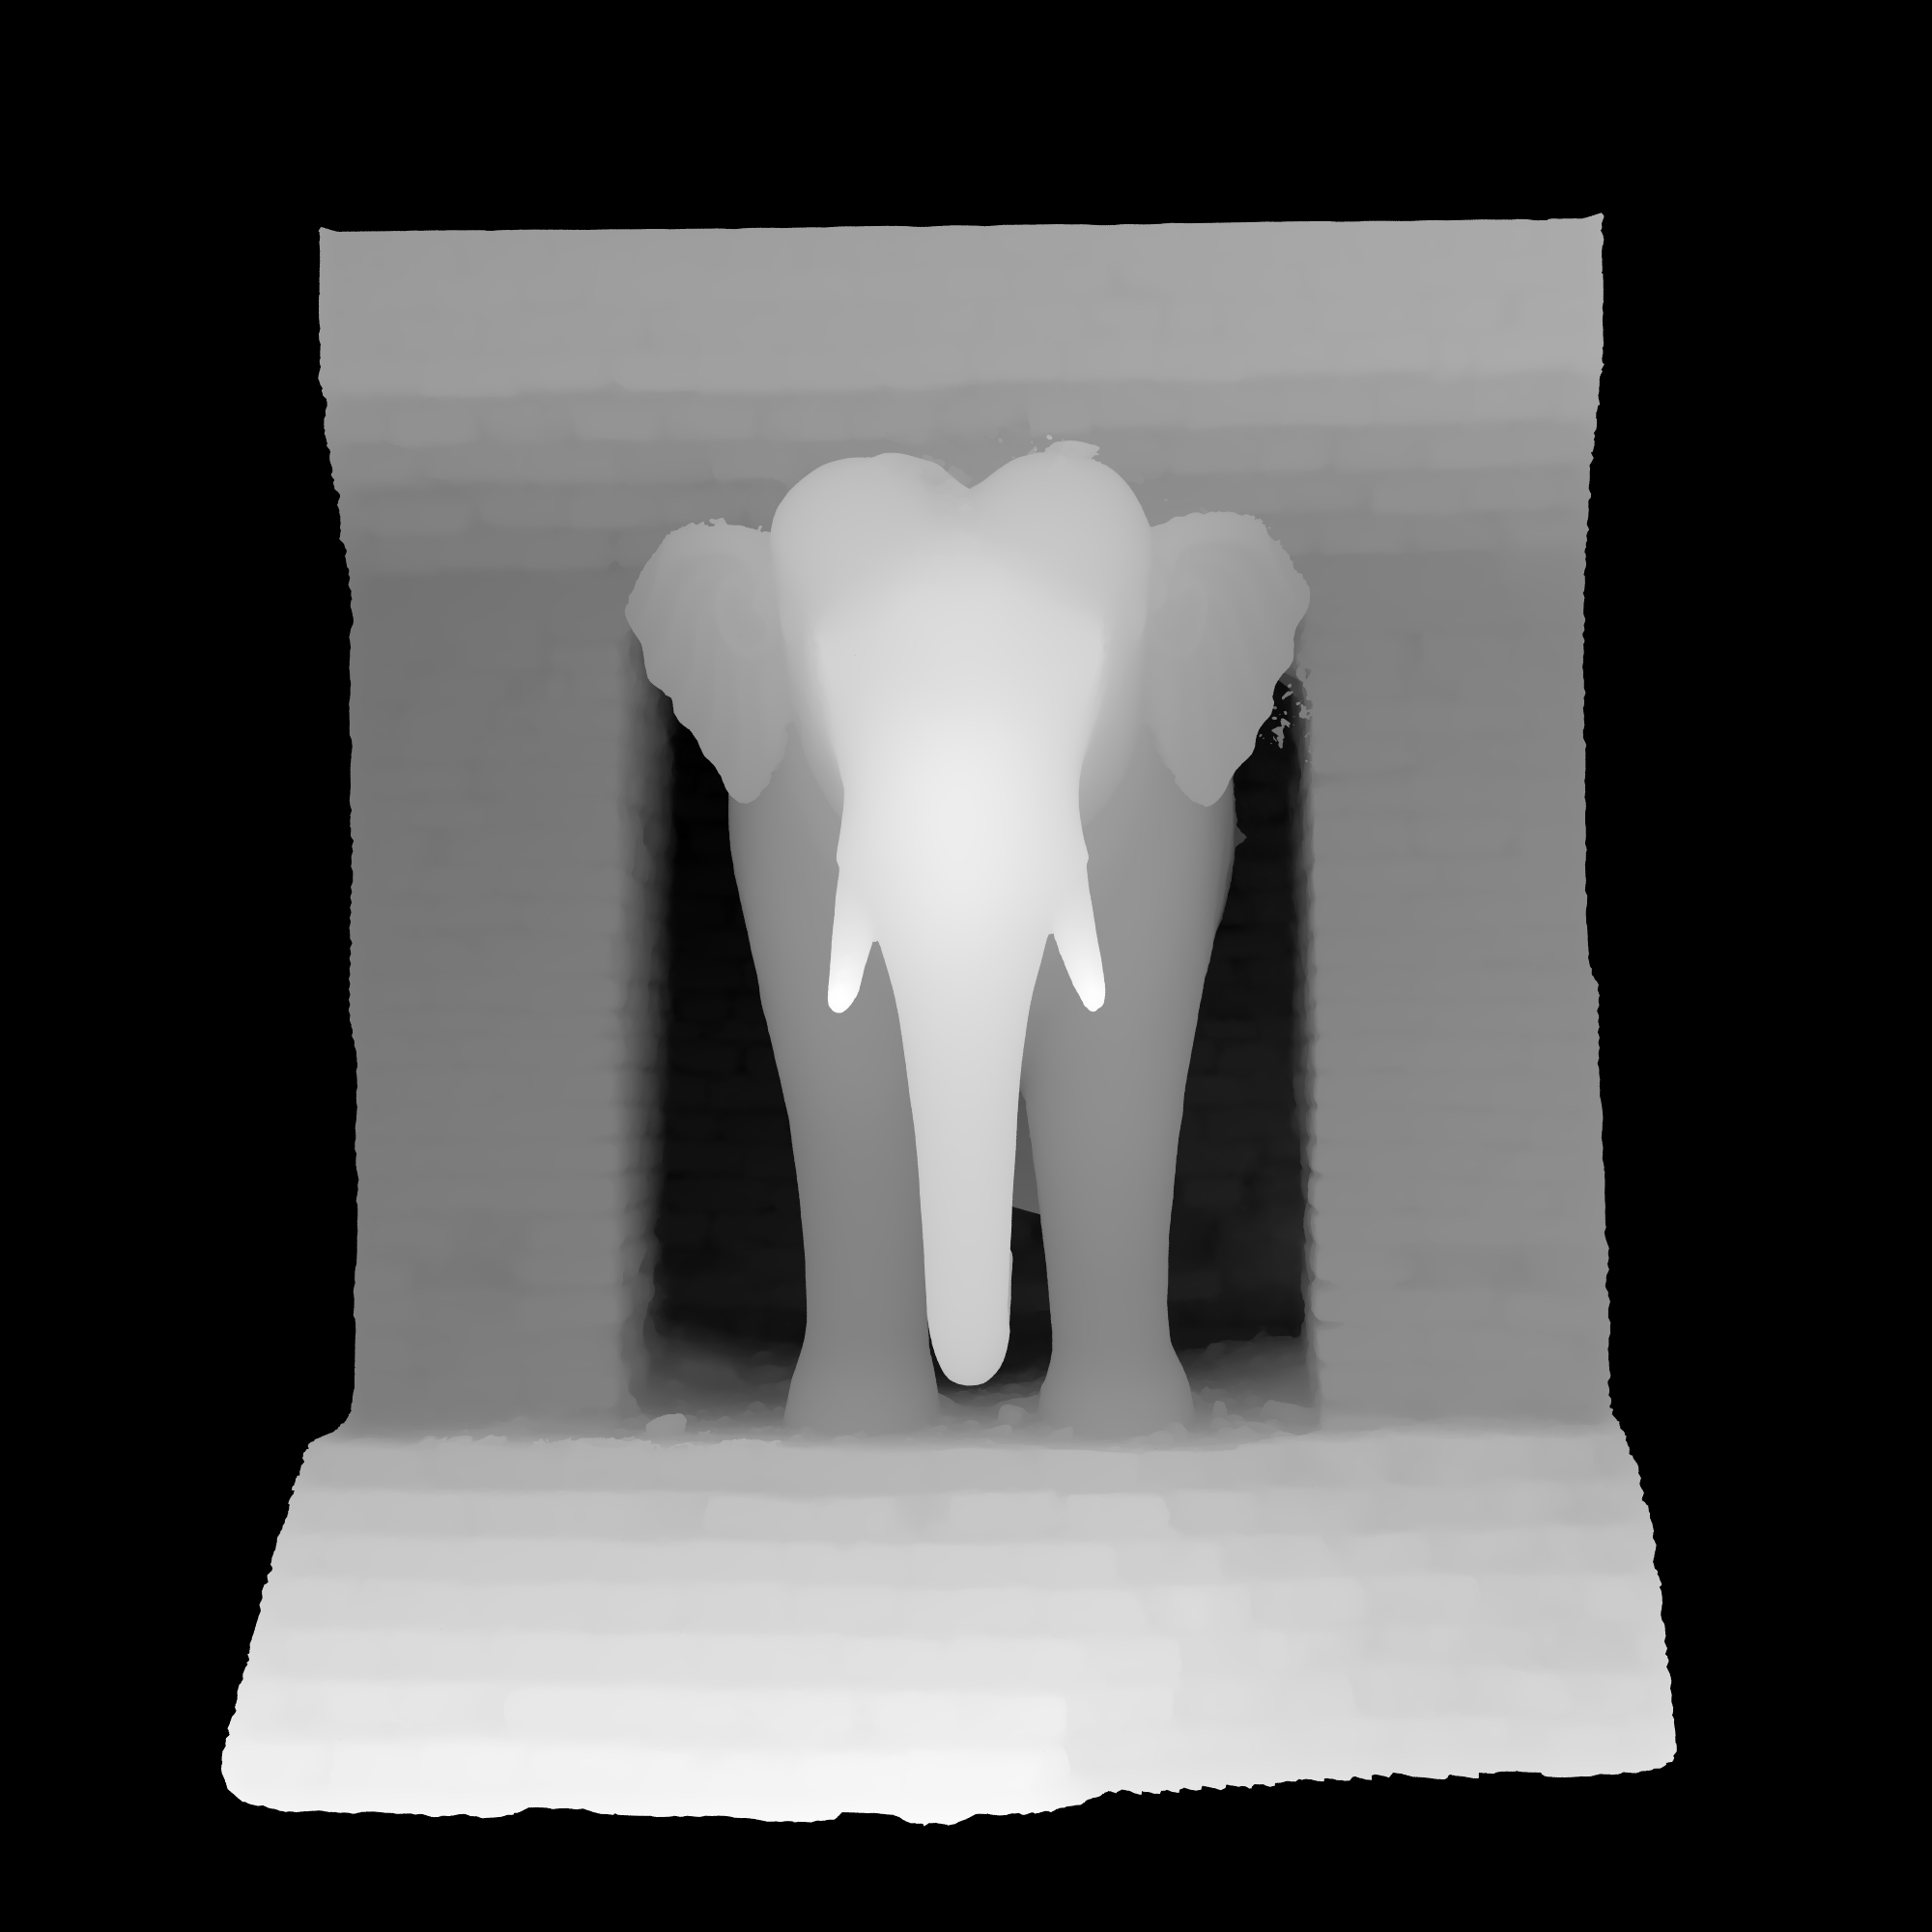
Another example. This and the last are brick elephants holding up a platform on which a stupa is built, located in Sukhothai, Thailand.
Example from the Siew San Teng temple in Kuching, East Malaysia.
More general approachContribution by Pascal BaillehacheDecember 2020 In the solution introduced above, the camera and the depth map are assumed to be located along the z axis, and the scene is assumed to be contained within ZMIN-ZMAX. A more general approach would be to use the camera properties to align the depth map along the view axis, and a functional pigment to avoid the periodicity of the gradient pigment. Given CAMERAPOS and CAMERALOOKAT the location and look_at vectors of the camera, and DEPTHMIN and DEPTHMAX the bounds of the depth map, the following texture might be used instead:
#include "math.inc"

#declare CAMERAFRONT  = vnormalize(CAMERALOOKAT - CAMERAPOS);
#declare CAMERAFRONTX = CAMERAFRONT.x;
#declare CAMERAFRONTY = CAMERAFRONT.y;
#declare CAMERAFRONTZ = CAMERAFRONT.z;

#declare clipped_scaled_gradient =
  function(x, y, z, gradx, grady, gradz, gradmin, gradmax) {
    clip(
      ((x * gradx + y * grady + z * gradz) - gradmin) / (gradmax - gradmin),
      0,1)
  }

#declare thetexture = texture {
  pigment {
    function {
      clipped_scaled_gradient(
        x, y, z, CAMERAFRONTX, CAMERAFRONTY, CAMERAFRONTZ, DEPTHMIN, DEPTHMAX)
    }
    color_map {
      [0 color rgb <1,1,1>]
      [1 color rgb <0,0,0>]
    }
    translate CAMERAPOS
  }
  finish { ambient 1 diffuse 0 specular 0 }
}
Notes on the above:
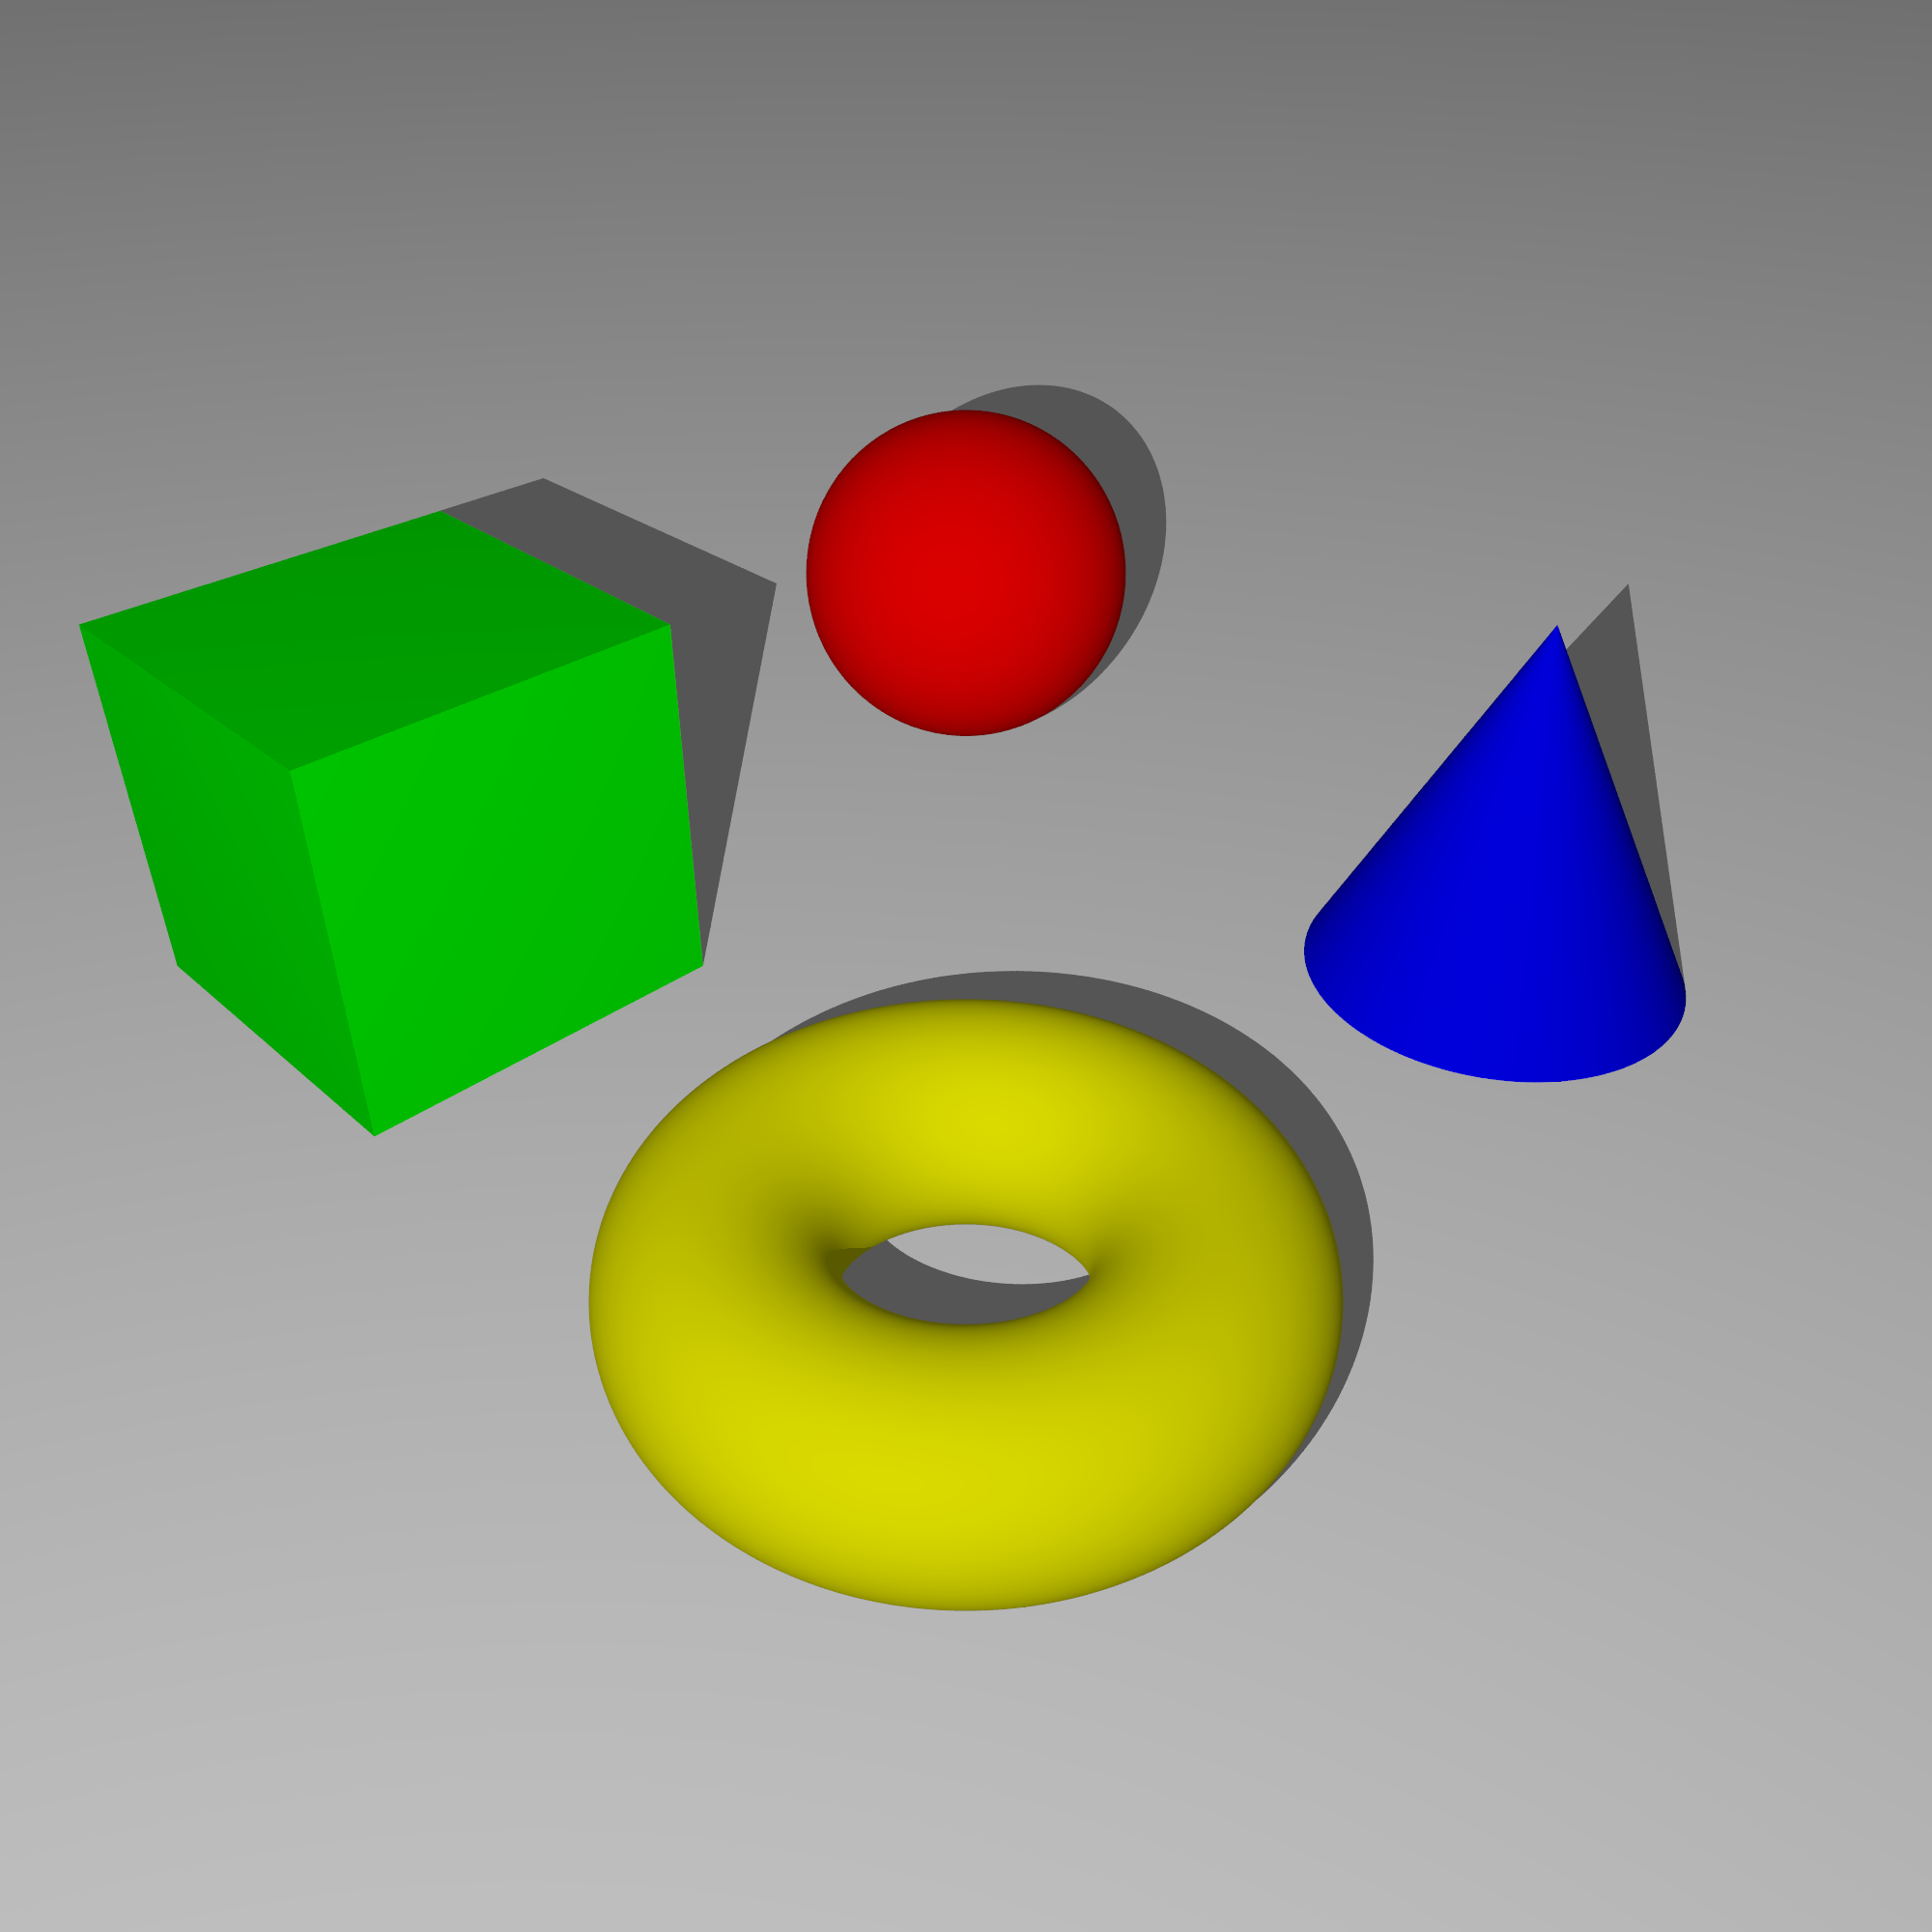
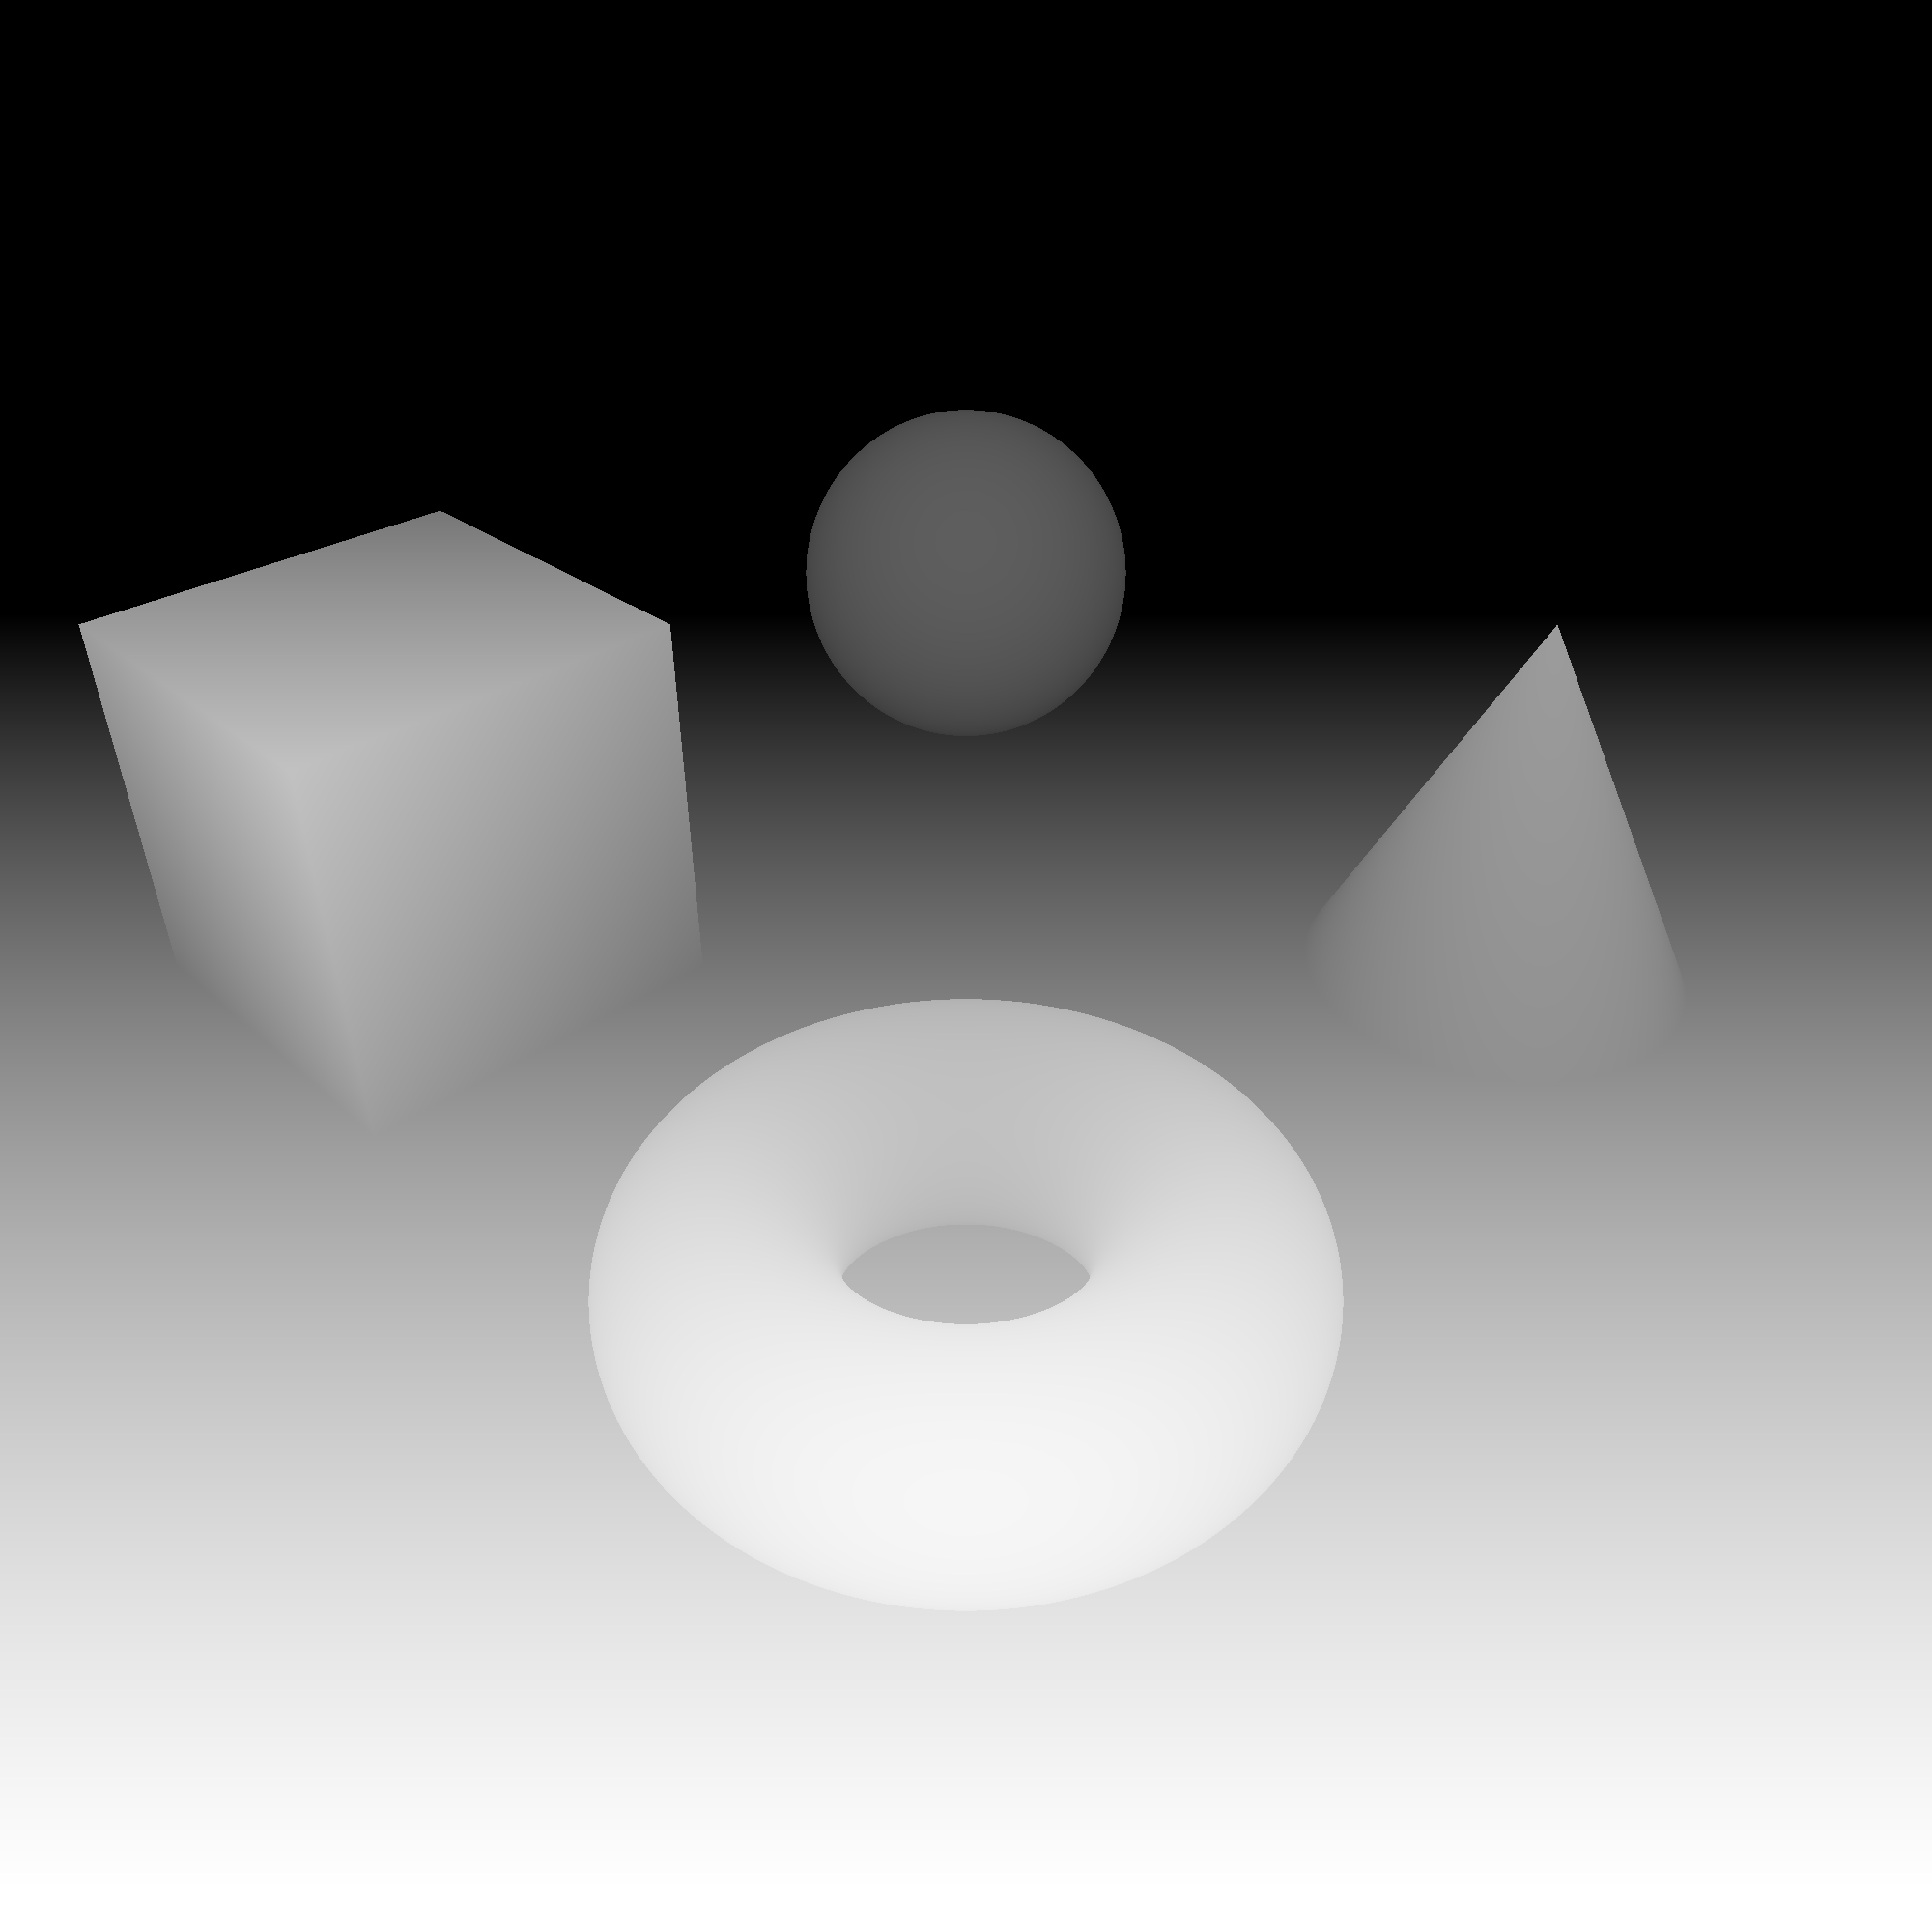
Example on a simple scene:
To render properly a depth map using Pov-Ray, one must also be careful about the rendering paramaters used.
Finally the ini script used to render the depth map above becomes: Input_File_Name=depth.pov Width=2000 Height=2000 Display=off Output_File_Type=N Bits_Per_Color=16 Antialias=off Output_File_Name=functional_pigment_depth.png Quality=0 File_Gamma=1.0 and the scene script:
#version 3.7;
#include "math.inc"

global_settings {
  assumed_gamma 1
}

#declare CAMERAPOS    = <3,3,3>;
#declare CAMERALOOKAT = <0,0,0>;
#declare CAMERAFRONT  = vnormalize(CAMERALOOKAT - CAMERAPOS);
#declare CAMERAFRONTX = CAMERAFRONT.x;
#declare CAMERAFRONTY = CAMERAFRONT.y;
#declare CAMERAFRONTZ = CAMERAFRONT.z;

#declare DEPTHMIN = 3.1;
#declare DEPTHMAX = 7.0;

camera {
  location CAMERAPOS
  up <0,1,0>
  right <1,0,0>
  look_at CAMERALOOKAT
}

#declare clipped_scaled_gradient =
  function(x, y, z, gradx, grady, gradz, gradmin, gradmax) {
    clip(
      ((x * gradx + y * grady + z * gradz) - gradmin) / (gradmax - gradmin),
      0,1)
  }

#declare thetexture = texture {
  pigment {
    function {
      clipped_scaled_gradient(
        x, y, z, CAMERAFRONTX, CAMERAFRONTY, CAMERAFRONTZ, DEPTHMIN, DEPTHMAX)
    }
    color_map {
      [0 color rgb <1,1,1>]
      [1 color rgb <0,0,0>]
    }
    translate CAMERAPOS
  }
  finish { ambient 1 diffuse 0 specular 0 }
}

union {
  plane  { y,0 }
  sphere { 0,.5     translate <-1,.5,-1> }
  box    { -.5,.5   translate <1,.5,-1> }
  cone   { 0,.5,y,0 translate <-1,0,1> }
  torus  { .5,.25   translate <1,.25,1> }
  texture { thetexture }
}
|