Transferring slice data to Drishti using ImageJWritten by Paul BourkeData sample courtesy David Wacey August 2011
IntroductionThe following discusses a pipeline for transferring slice data into Drishi, it is aimed at novice users and as such steps through the process in some detail. Please note this is only one of a number of ways of achieving the same final result. The tools used are ImageJ and Drishti, both free software packages. The following is based upon the most recent versions of both these software tools at the time of writing.
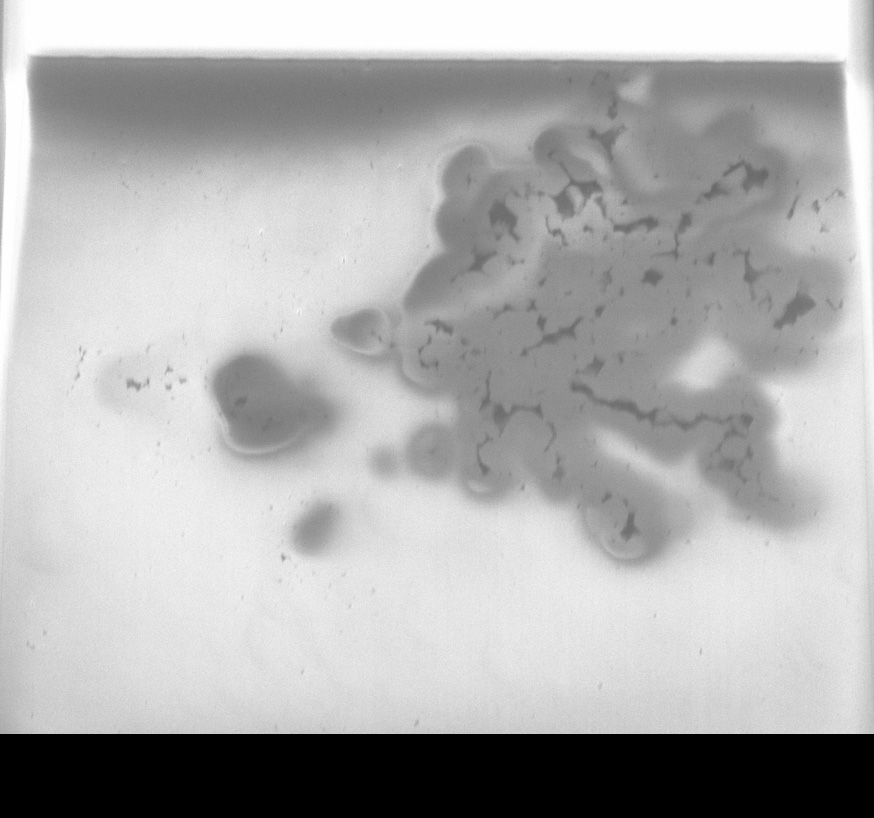
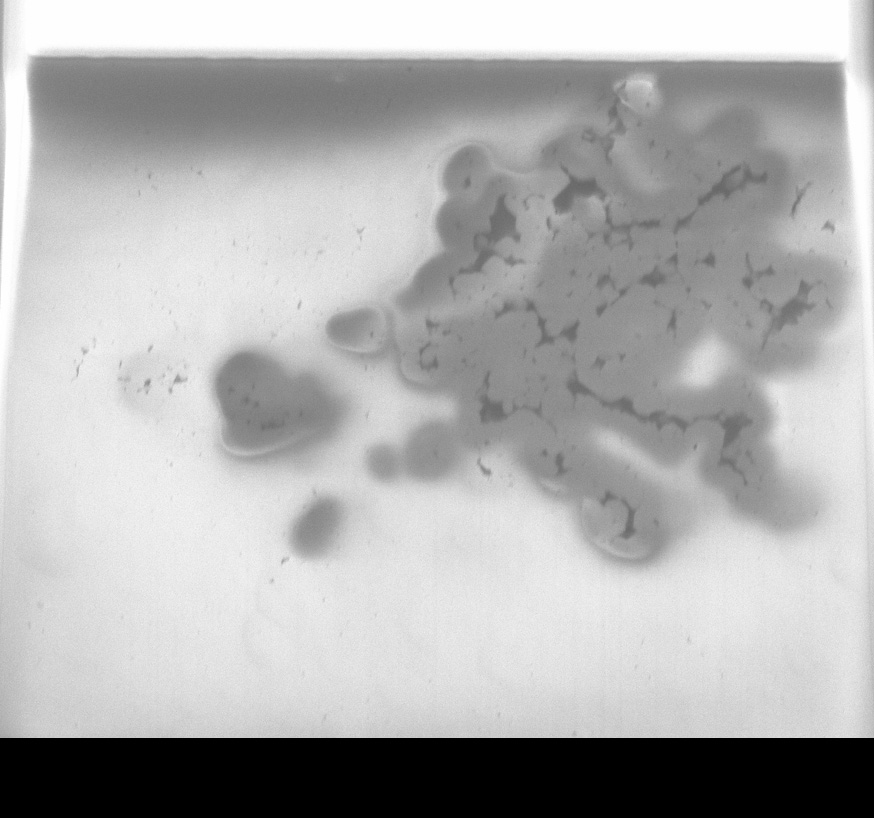
Slice preparation in ImageJThe image slices used to illustrate the process have been generously provided by David Wacey. As provided there are 180 slices, each slice 874 x 818 pixels, saved as tiff files. The images here are scans of microfossils, outside the scope of this document is a slice alignment exercise also performed using plug-ins for ImageJ. Three sample slices provided below.
In addition to opening and editing a single image, ImageJ can open what is called a stack of images. These should be sequentially numbered files and located in a single directory. They are read using "Import > Image Sequence" found in the "File" menu. 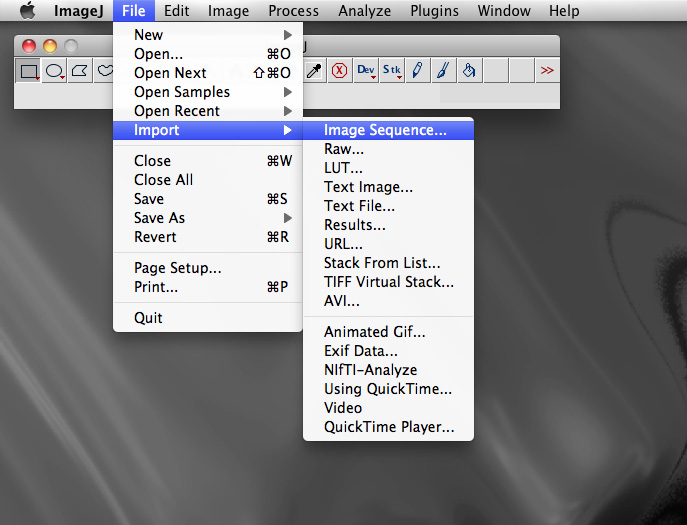
The key capability/benefit of image stacks is that one can perform image processing once and it will be applied to all images in the stack. Two common operations are cropping and changes to the contrast and brightness. 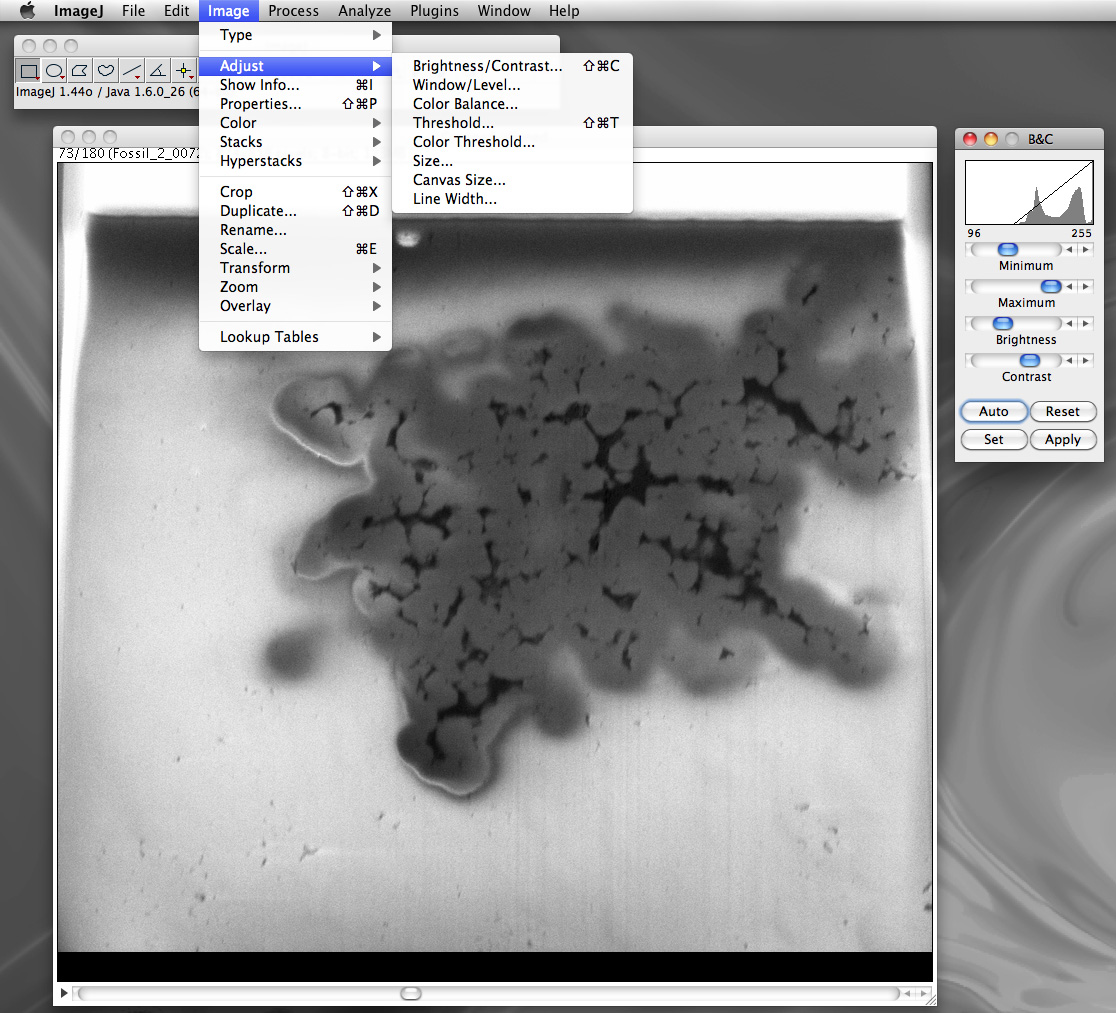
Exporting the final processed stack as a single volumetric file and in a form suitable for Drishti is achieved with the so called raw data format. This is an unstructured list of the voxel data, each voxel value saved in the native data size, in this case 1 byte per voxel. The next most common data size for image stacks would be 16 bit, this determines the number of discrete states a voxel can be in. For 1 byte there are only 256 states (0-255), for unsigned 16 bit there are 65536 states (0-2^16). This is normally referred to as the dynamic range. Where possible image processing should be performed at the highest possible dynamic range in order to reduce a number of possible artefacts that can arise from an insufficient number states in which to represent the image processing. 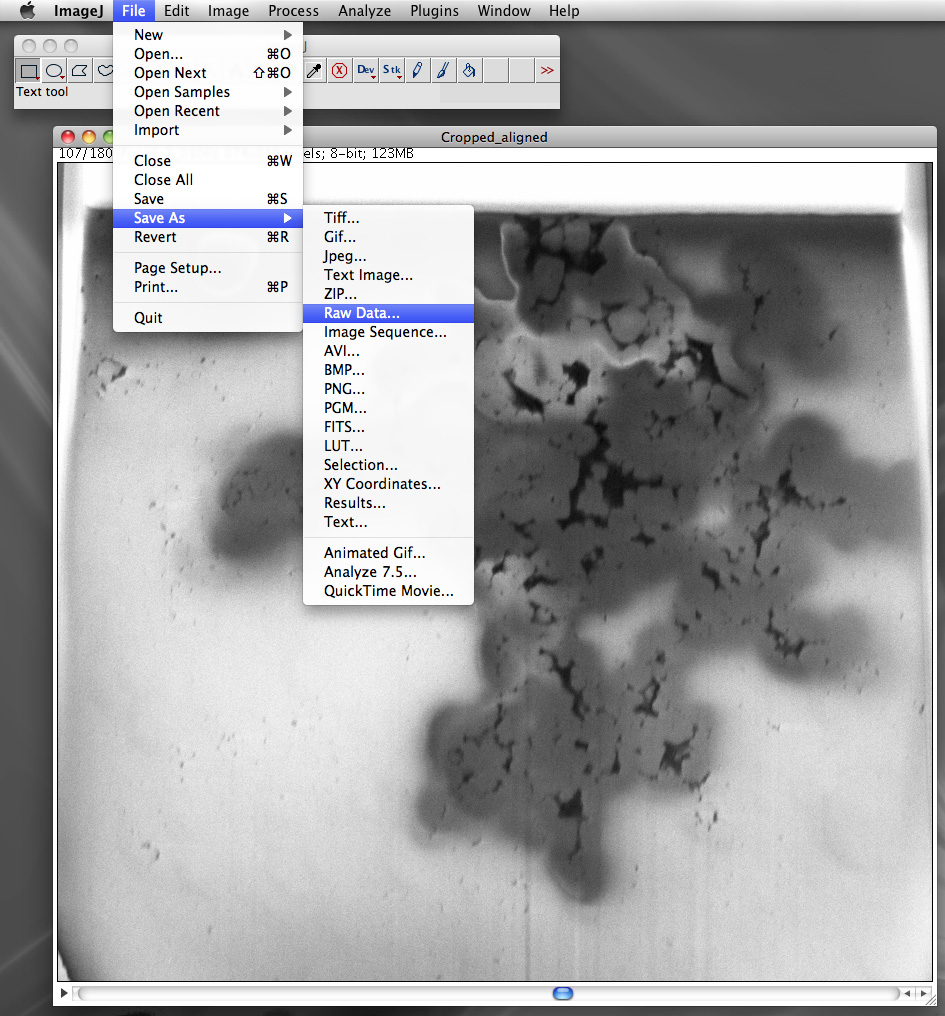
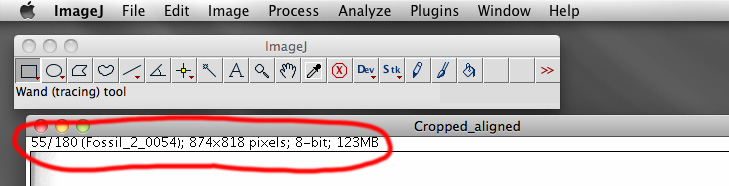
As a sanity check the final file size can be confirmed. The top of the ImageJ window for an image stack gives the number of slices, the resolution per slice (horizontal and vertical pixels), and the number of bytes per slice. The total file size for the raw file should then be
In this case:
Importing into DrishtiDrishti tools are normally accessed through the launcher, in this discussion only the import and render modules will be used. 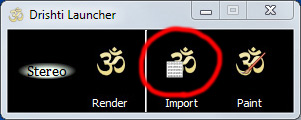
The Drishti importer supports a number of file formats, one of which corresponds to the raw volume file created by ImageJ above. 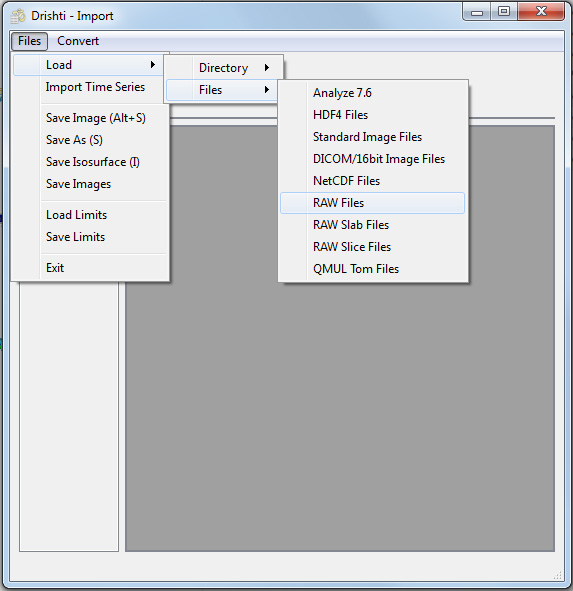
The raw volume file as created is just a stream of bytes, there is no structure and there is no header to define the type of data per voxel or the number of voxels in each of the three dimensions. This information needs to be supplied through the raw import dialog. The order the volume dimensions are saved in ImageJ is opposite to the order Drishti expects to read. So if the volume dimensions in ImageJ is x,y,z where z are the slices, the order specified in the Drishti importer would be z,y,x. Drishti does support a special raw format with a header section but in this case there is no header to the raw file so there are no header bytes to be skipped. 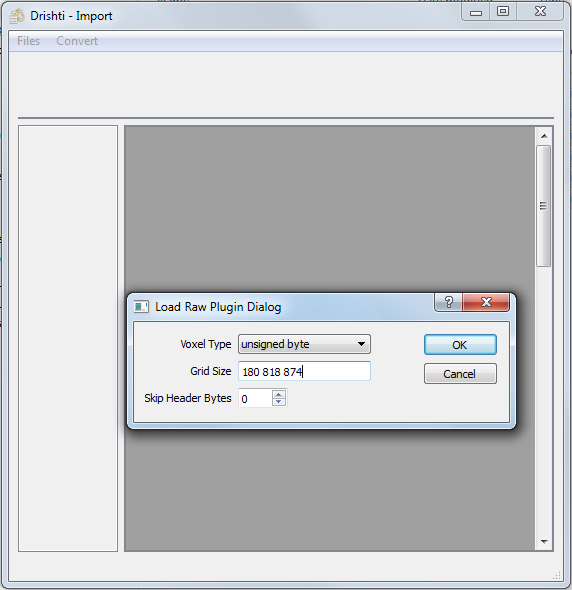
The importer presents the histogram and the slices, one can scroll through the slices in any of the three dimensions. Drishti only supports a single byte per voxel, if the input data has a higher dynamic range (eg: integer, float, etc) then the slider in the top half of this window allows one to choose the mapping between the range of voxel values and the 0 to 255 states available for Drishti. In this case the input data is also a single byte so no reduction in dynamic range is necessary. The voxel values could still be remapped to a different range to perhaps increase contrast but as discussed above it is suggested that this should be done in ImageJ. Similarly the volume can be cropped (click and drag borders of the slice) although this also may be done in ImageJ. 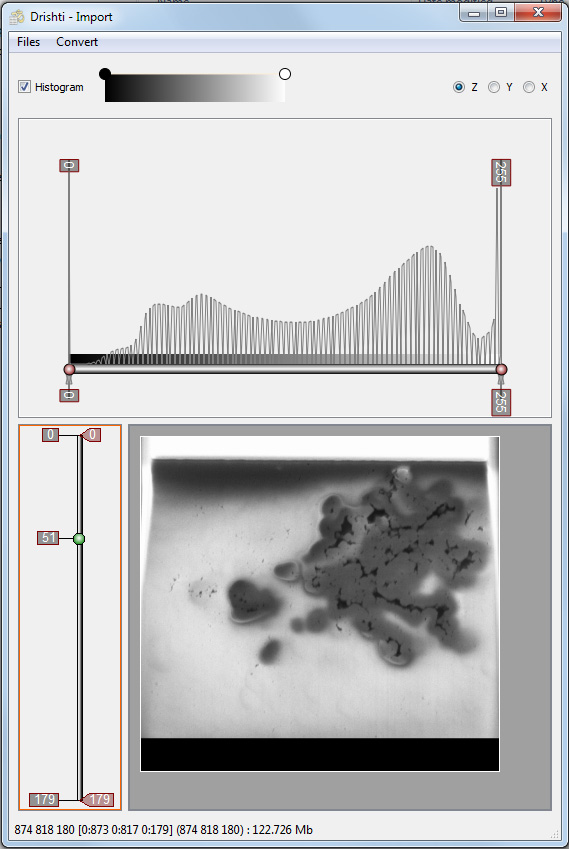
Finally the volume should be saved for the Drishti rendering module, the standard extension is ".pvl.nc" for the NetCDF formatted file the Drishti render module will expect. 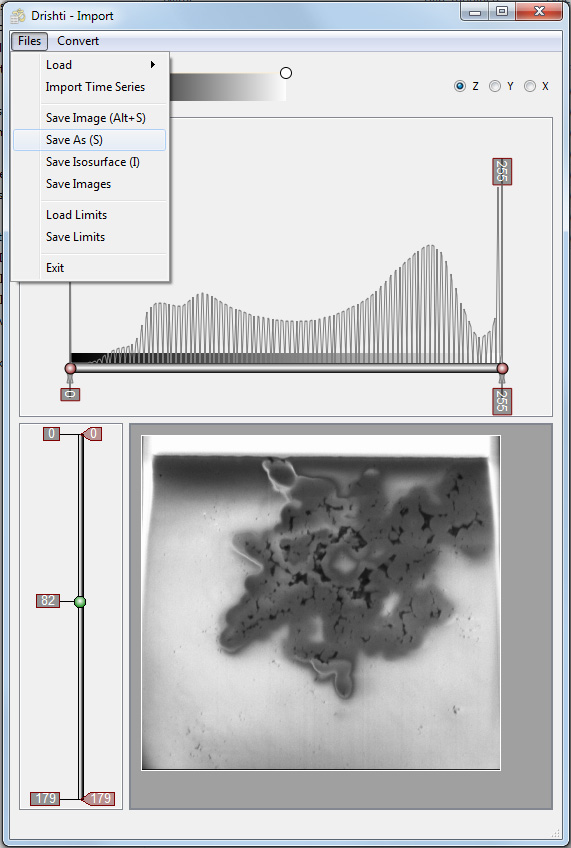
On saving one is presented with a number of options, each presented in a separate window. Saving a separate raw image is only useful if one has modified the voxel values and one wants to use that new raw data elsewhere, unnecessary in most cases and one could achieve the same thing by image processing and exporting from ImageJ. For large volumes one may want to subsample in slices (z) or, more commonly, within slices (x,y). This will allow large volumes to be manipulated more readily on limited hardware as well as reduce noise artefacts. The later can additionally be achieved by using one of the "Volume Filters". Note that specifying the "Voxel Size" is important if dimensionally meaningful measurements are to be taken, this can however be changed later in the "Volume Information" window found in the "View" menu. 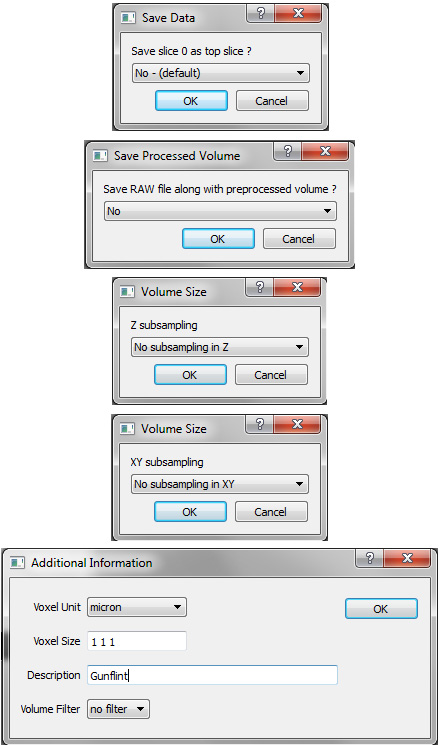
Drishti Render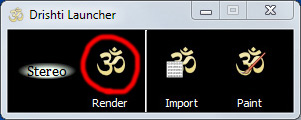
A NetCDF volume can be loaded into the render module as follows. 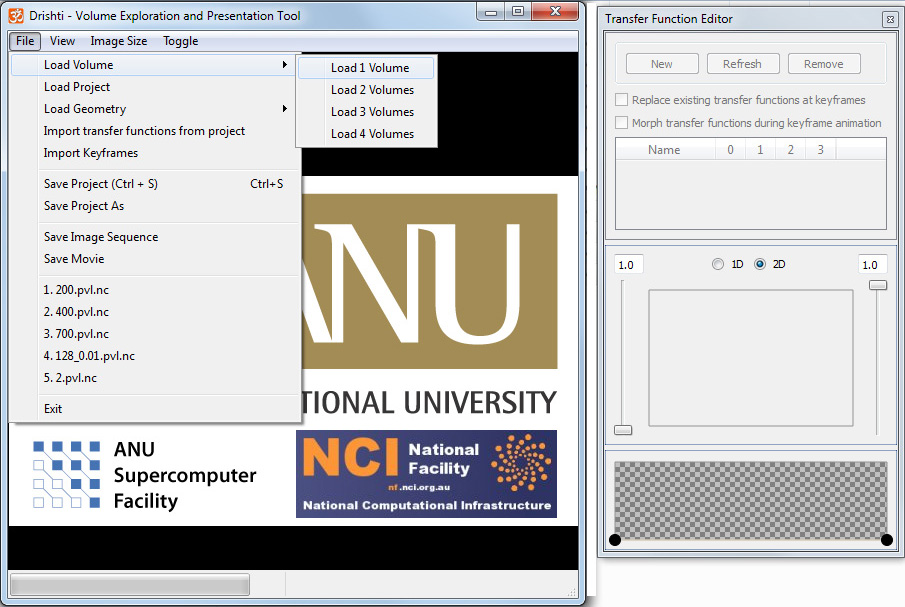
By default the volume is presented in a low resolution mode. This is yet another place where the volume can be cropped, hover the mouse over the X on any face until it changes colour, then drag to reduce or extend the cropped subvolume. 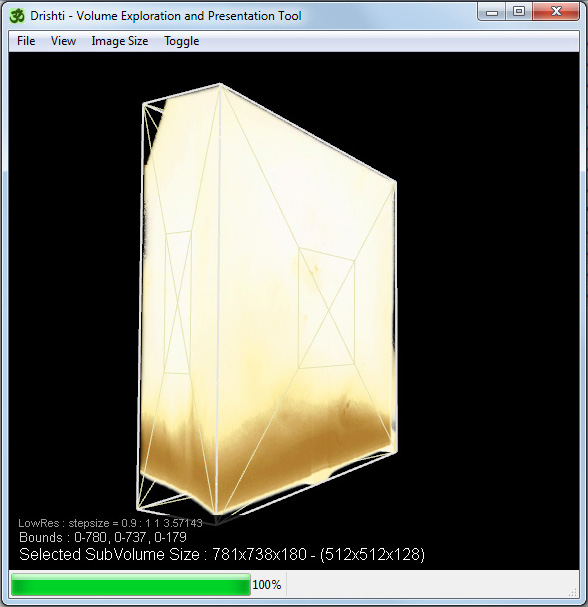
Many volumes do not have square voxels, for example the between-slice resolution is often less than the in-slice resolution. The volume information panel allows one to specify the voxel aspect ratio. 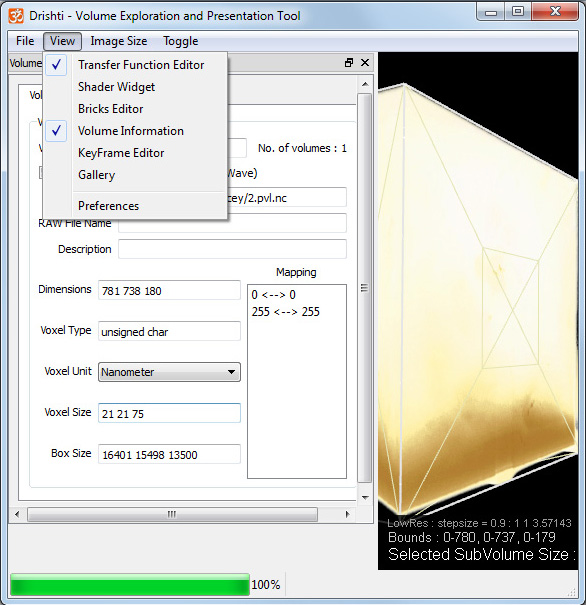
Most exploration in Drishti is performed in the higher resolution rendering mode, f2 toggles between the low resolution and high resolution mode. Note that only in the high resolution mode is the voxel dimensions and aspect ratio honoured. 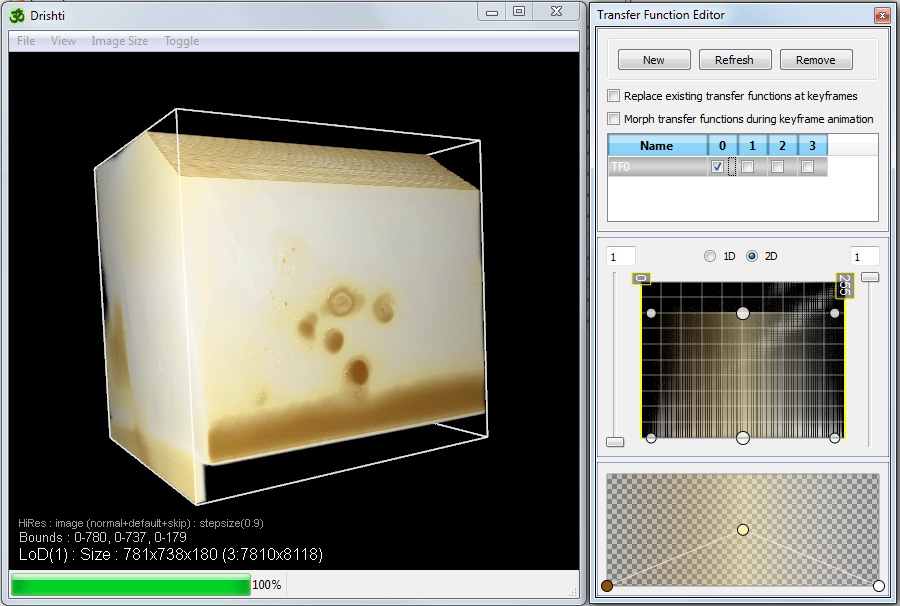
At this stage one can start exploring by changing the transfer function and using the other features of Drishti. These are outside the scope of this discussion which is concentrated on the volume preparation in ImageJ and subsequent importing into Drishti. 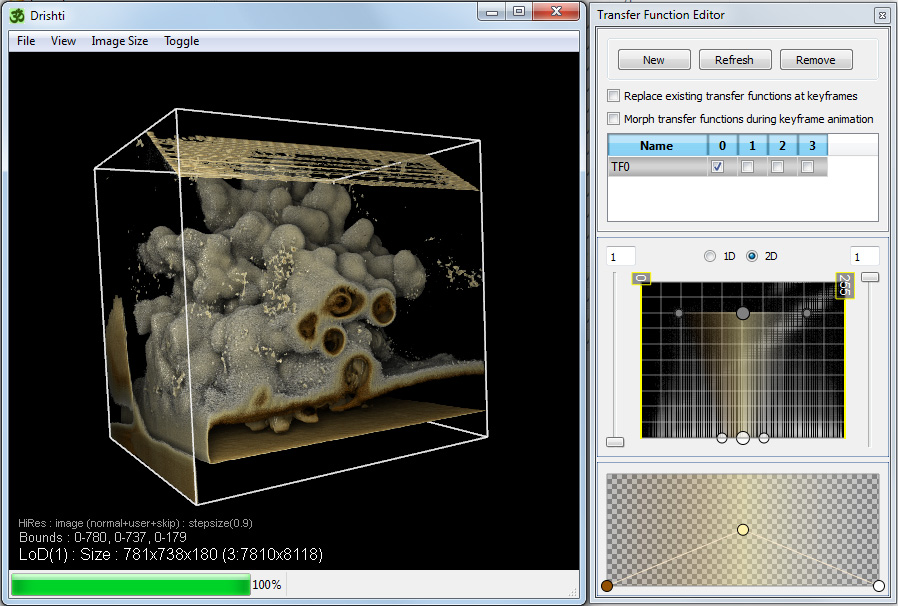
A very small subset of useful keystrokes for Drishti are given below.
|